A Preview

I haven’t had time to sit at my sewing machine for two weeks, yet I have been holding back on you! I finally finished adding some new one-of-a-kind bags to my shop, so now they can all be found in the New Products section.

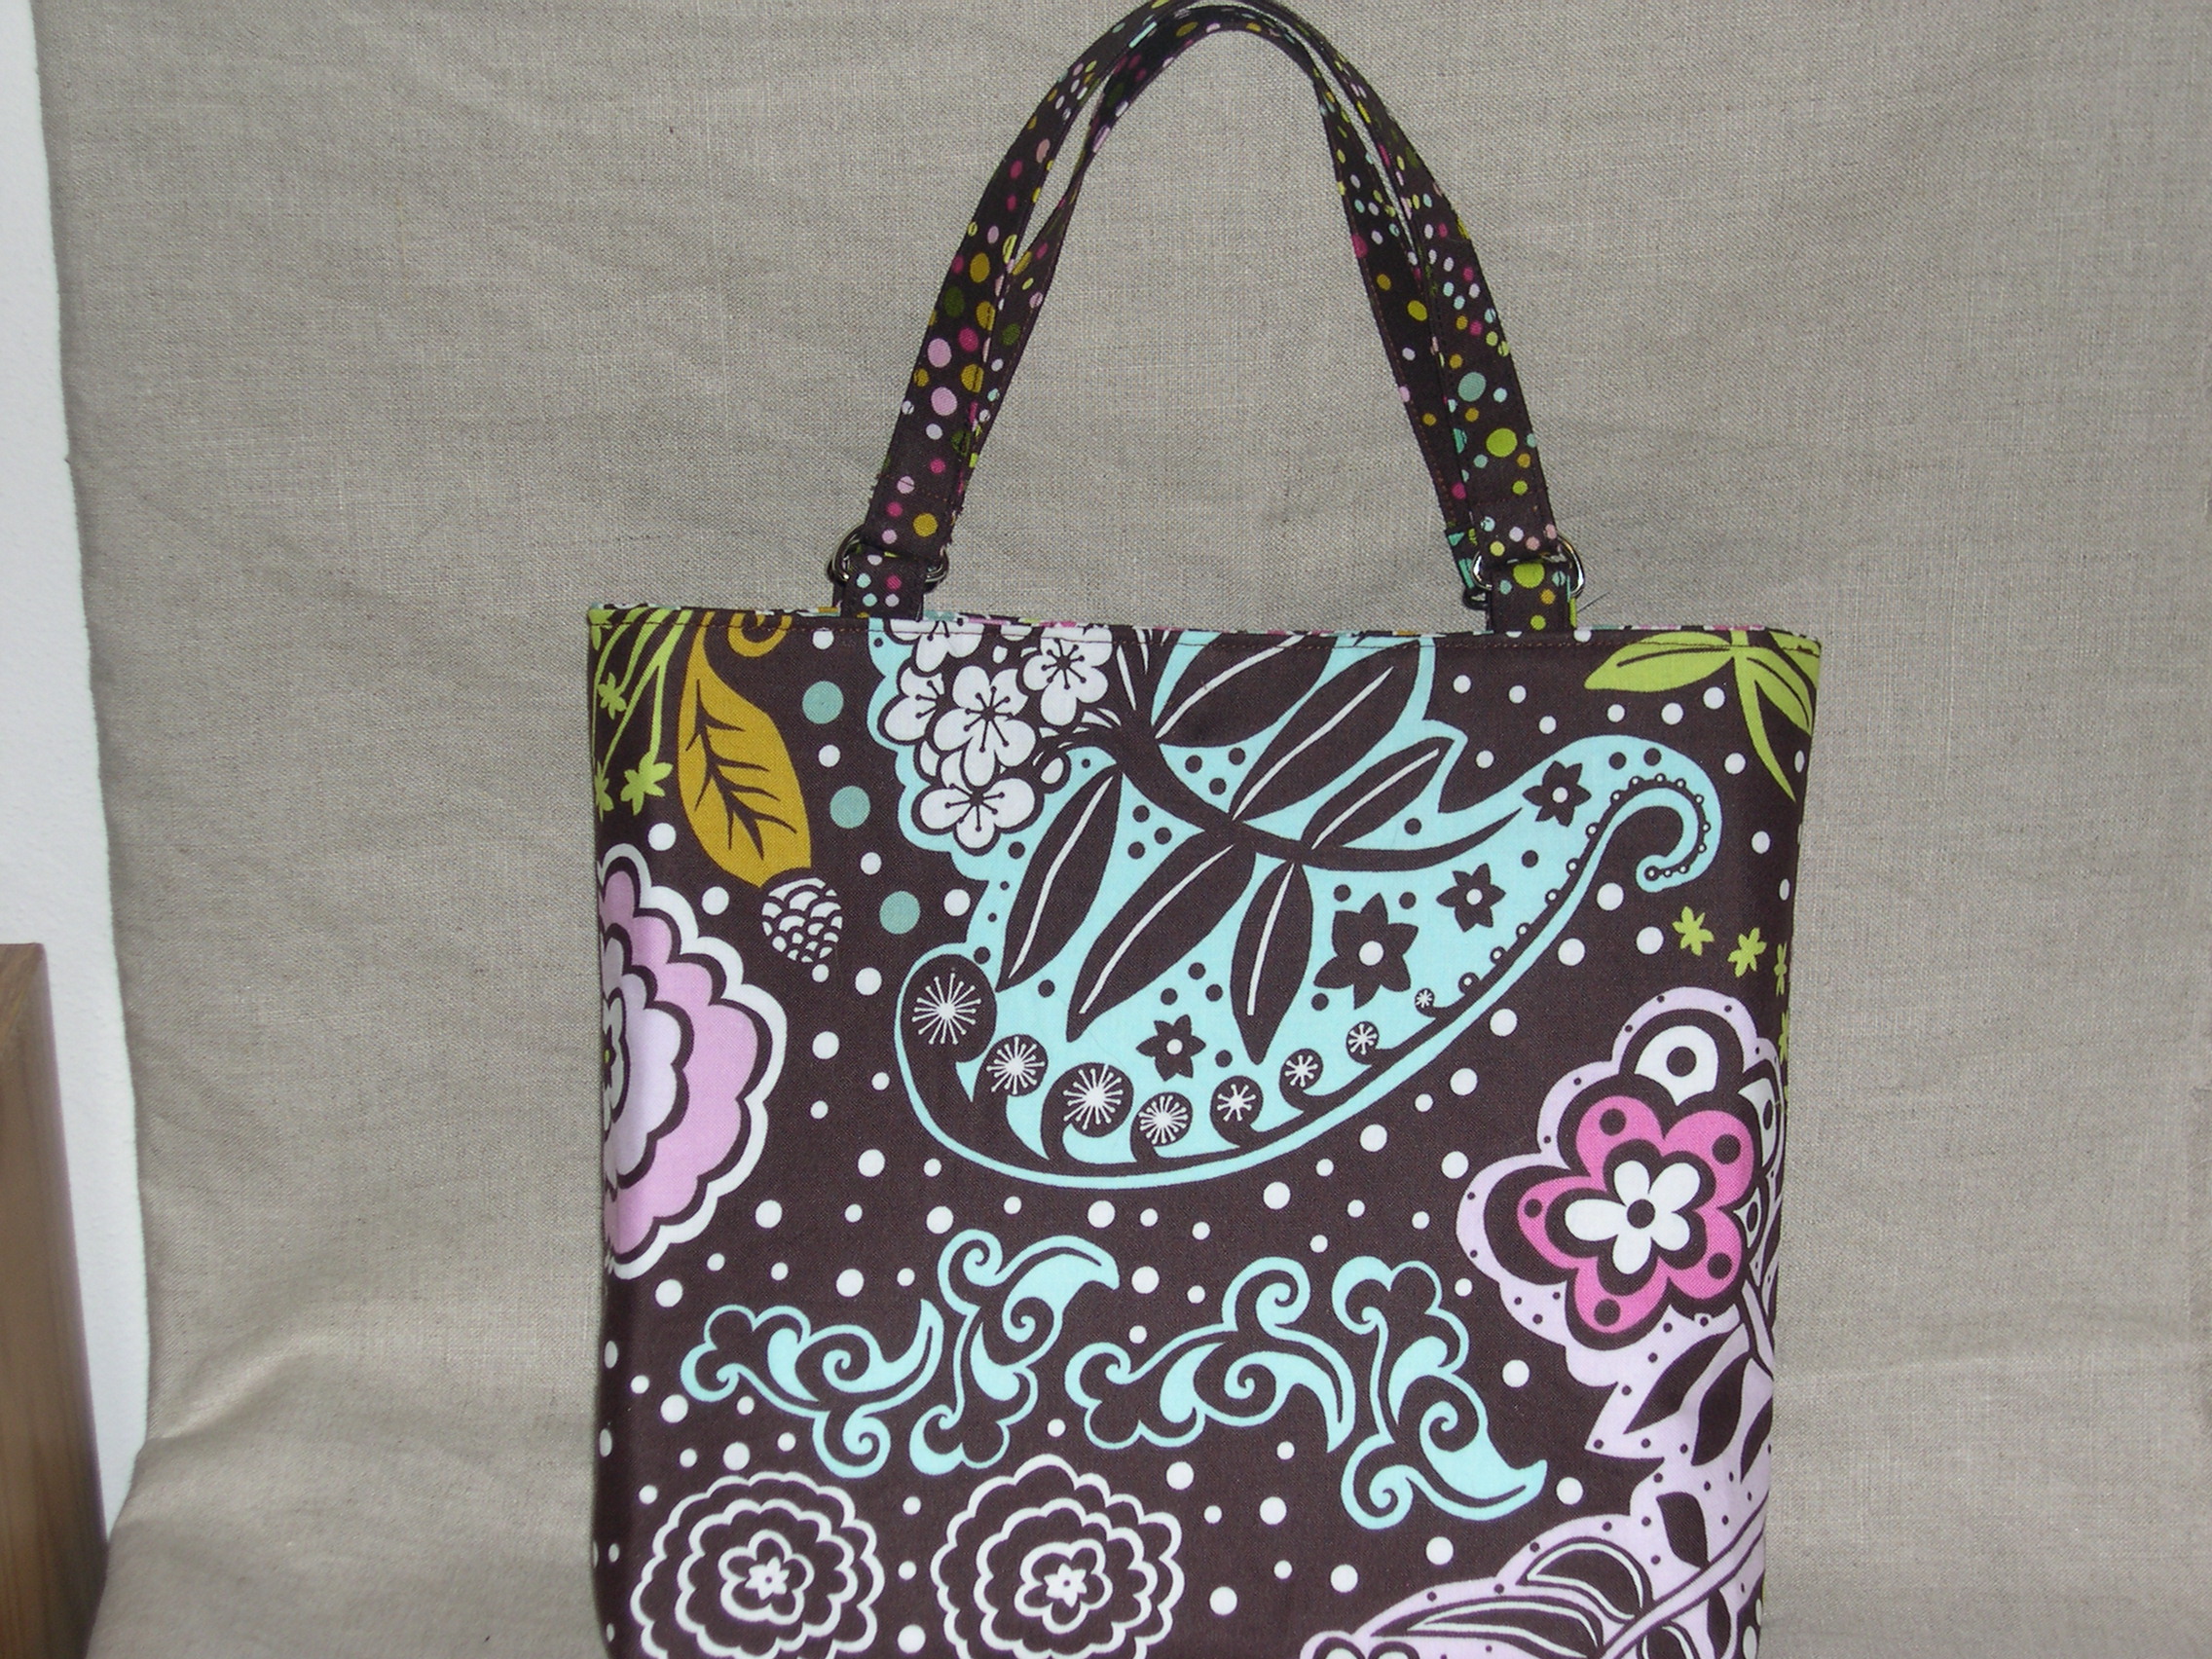
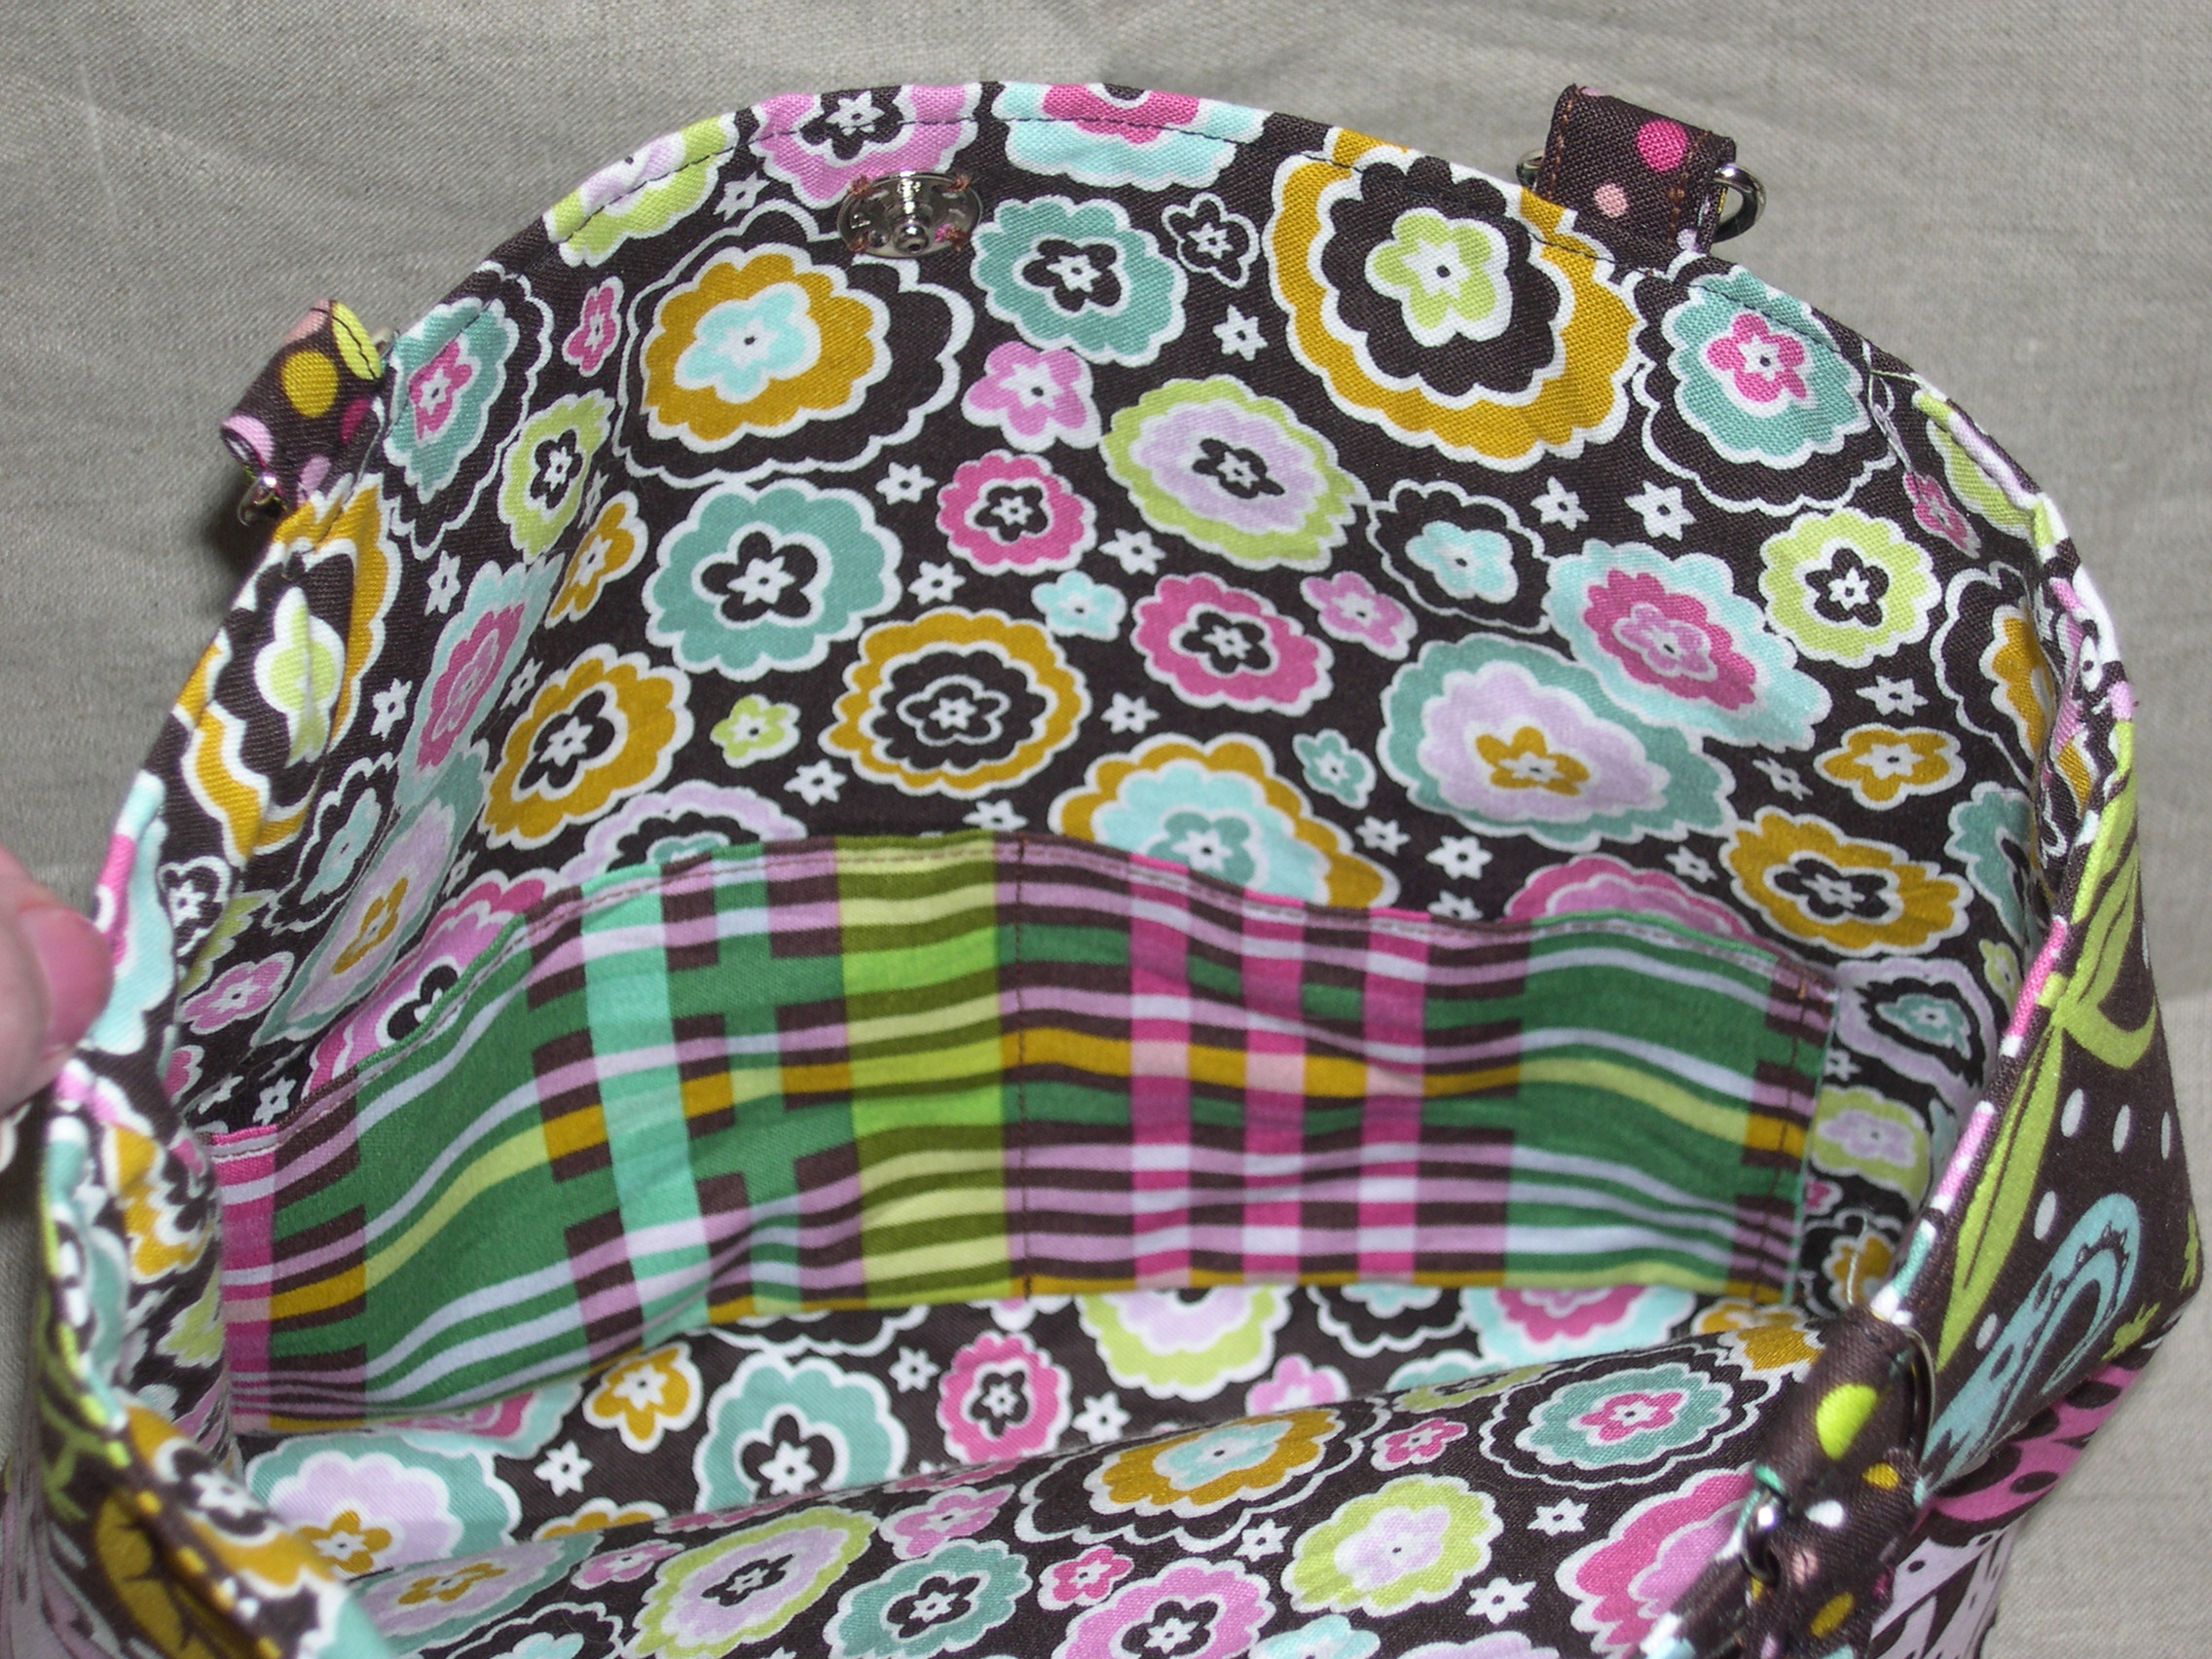
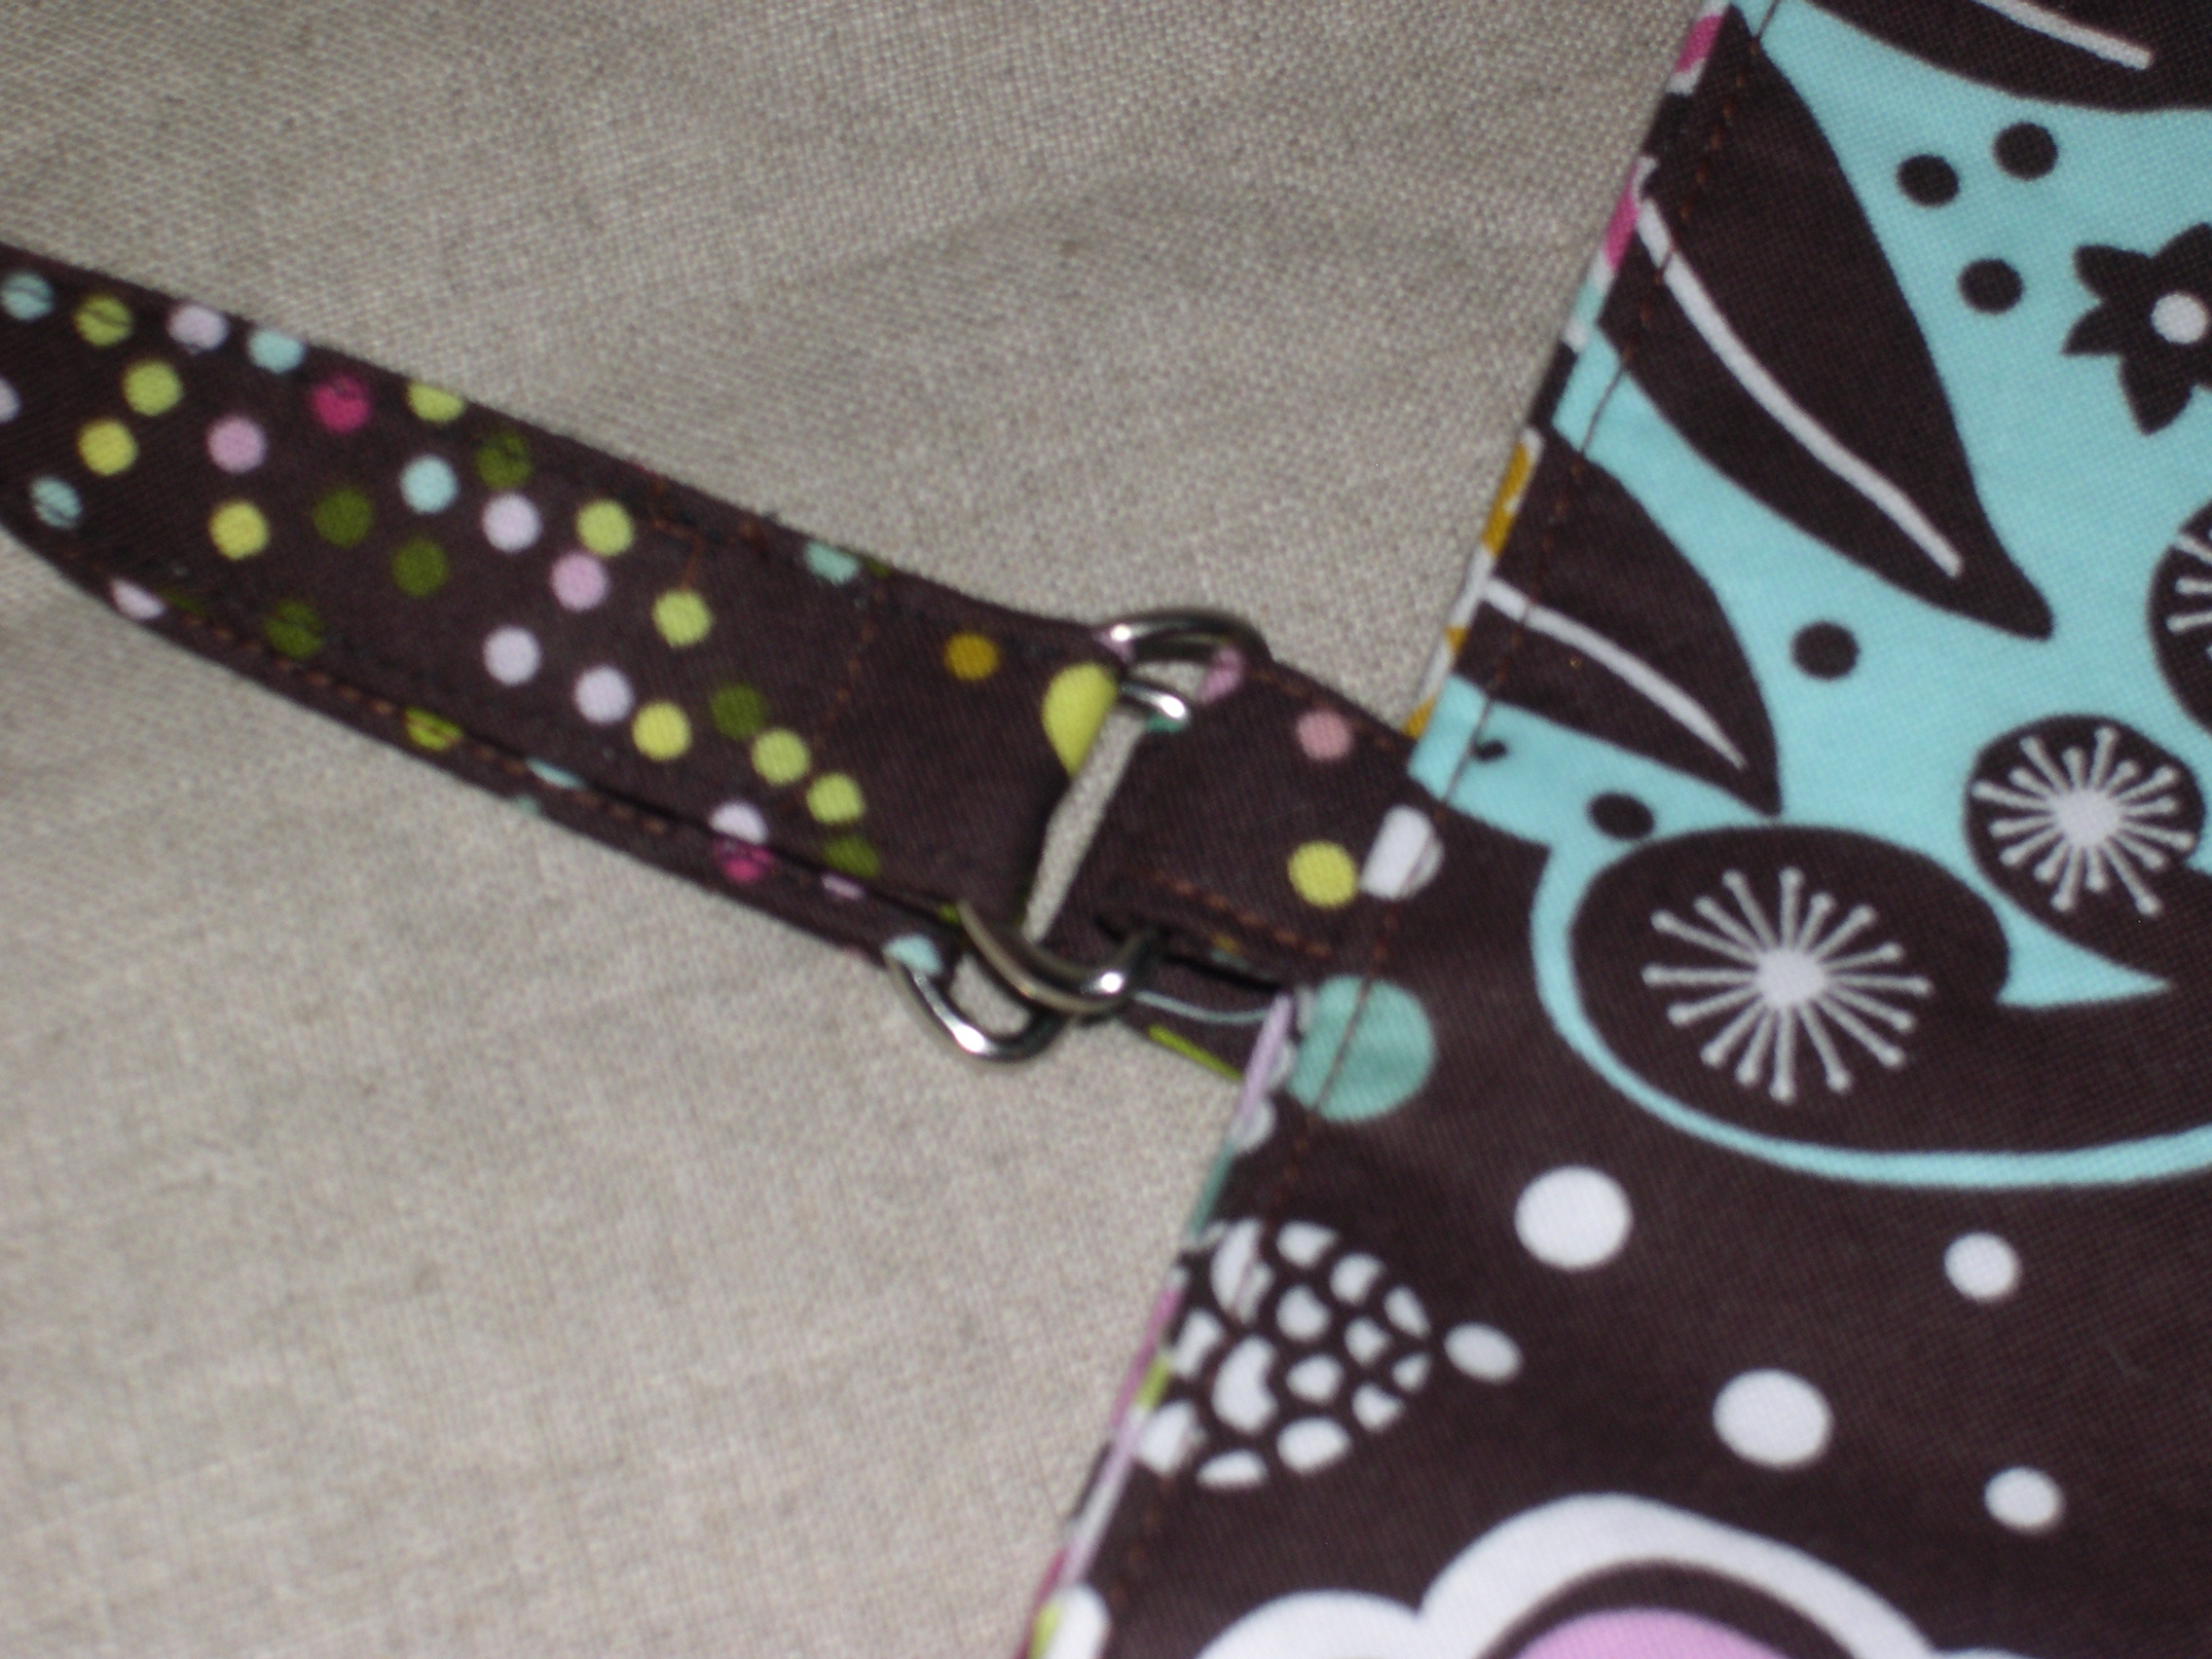
Some are meant to be functional and practical, like these Artist Totes below. (my sister has already claimed the one with the blue lining)

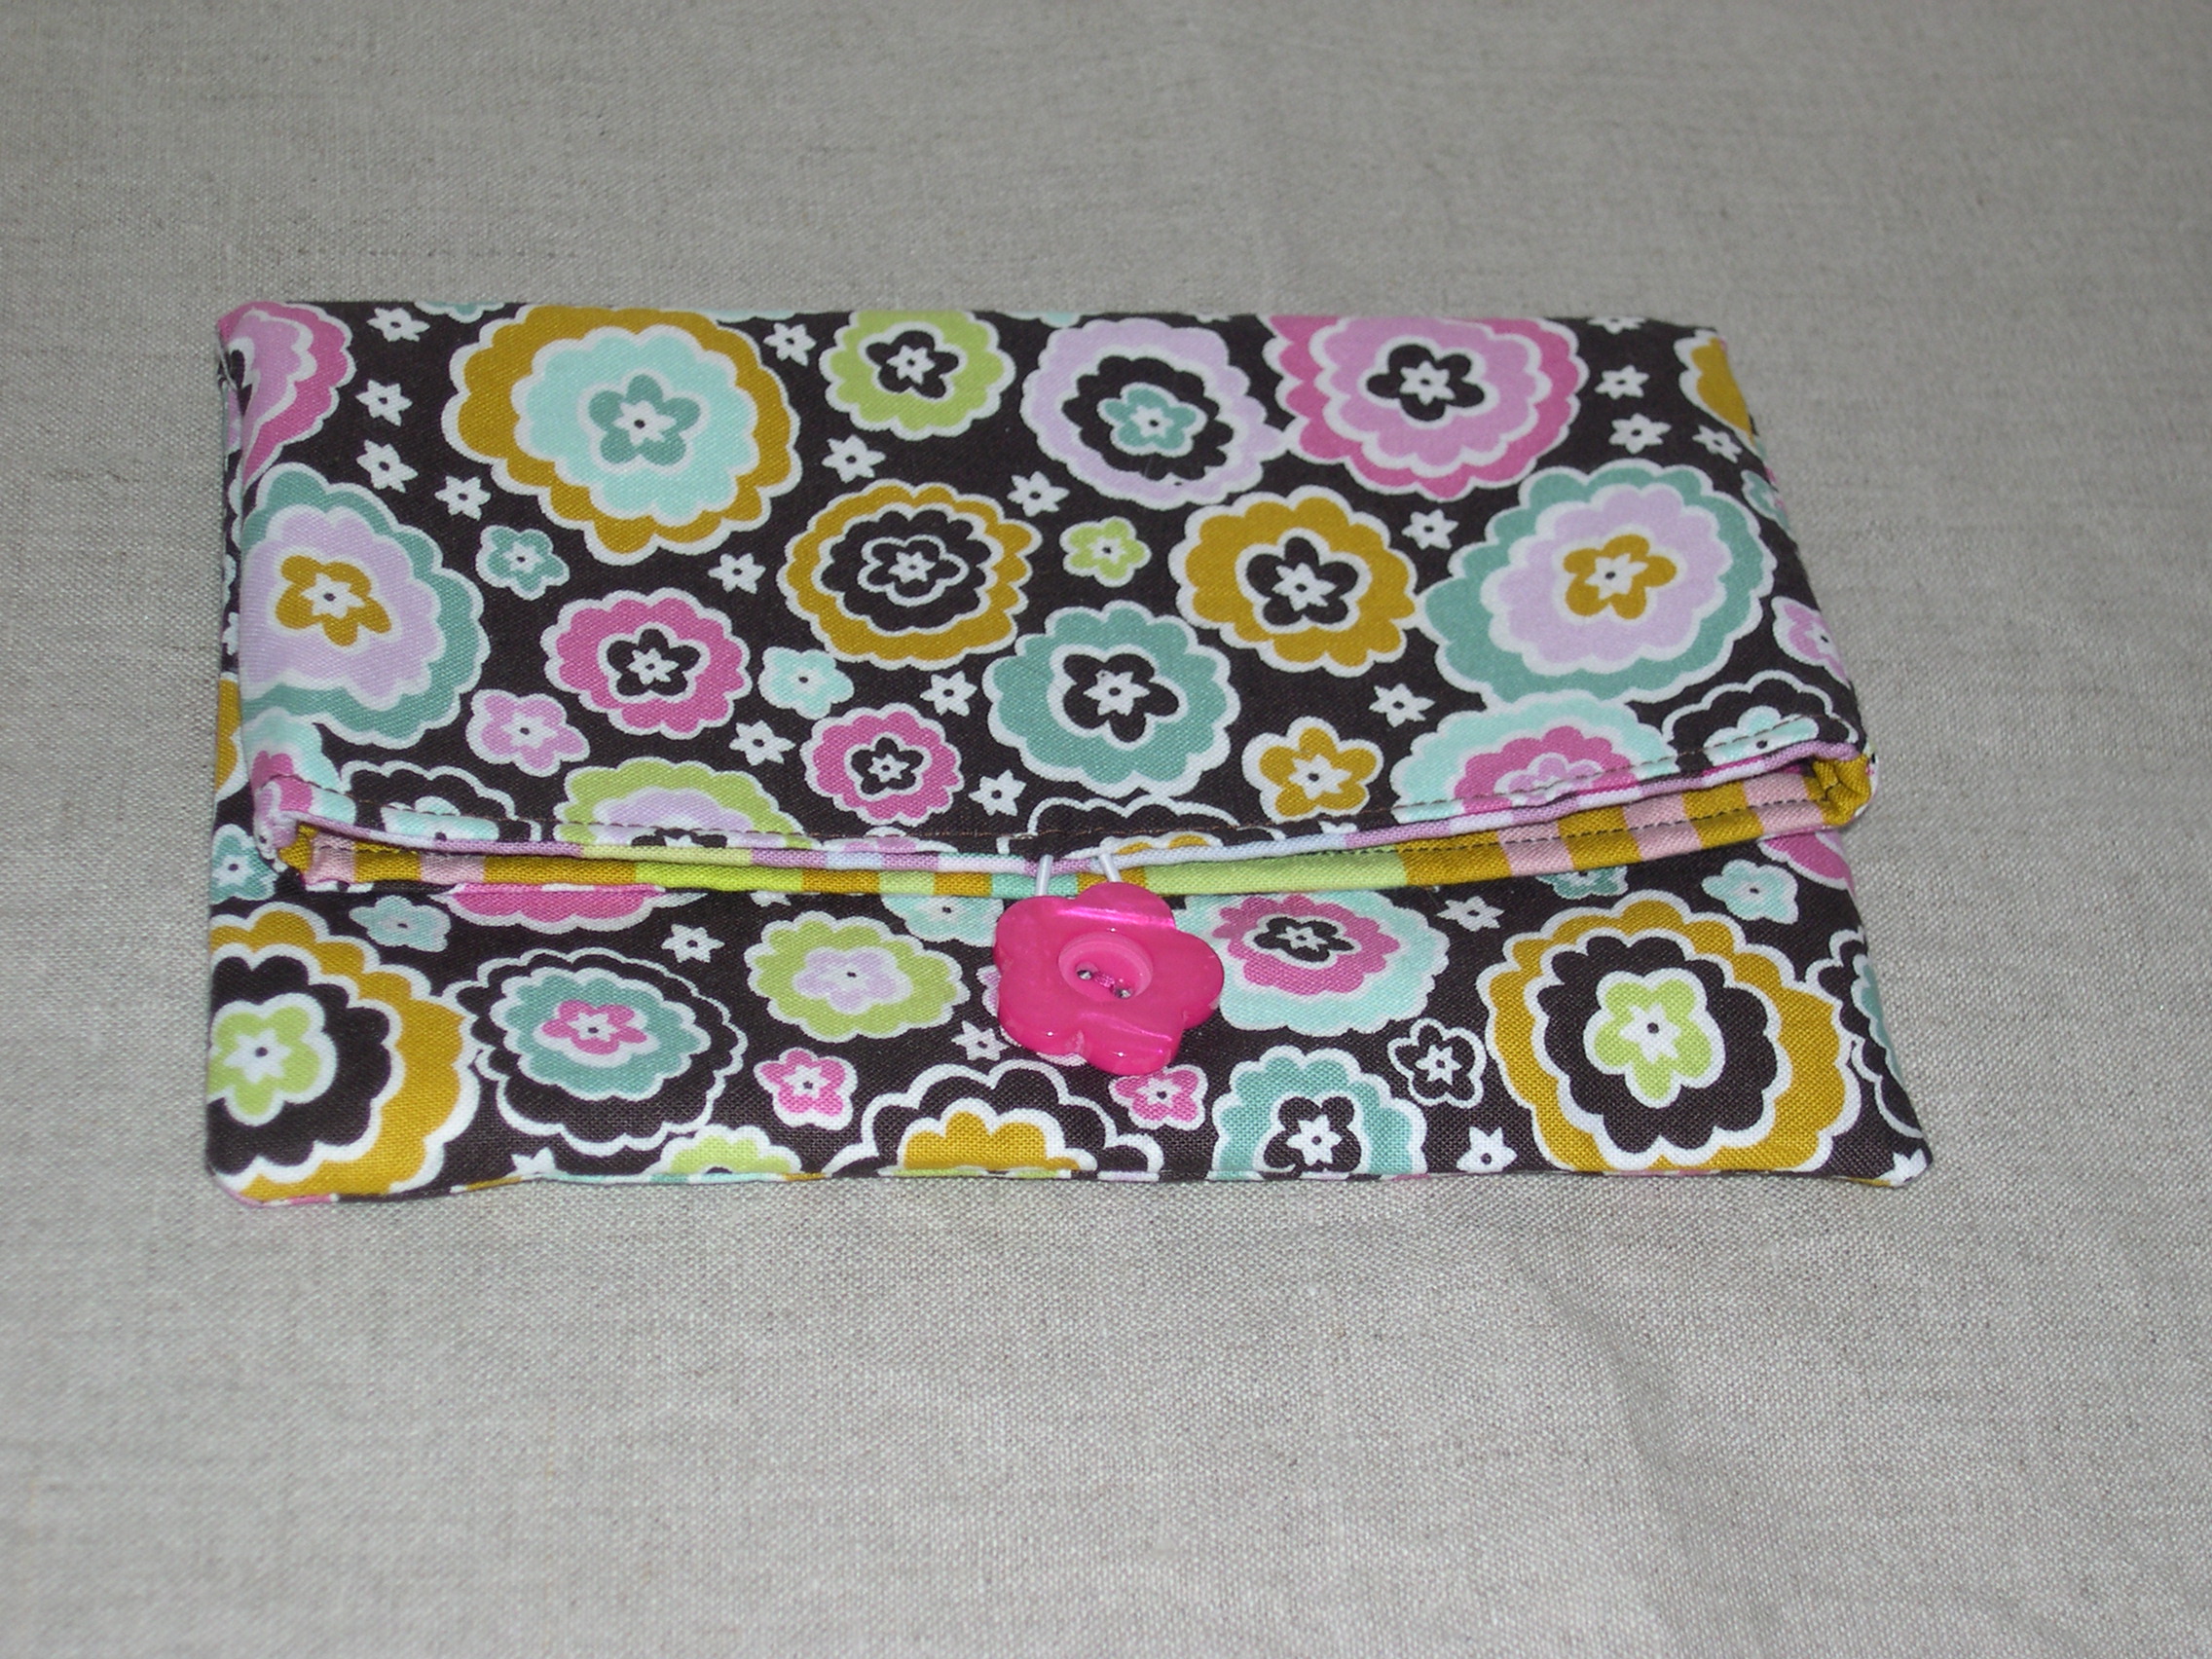
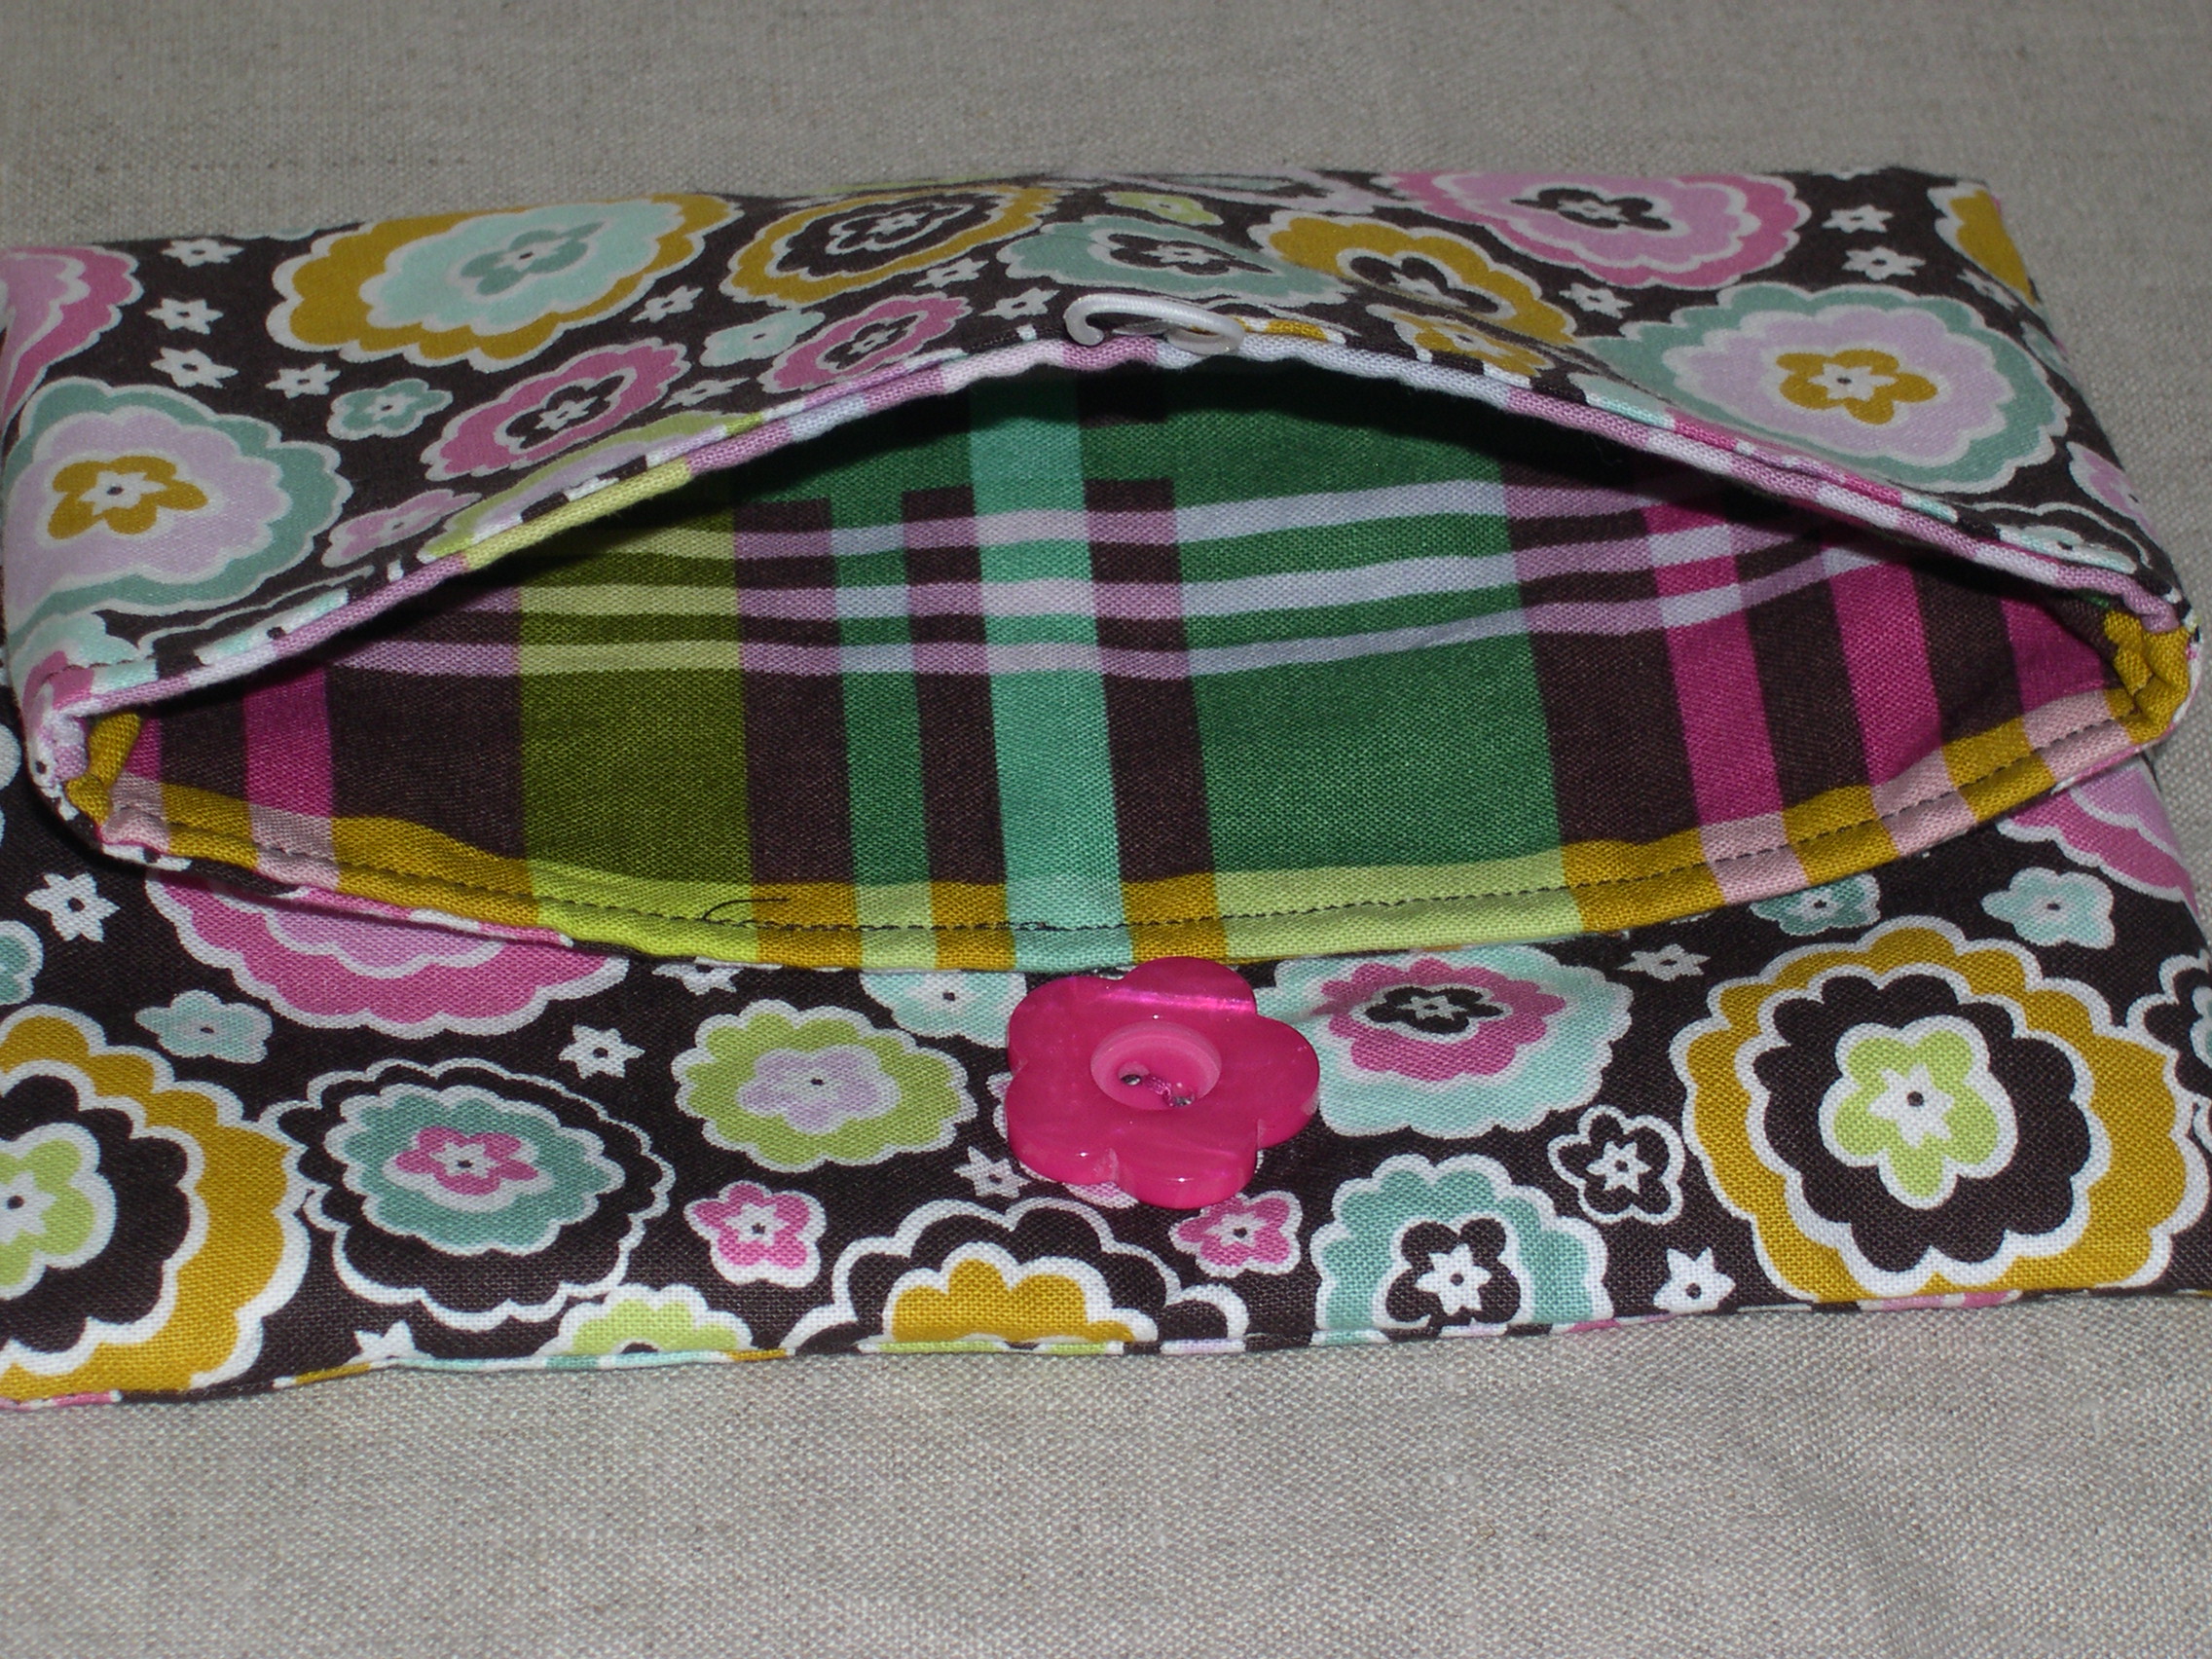
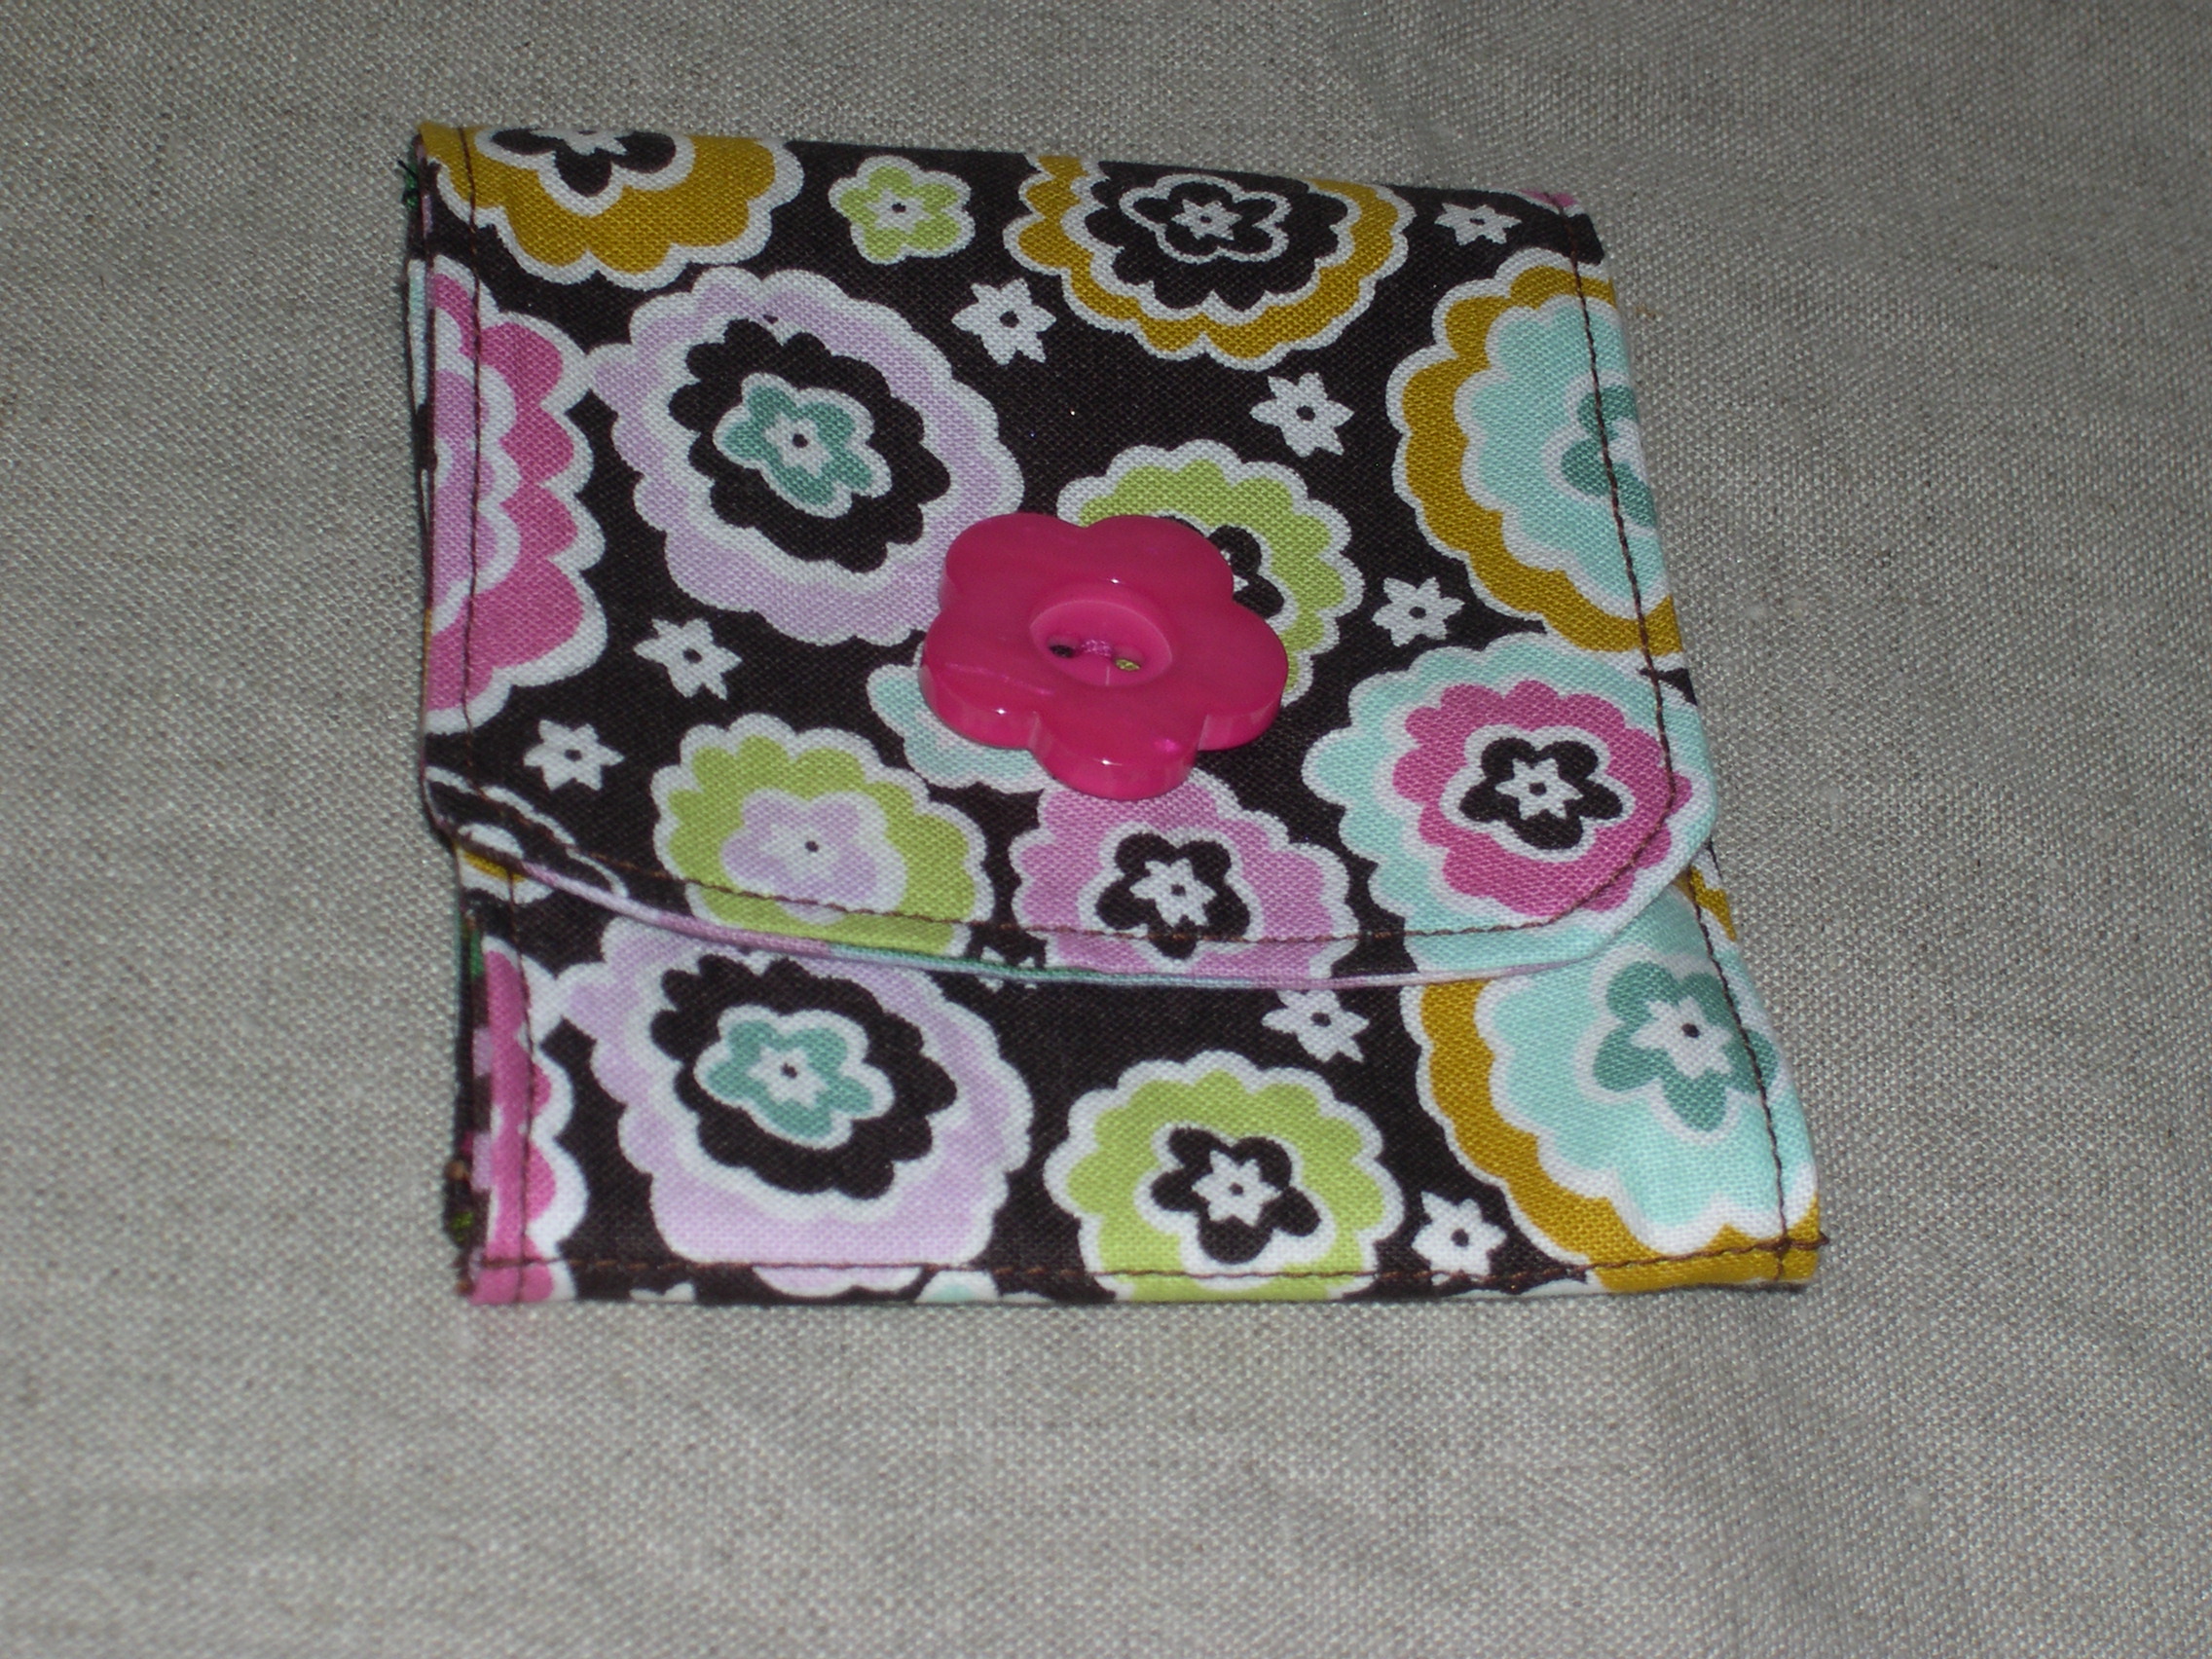
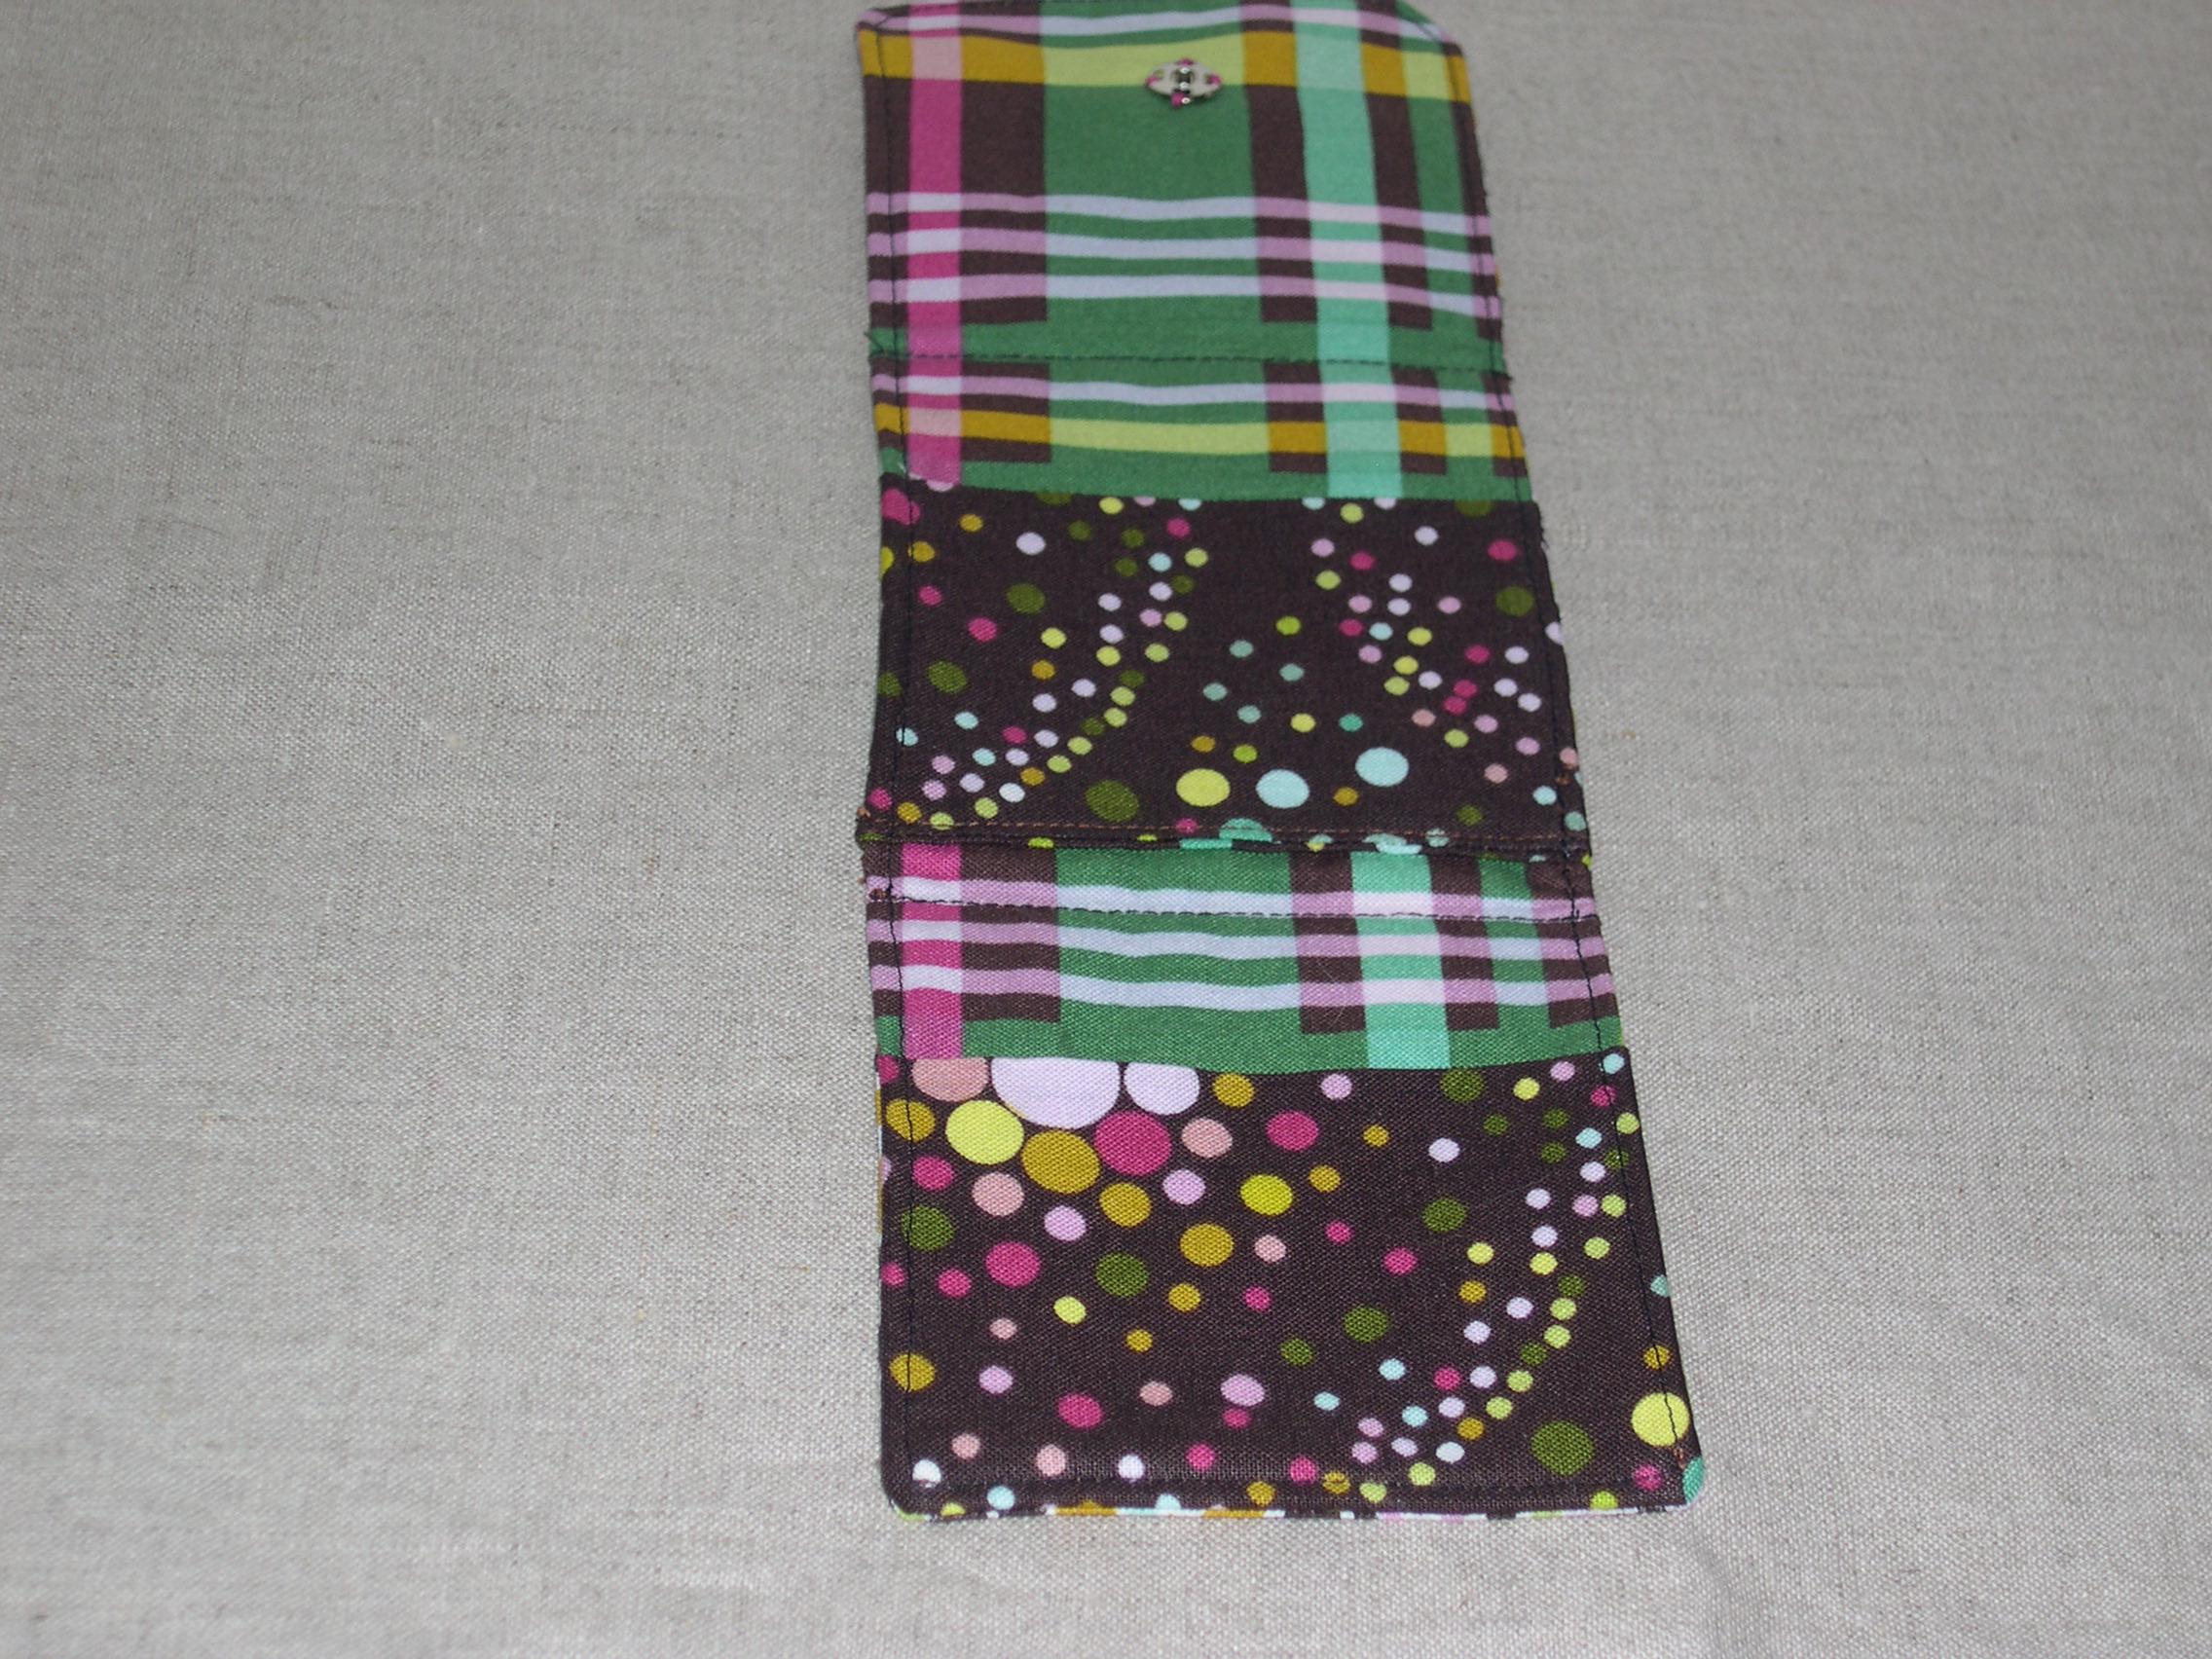
Others are fun because they are impractical, like these patchwork party clutches below! (Update: I sold the one in the middle at my craft show, but I can always make another if someone has a custom request.)

Some of these new patchwork handbags could be carried for daytime running around (pink and grey version listed here and maroon and grey version listed here) or

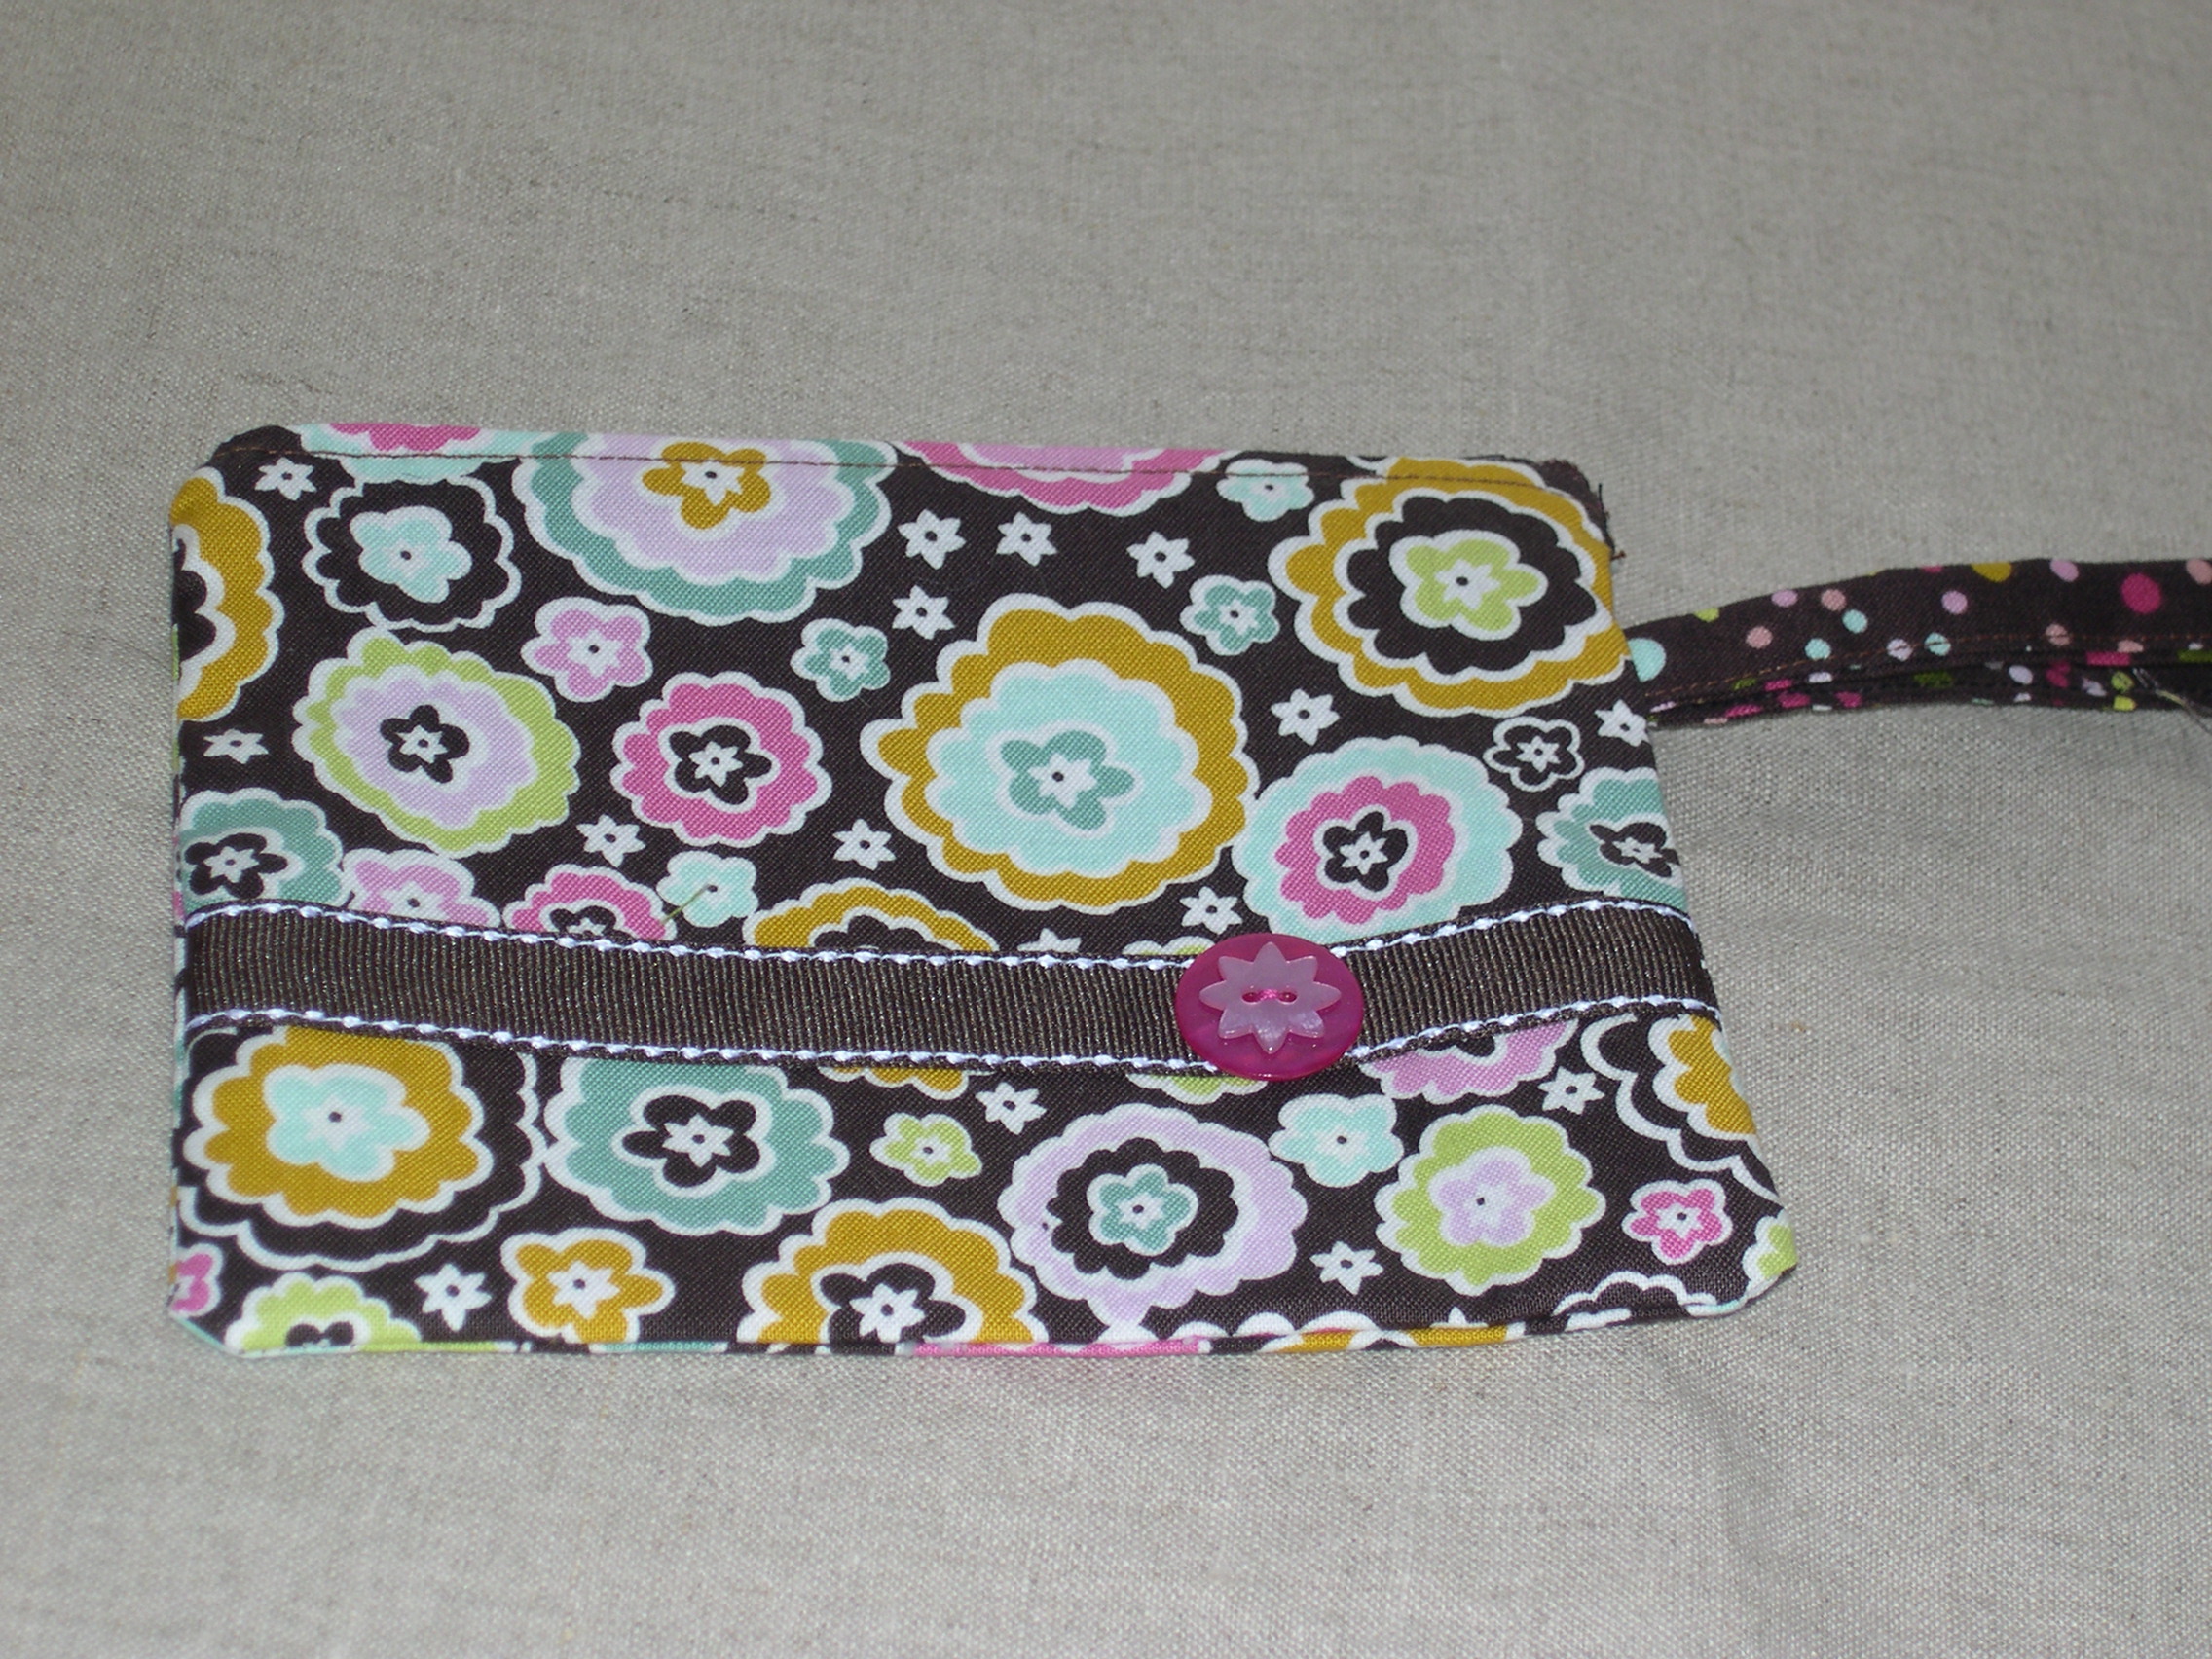
They could complement a trendier look for a girls’ night out. (Update: I sold the middle wristlet below at my craft show, but I plan to make another since I really love that city scape print.)

I have been wanting to try a new messenger bag/laptop bag with a flap in a more modern romance look. Check out the link to that laptop bag – it has the coolest newsprint fabric inside the flap! (Note: I also made myself a funky new handbag, shown below, out of plaid suiting with lace, sequin and stud accents.)

I am happy to offer all of these styles as custom designs, in addition to what I patch and piece together based on my own inspirations. I provided more details in the descriptions in my shop, if you’re interested in more specifics.

Sorry for the bag overload today! I’m super excited about all these one-of-a-kind designs. I’m hoping to develop most of these patterns into a collection, so this is a preview of a regular series of goodies to come. Thanks for hanging out with me today!

Clutch Experiment – Part 2

Remember last Friday when I revealed the clutch experiment I’ve been working on? This week, I tried out another one. I used a project from this book as my inspiration, and made this patchwork of fabrics from the Poppy collection.

Then I cut out the design I sketched, and assembled it. Check this out – piping, chain, et al!

I remembered a suggestion my mom told me recently about using lighter fabrics for the lining so you can see inside your bag in dim light. The outer patchwork pieces are lined with batting and interfacing, but I also used interfacing on the lining, which makes this clutch quite sturdy.

Isn’t that fun? I am still tweaking my design on this one. I want the corners of the flap to be rounder. I put a magnetic snap in the center of the flap, underneath that blue gem, but I also had to add a snap on both corners  to hold the flap down neatly. To fix that on the next one, I will put a magnetic snap on each corner.

Next up for my clutch experiment, those Sugar Snap fabrics I showed you earlier this week with a tweaked clutch design pattern!

Clutch Experiment

I have been in the midst of a clutch design experiment over the past few months.

I have been making several different styles from a variety of shapes and colors.

Rhinestones, studs and chains have been sneaking their way into my projects too.

I sketched out a few designs using my curved design rulers, which I learned how to use in graphic design class last year. I have used them so much lately for a few patterns to try.

My inspiration for the brown zebra bag was this vintage beaded clutch I’ve had for years. It’s very pretty but delicate and a little stained, so it just sits safely tucked away in my dresser drawer. I decided to use it as a starting point to come up with my own party clutch. I think my party clutch needs to be wider, so I’m still tweaking the design.

I have also been trying out different fabrics, such as this silk I used for the lining. I’ve never sewn with silk, so I was nervous. It’s more stretchy than I realized, and more slippery than anything I’ve worked with (except for spandex back in the ’80s). But I think it looks so cool as a lining, so I’m definitely going to try that again!

My inspiration for the black zebra bag was this gold clutch I bought in Vegas for $10, thinking it would be another good example to put my own twist on. I was going for a rock-n-roll look with this one.

I love how it turned out, with that asymmetrical flap and musical fabric for the lining. I would like this one to be wider too, so I’m back to the design board.

Can you tell how much fun I’m having with this experiment?! I can’t wait to come up some the final samples to show you.

Purse Set

Besides the curtains rods and pictures we hung last weekend, I finished several small projects, so I’m feeling a big sense of accomplishment these days.

First came the Artsy Clutch made from Chocolate Lollipop fabrics. I love this pattern from Amy Karol’s Bend-the-Rules Sewing. It’s an easy-to-follow pattern yet the simple design allows you room to create your own unique project. Or, you can let colorful creative fabric like this do the talking for you.

artsy clutch

inside of artsy clutch

Then came the No-Cash Wallet, also made from Chocolate Lollipop fabrics, using a modified version of the pattern from the same sewing book. After enlarging the pattern 140% as instructed, I still had to make the template wider to fit an ID or plastic card, which I just hand-sketched. It turned out great; I would make many more of these to match other handbags.

No-Cash Wallet

inside of No-Cash Wallet

Third came the zip bag, which I experimented with by adding a handle to make this one into a wrislet.

Zip purse with handle

I was not crazy about having to hand-stitch the lining to the zipper, so I would change that part of the pattern by machine sewing the exterior and interior fabrics to the zipper. I don’t mind hand sewing, but hand sewing a lining to a zipper is difficult, especially at the ends of the zipper.

inside of Zip bag

Finally, and best of all – The Purse, which I adore! This was loosely based on a pattern from a Sew Simple issue, which I changed for my own taste. The purse measures about 11 inches wide by 9 inches tall by 2 inches deep. I still have to sew on a button on each side where the snap closure is hidden, but I have to shop for more of those cute pink flower buttons shown above.

The Purse

inside lining and pocket

I’m so happy with how the handles turned out – pretty cool. Instead of using ribbon, I made small fabric tabs that measure about 1-1/2″ in length, attached them to 3/4″ D-rings, and sewed the tab ends in between the lining and purse fabrics. Then I made fabric strips and attached them to a D-ring on the same side to complete the handle.

the handles

I just love how this one turned out. I want to make more of this size purse, but I also want to cherish this one for now and show it off for a few more days. Hope you like my new handmade purse set as much as I do!

Simple Sewing Projects

I finally got around to making a couple projects from Amy Karol’s new book Bend the Rules Sewing. I love her website and I fell in love with her book as soon as it came out. I’m not a beginning sewer, but there were so many helpful tips in the beginning section. I loved the tip of using cotton flannel instead of heavyweight interfacing, especially for these simple-structure projects.

The first project I made was the Artsy Clutch, which is the perfect size handbag when running out the door for coffee or to a movie. The step-by-step instructions were easy to follow, and the illustrations made this piece go together in minutes, literally!

Artsy Clutch

Here is the subtle lining fabric and the fancy button my husband helped me pick out!

Lining of Clutch

The next project I made was the No-Cash Wallet, which was also very easy. Again, simple instructions and wonderful illustrations to guide you along the right track.

No-Cash Wallet

I used the same lining inside the wallet for the lining and the pockets. Next time, I would choose a different fabric for the inside pockets so there would be more color contrast next to the lining. But I still like it!

Clutch and wallet

The clutch and wallet, along with a book or magazine, fit nicely into this fabric tote bag, which I made up on my own. (Once I figure out which fabric I used for these three projects, I will amend this post. I just can’t remember right now, darn it.)

Tote Bag

The next project I’m looking forward to making from Amy’s sewing book is the mixy matchy napkin set, using Heather Bailey’s fabric Freshcuts.