(Please ask for permission to use my photos from this post beforehand.)
I had a lot of fun making mini Dresden color wheels this past week, so I wanted to share a quick tutorial on how to make your own. I backed this one with felt to use as a mug rug, which really brightens up my work space and makes me happy!


After choosing fabrics from your stash, cut about 20-21 wedges (I used 20 wedges in the sample above and 21 in the sample below – use your own judgment to see what you can make work), using one of the smaller measurements on the Easy Dresden Template designed by Darlene Zimmerman (got mine from Joann’s). For the examples pictured here, I used the 1-1/2″ and the 2″ positions to cut my 20 wedges.

Fold each wedge in half the long way and stitch along the top, using a 1/4″ seam allowance. Turn right side out to form a point at the top.

This is a great step to chain-stitch the pieces together. Lay each wedge right side together, and stitch all the wedges together to form a ring, using a 1/4″ seam allowance. Press seams open.

 Measure the inner circle and add 1/2″ to 3/4″ to each side for the seam allowance. Cut a circle from paper or plastic to use as a template; cut 2 circles from your center fabric.

For these smaller dresdens, I cut circles that measured 4″ to 4-3/8″. With right sides together, stitch the two circles together using a 1/4″ seam allowance. Cut notches in the seam allowance to reduce bulk. Pinch the fabric on one side of the circle and cut a small slit. Pull the fabrics through that slit to turn the circles right side out. Press.

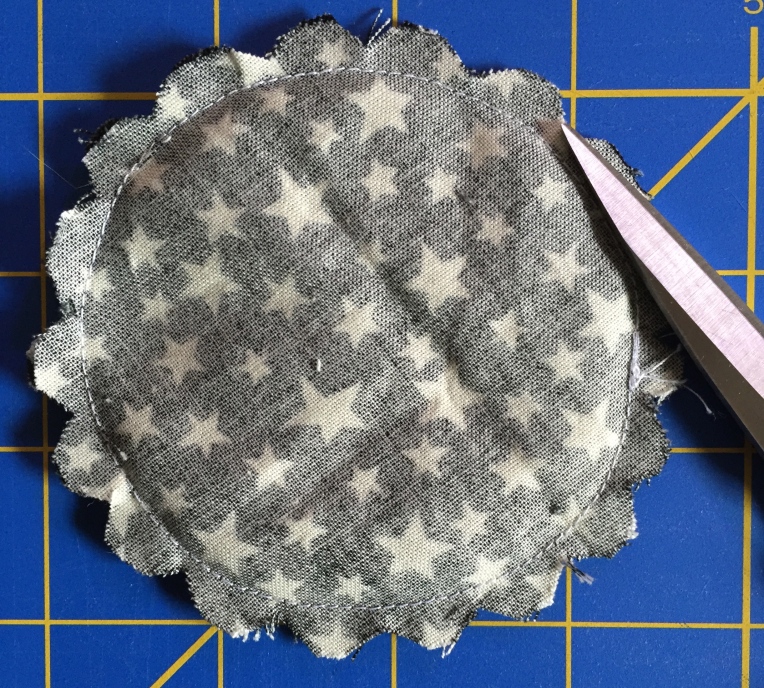
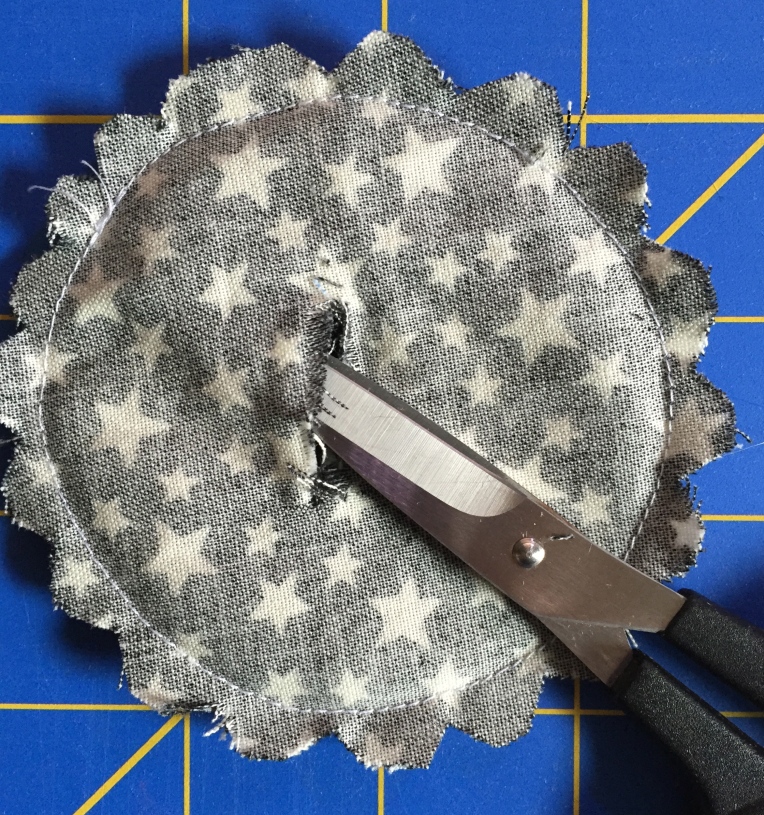
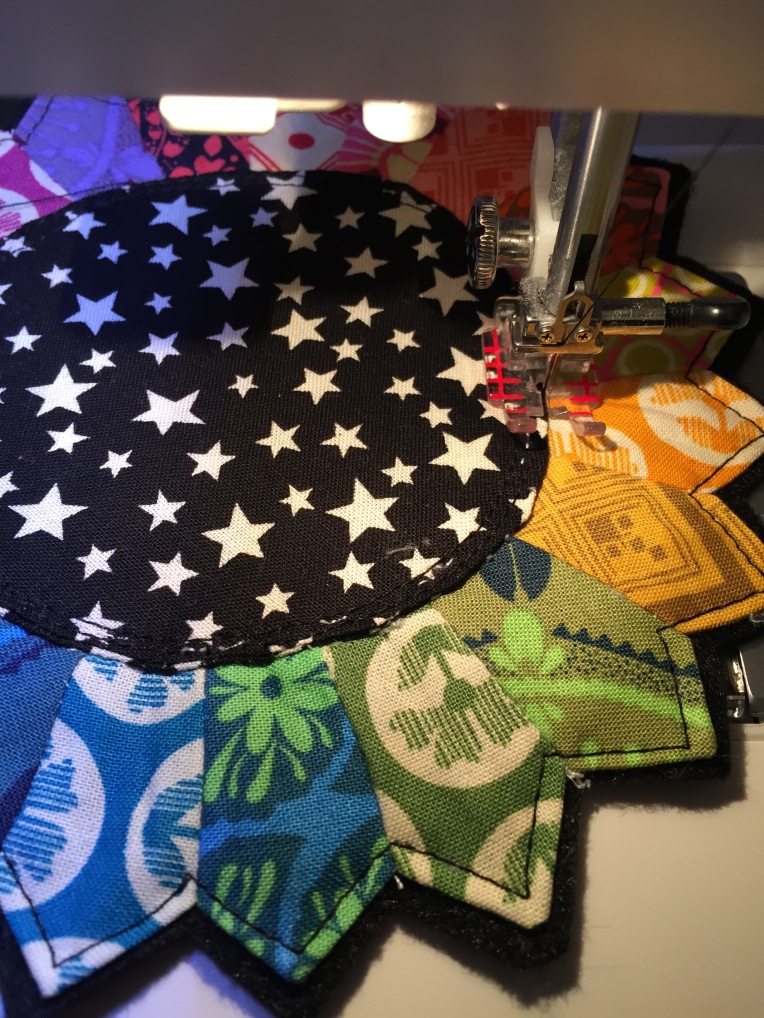
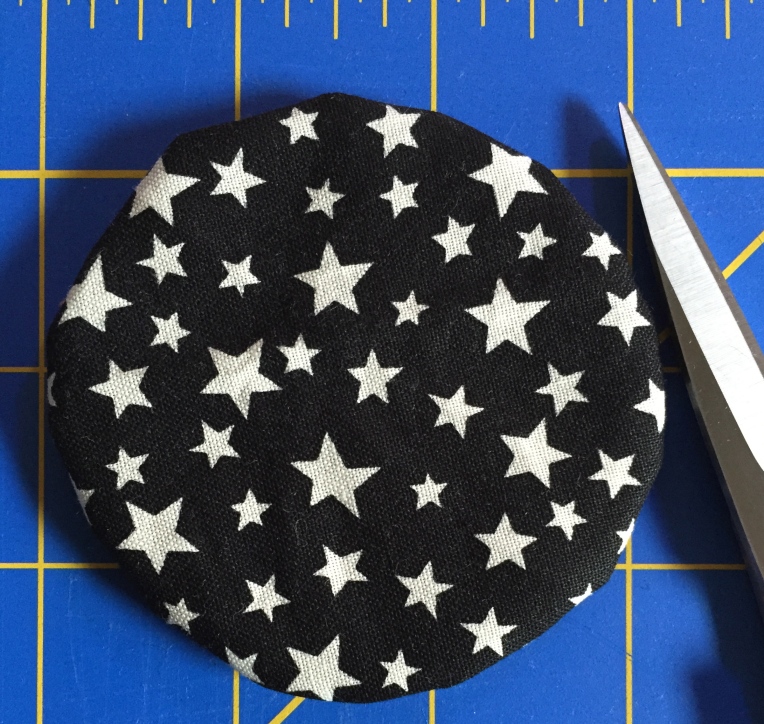 Lay the fabric circles on top of dresden ring, pin if necessary, and top-stitch to attach to ring of the wedges. I top-stitched twice to make sure it was secure.

Lay the dresden on a piece of felt for backing and top-stitch 1/8″ in around the points and valleys. Trim the felt close to the points and valleys.

Stitch in the ditch around the circle to fasten more securely to the felt backing.
Happy sewing, my friends!
Terri
PS – Note: Because I create with human hands, my cutting is never perfect. My sewing is never perfectly straight. My circles aren’t perfectly symmetrical or even. And I always have threads to trim. Please forgive me for that 😉 This is just a fun project I was excited to share. I’m sure there are many ways to make this; I’m just sharing my concept and process here.
 … I turned it into a fun thread catcher basket, which is fast and easy to whip up.
 I have a growing list of new, larger patchwork projects in the works, from new tote bags to quilts, so it’s nice to work on smaller projects in between. Happy sewing!


 They are the best friends anyone could ask for. Each one of them is kind, generous, loving, loyal, ambitious, creative and talented. They make me laugh until I can’t breath, and they make me cry with joy. They have touched my heart, and I cherish the friendship they extend to me. They took good care of me all weekend!


 Measure the inner circle and add 1/2″ to 3/4″ to each side for the seam allowance. Cut a circle from paper or plastic to use as a template; cut 2 circles from your center fabric.


 Lay the fabric circles on top of dresden ring, pin if necessary, and top-stitch to attach to ring of the wedges. I top-stitched twice to make sure it was secure.


