I have been on a home decorating kick lately. This past spring, we finished painting our kitchen and living room. Since then I have been looking forward to making a valance, tablecloth and napkins using Heather Bailey’s Freshcut fabrics.
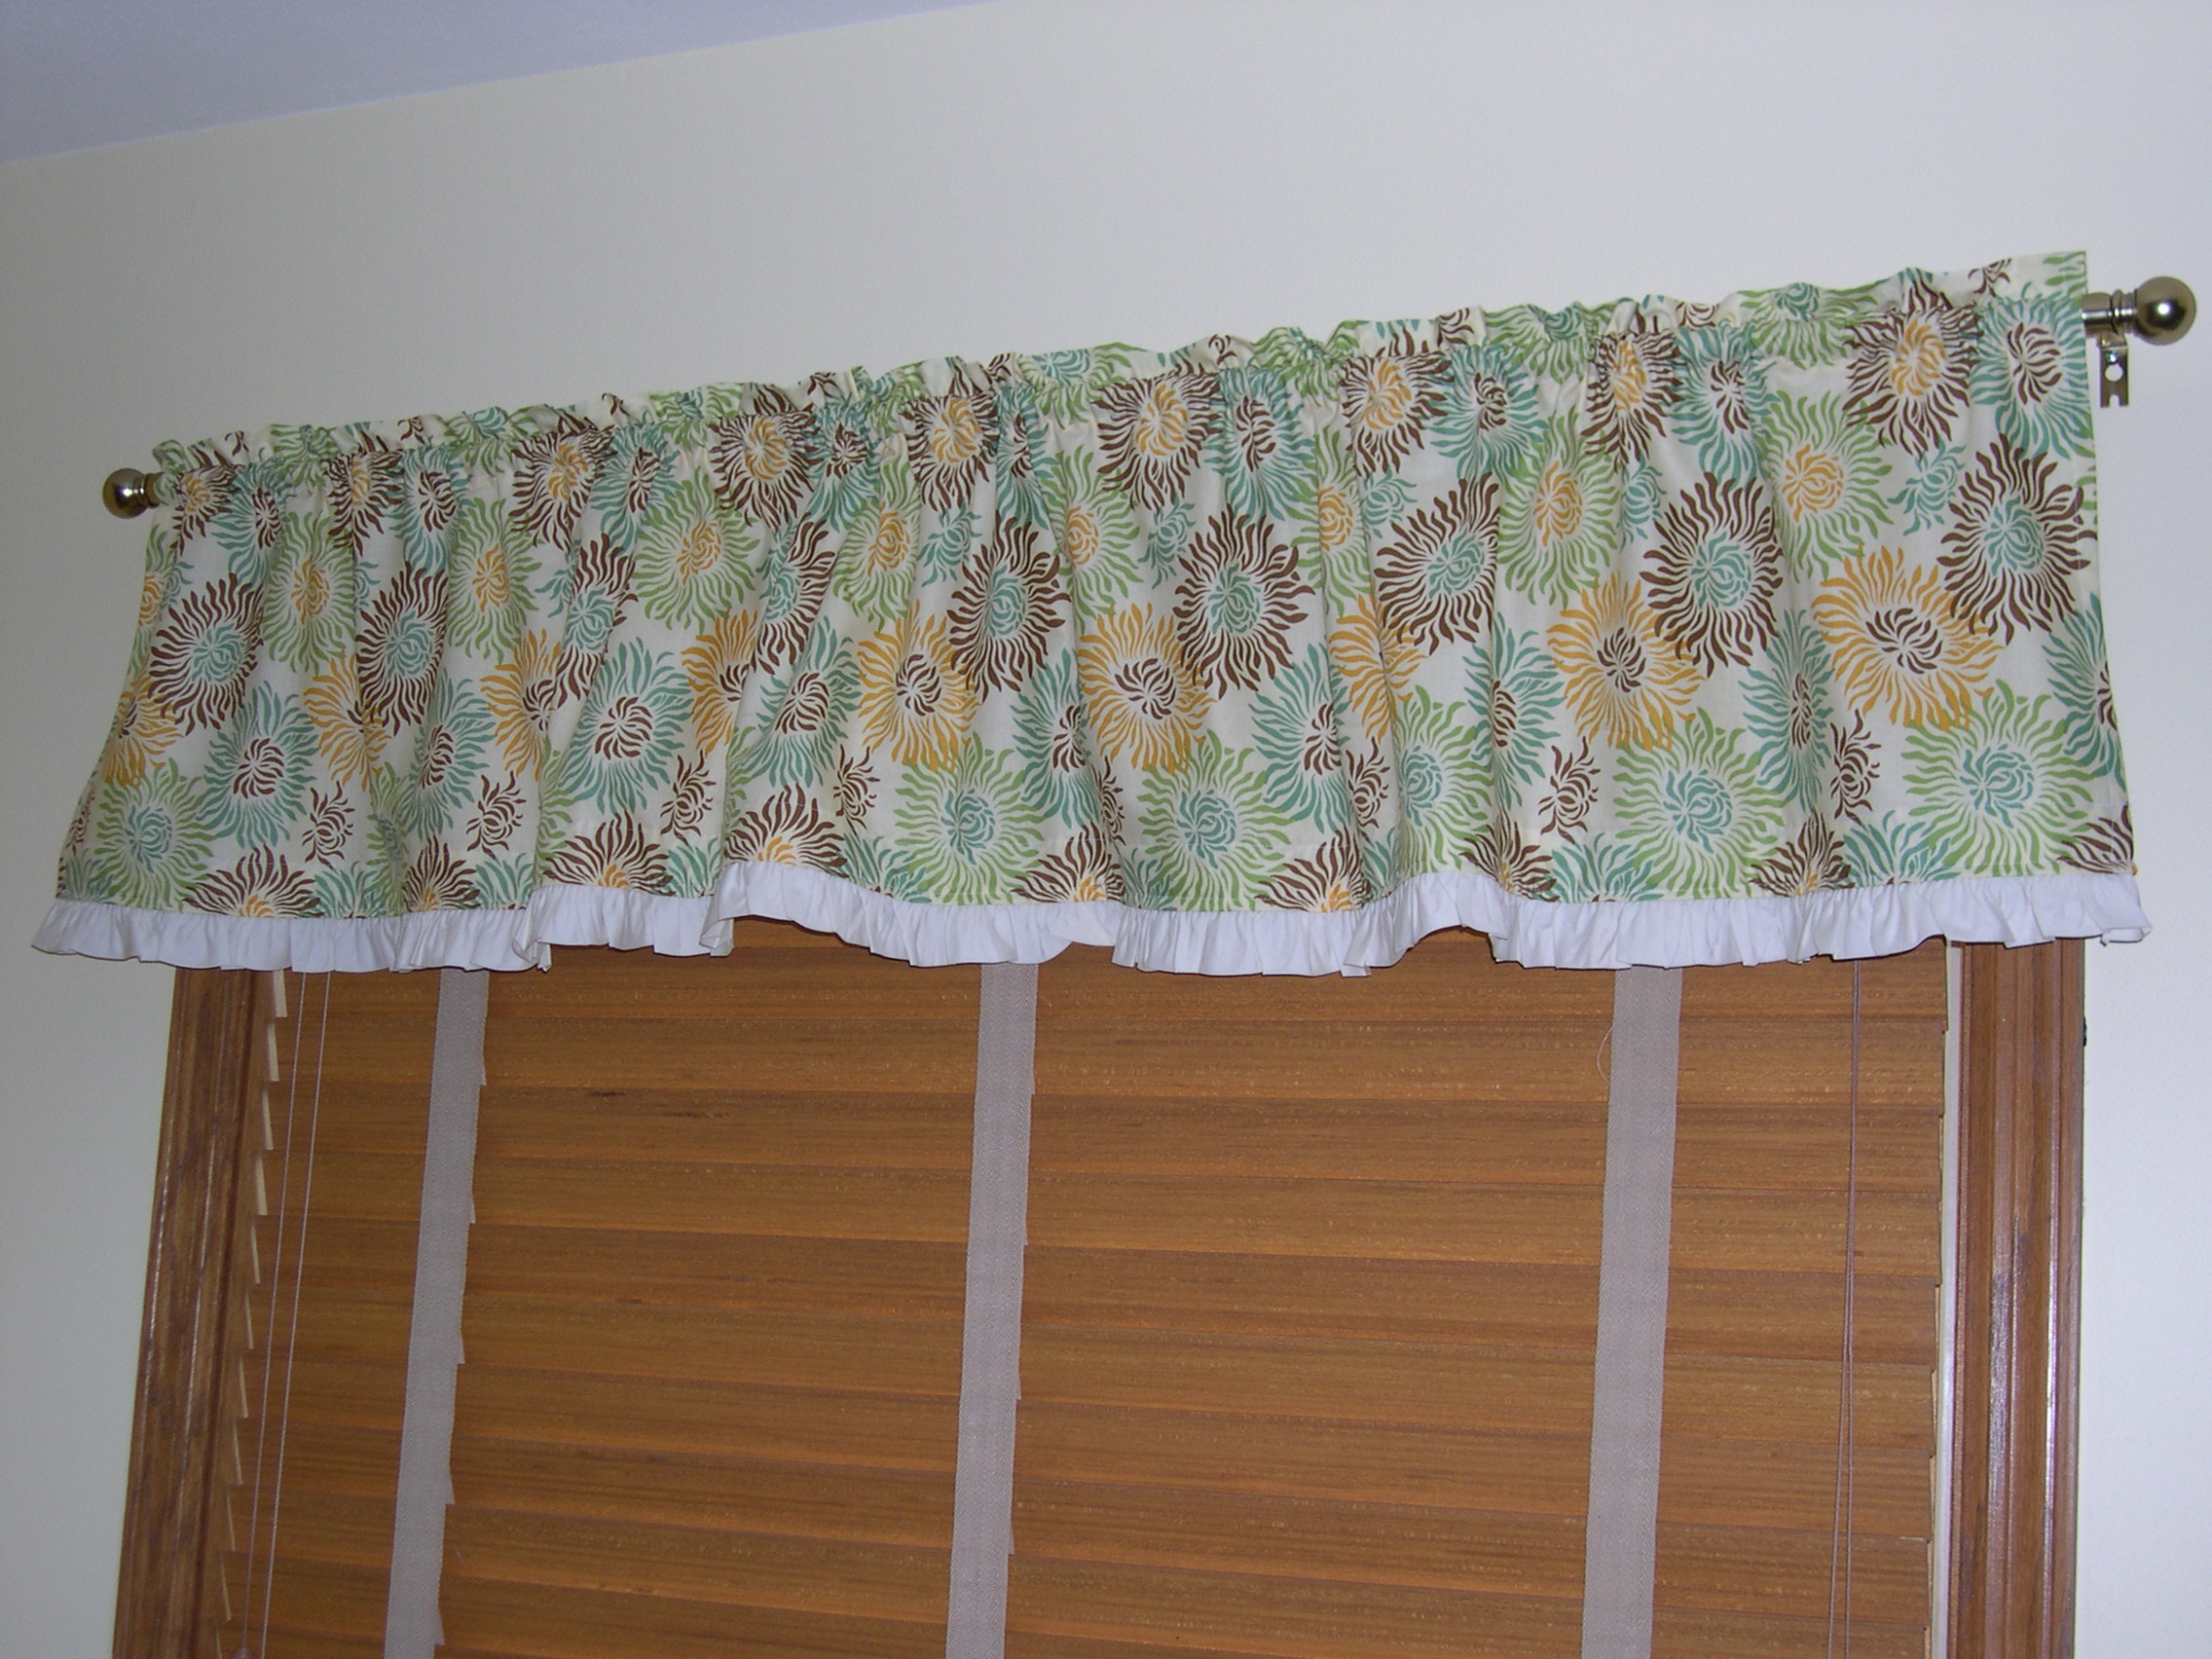
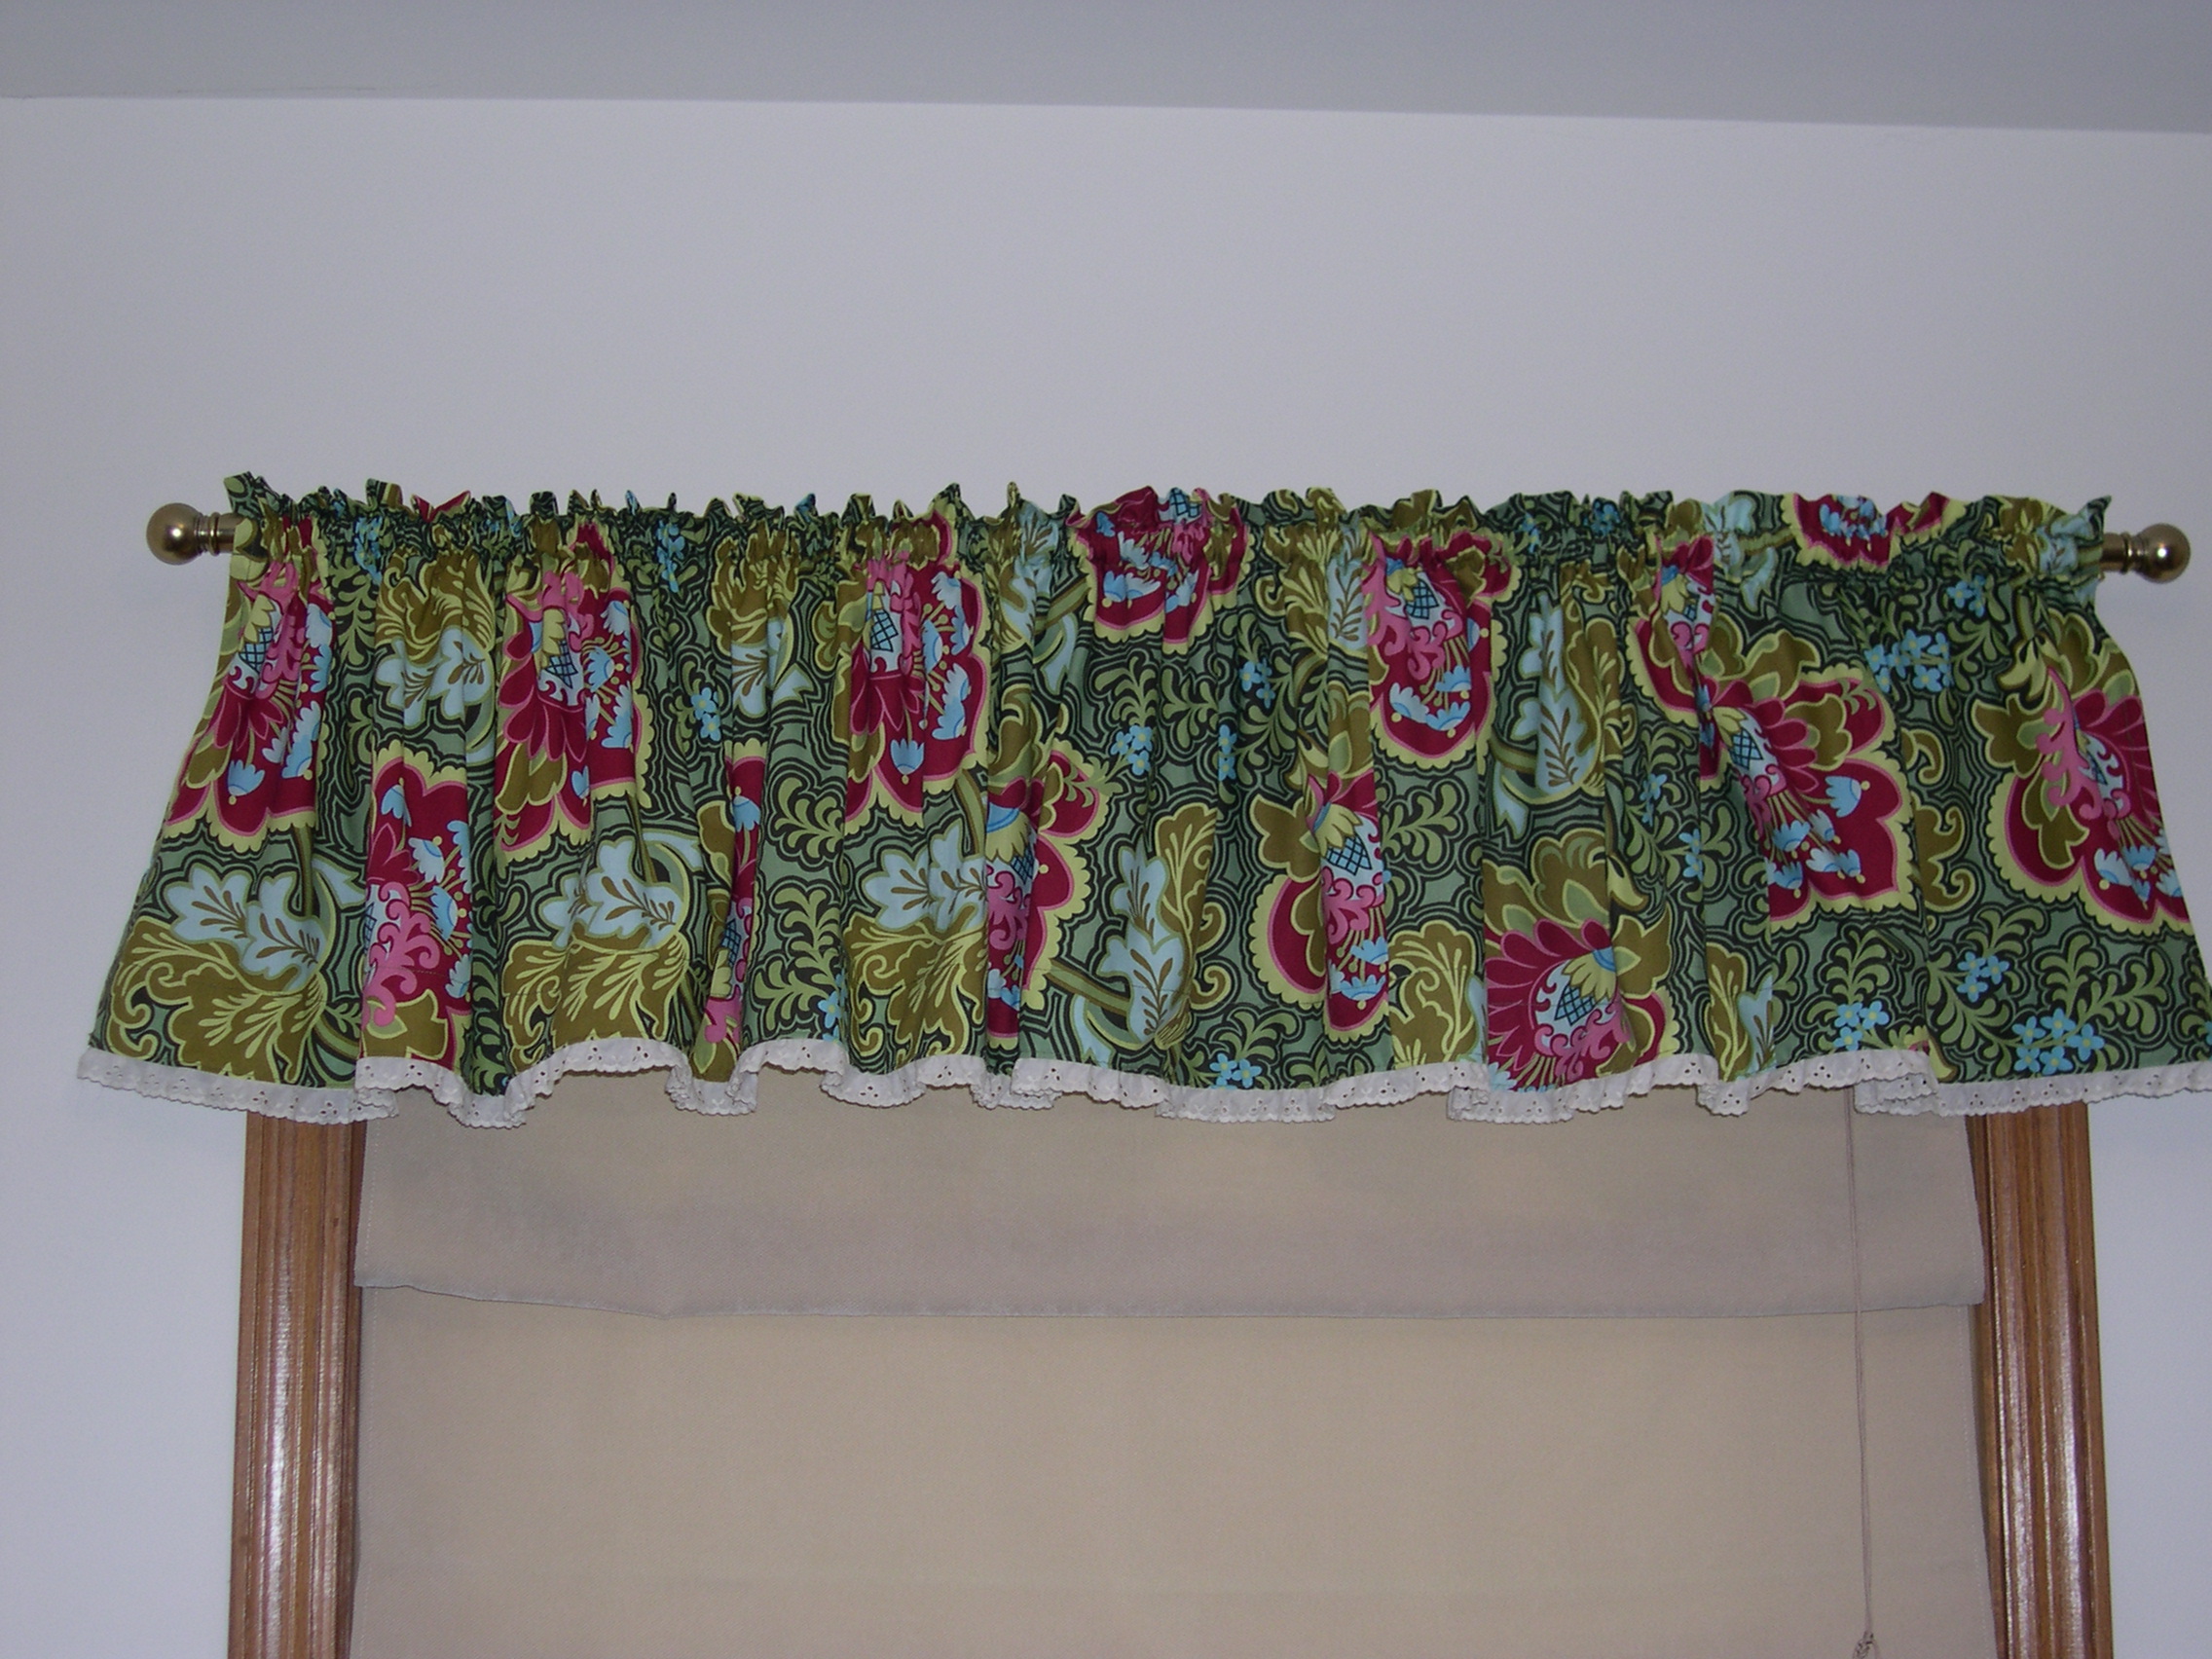
Finally, I had a free weekend! Here’s how the valance turned out:

First, I measured the width of the window and the length I wanted the valance to be (long enough to cover the blinds when they are open). That measurement came to 49″ wide x 13″ long. I added 2″ to the width for the side seams and then doubled the width to get more fullness. I added 2″ to the length for the lower hem, and 3″ to the length for the rod casing. My final measurement came to 102″ wide x 18.5″ long.
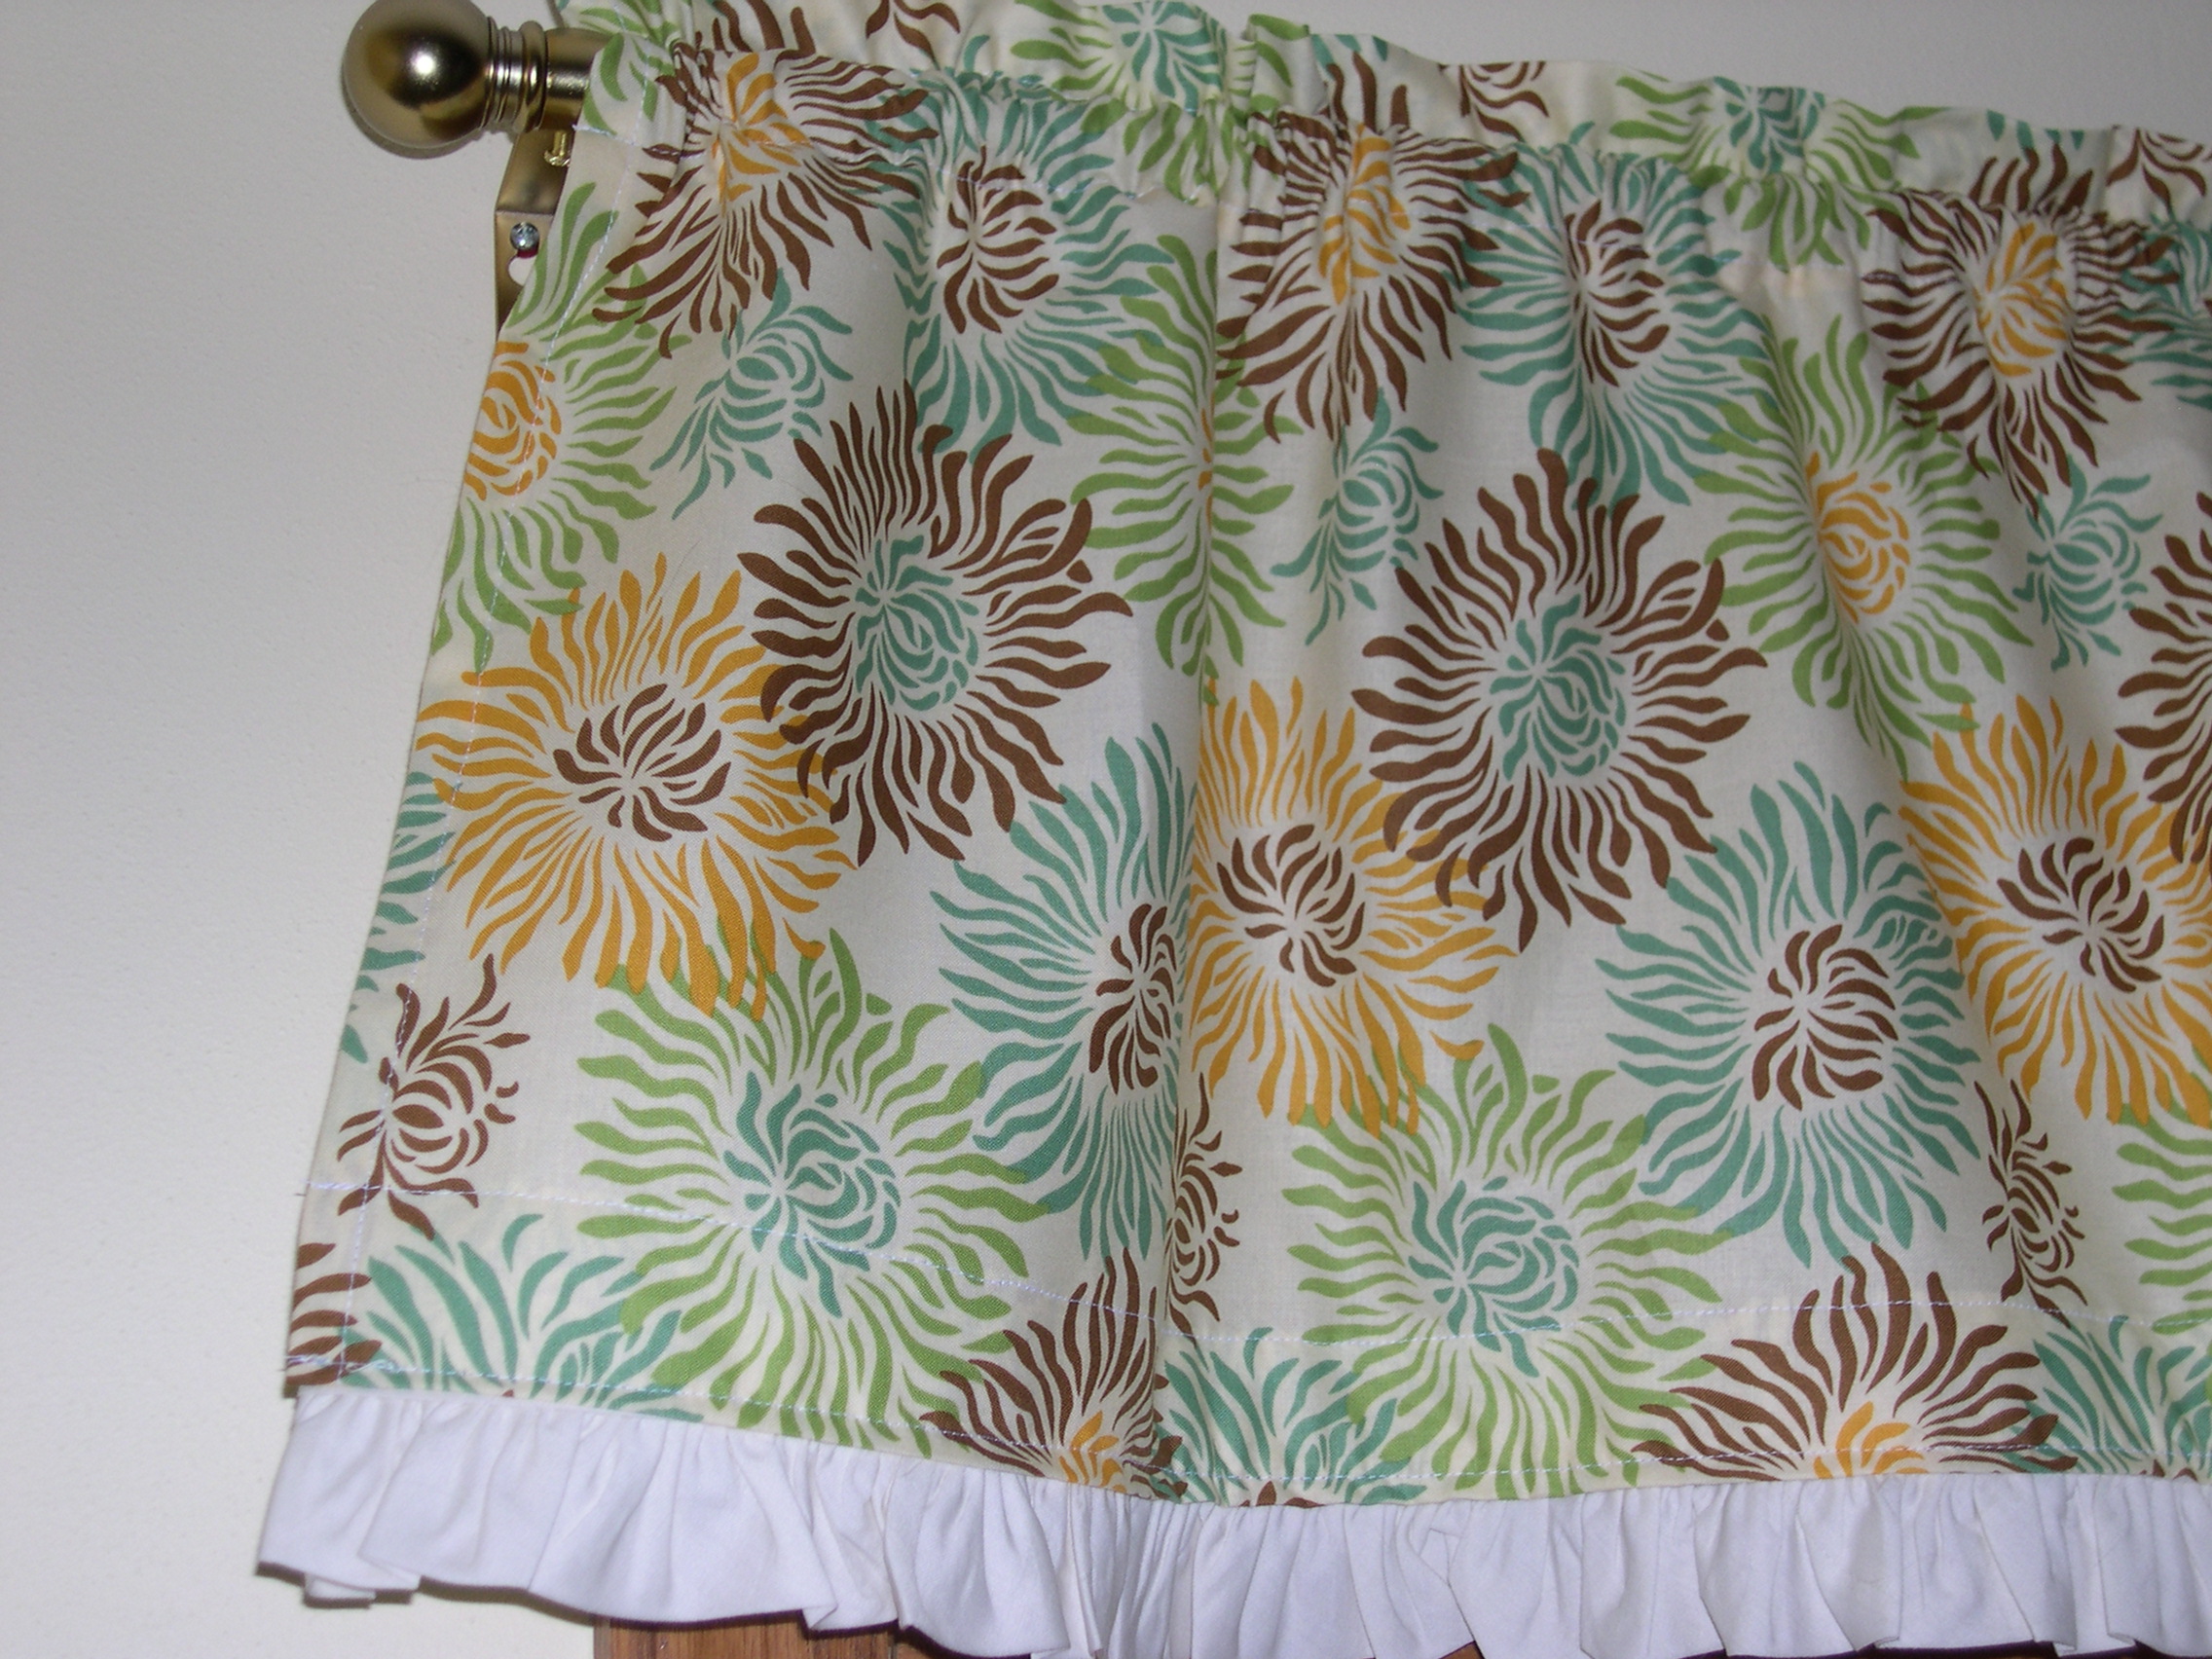
To hem the side edges, I hemmed the sides by turning under 1/2″ and turning under another 1/2″. Then I sewed close to the inner fold, repeating for the other side.
For the lower hem, I turned the lower edge under 1/2″ and then another 1-1/2″. Then I sewed close to the inner fold.
For the casing, I turned the top under 1/2″ and then another 2-1/4″. The top of the casing is formed by sewing 1″ in from the fold. The bottom of the casing is formed by sewing 1-1/4″ from the first line of stitching, or 1/4″ from the inner fold.
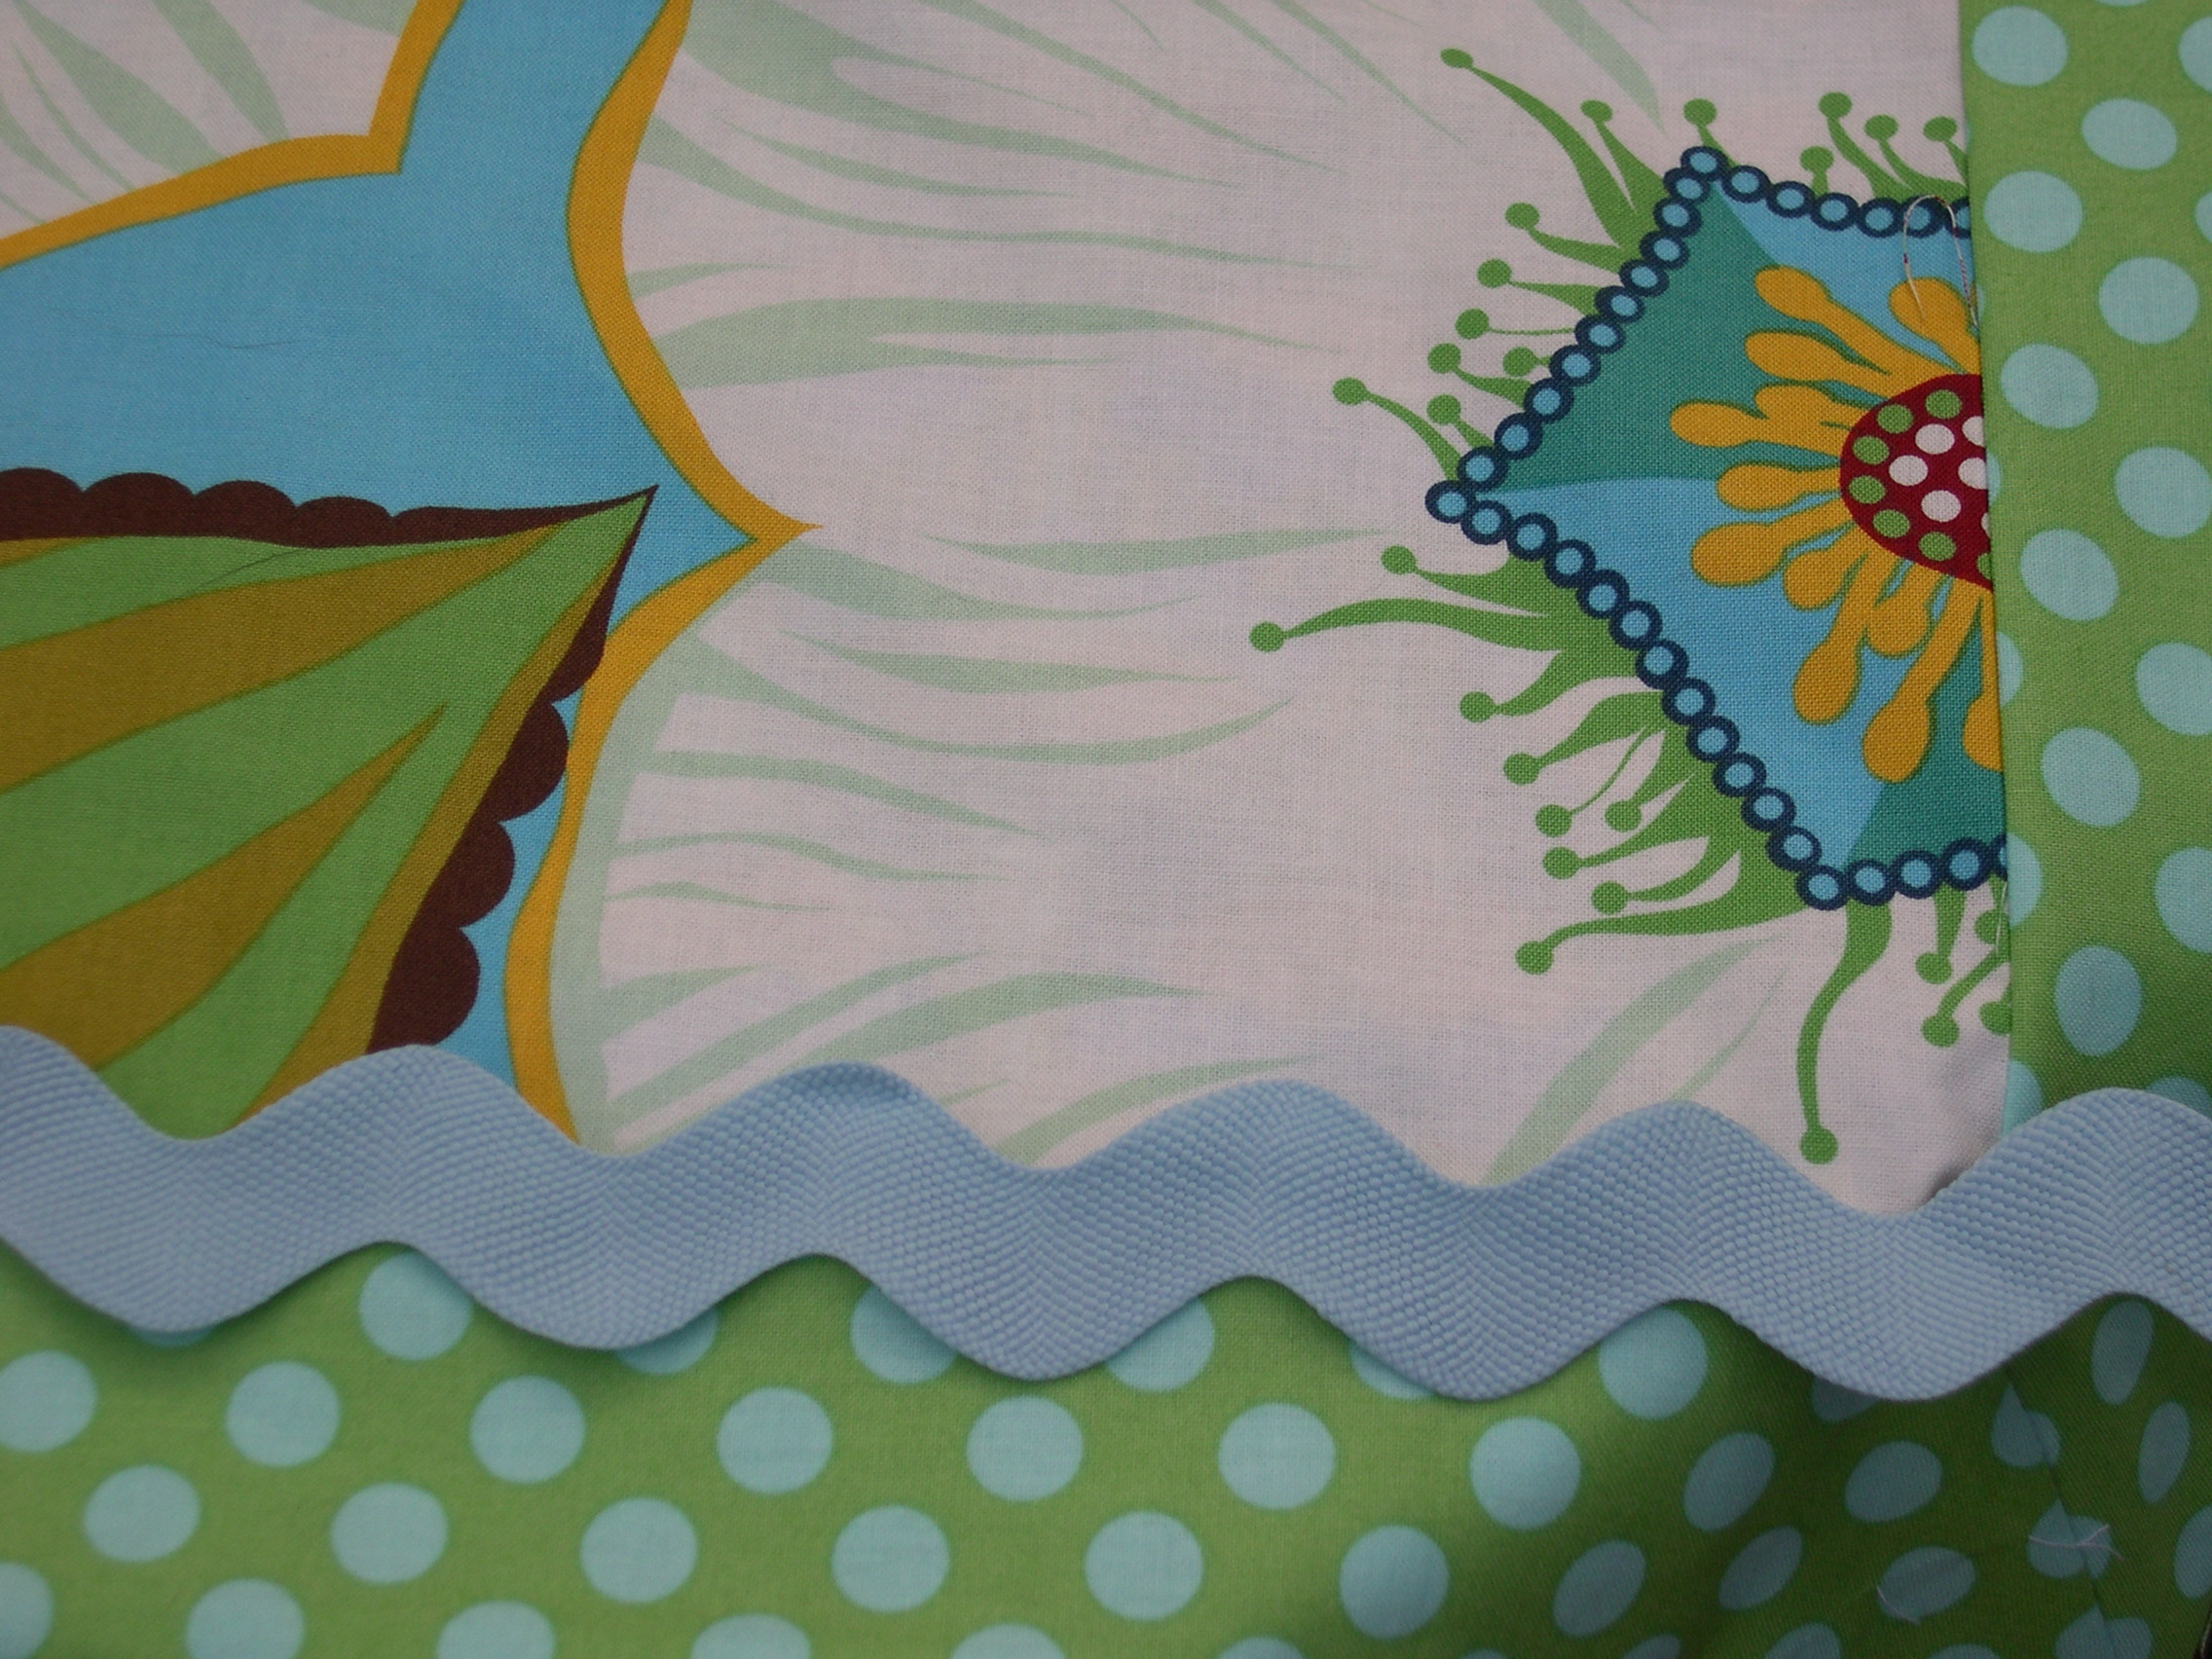
Finally, I finished off the hem with this cool ruffle trim, which added more length and a stylish accent.

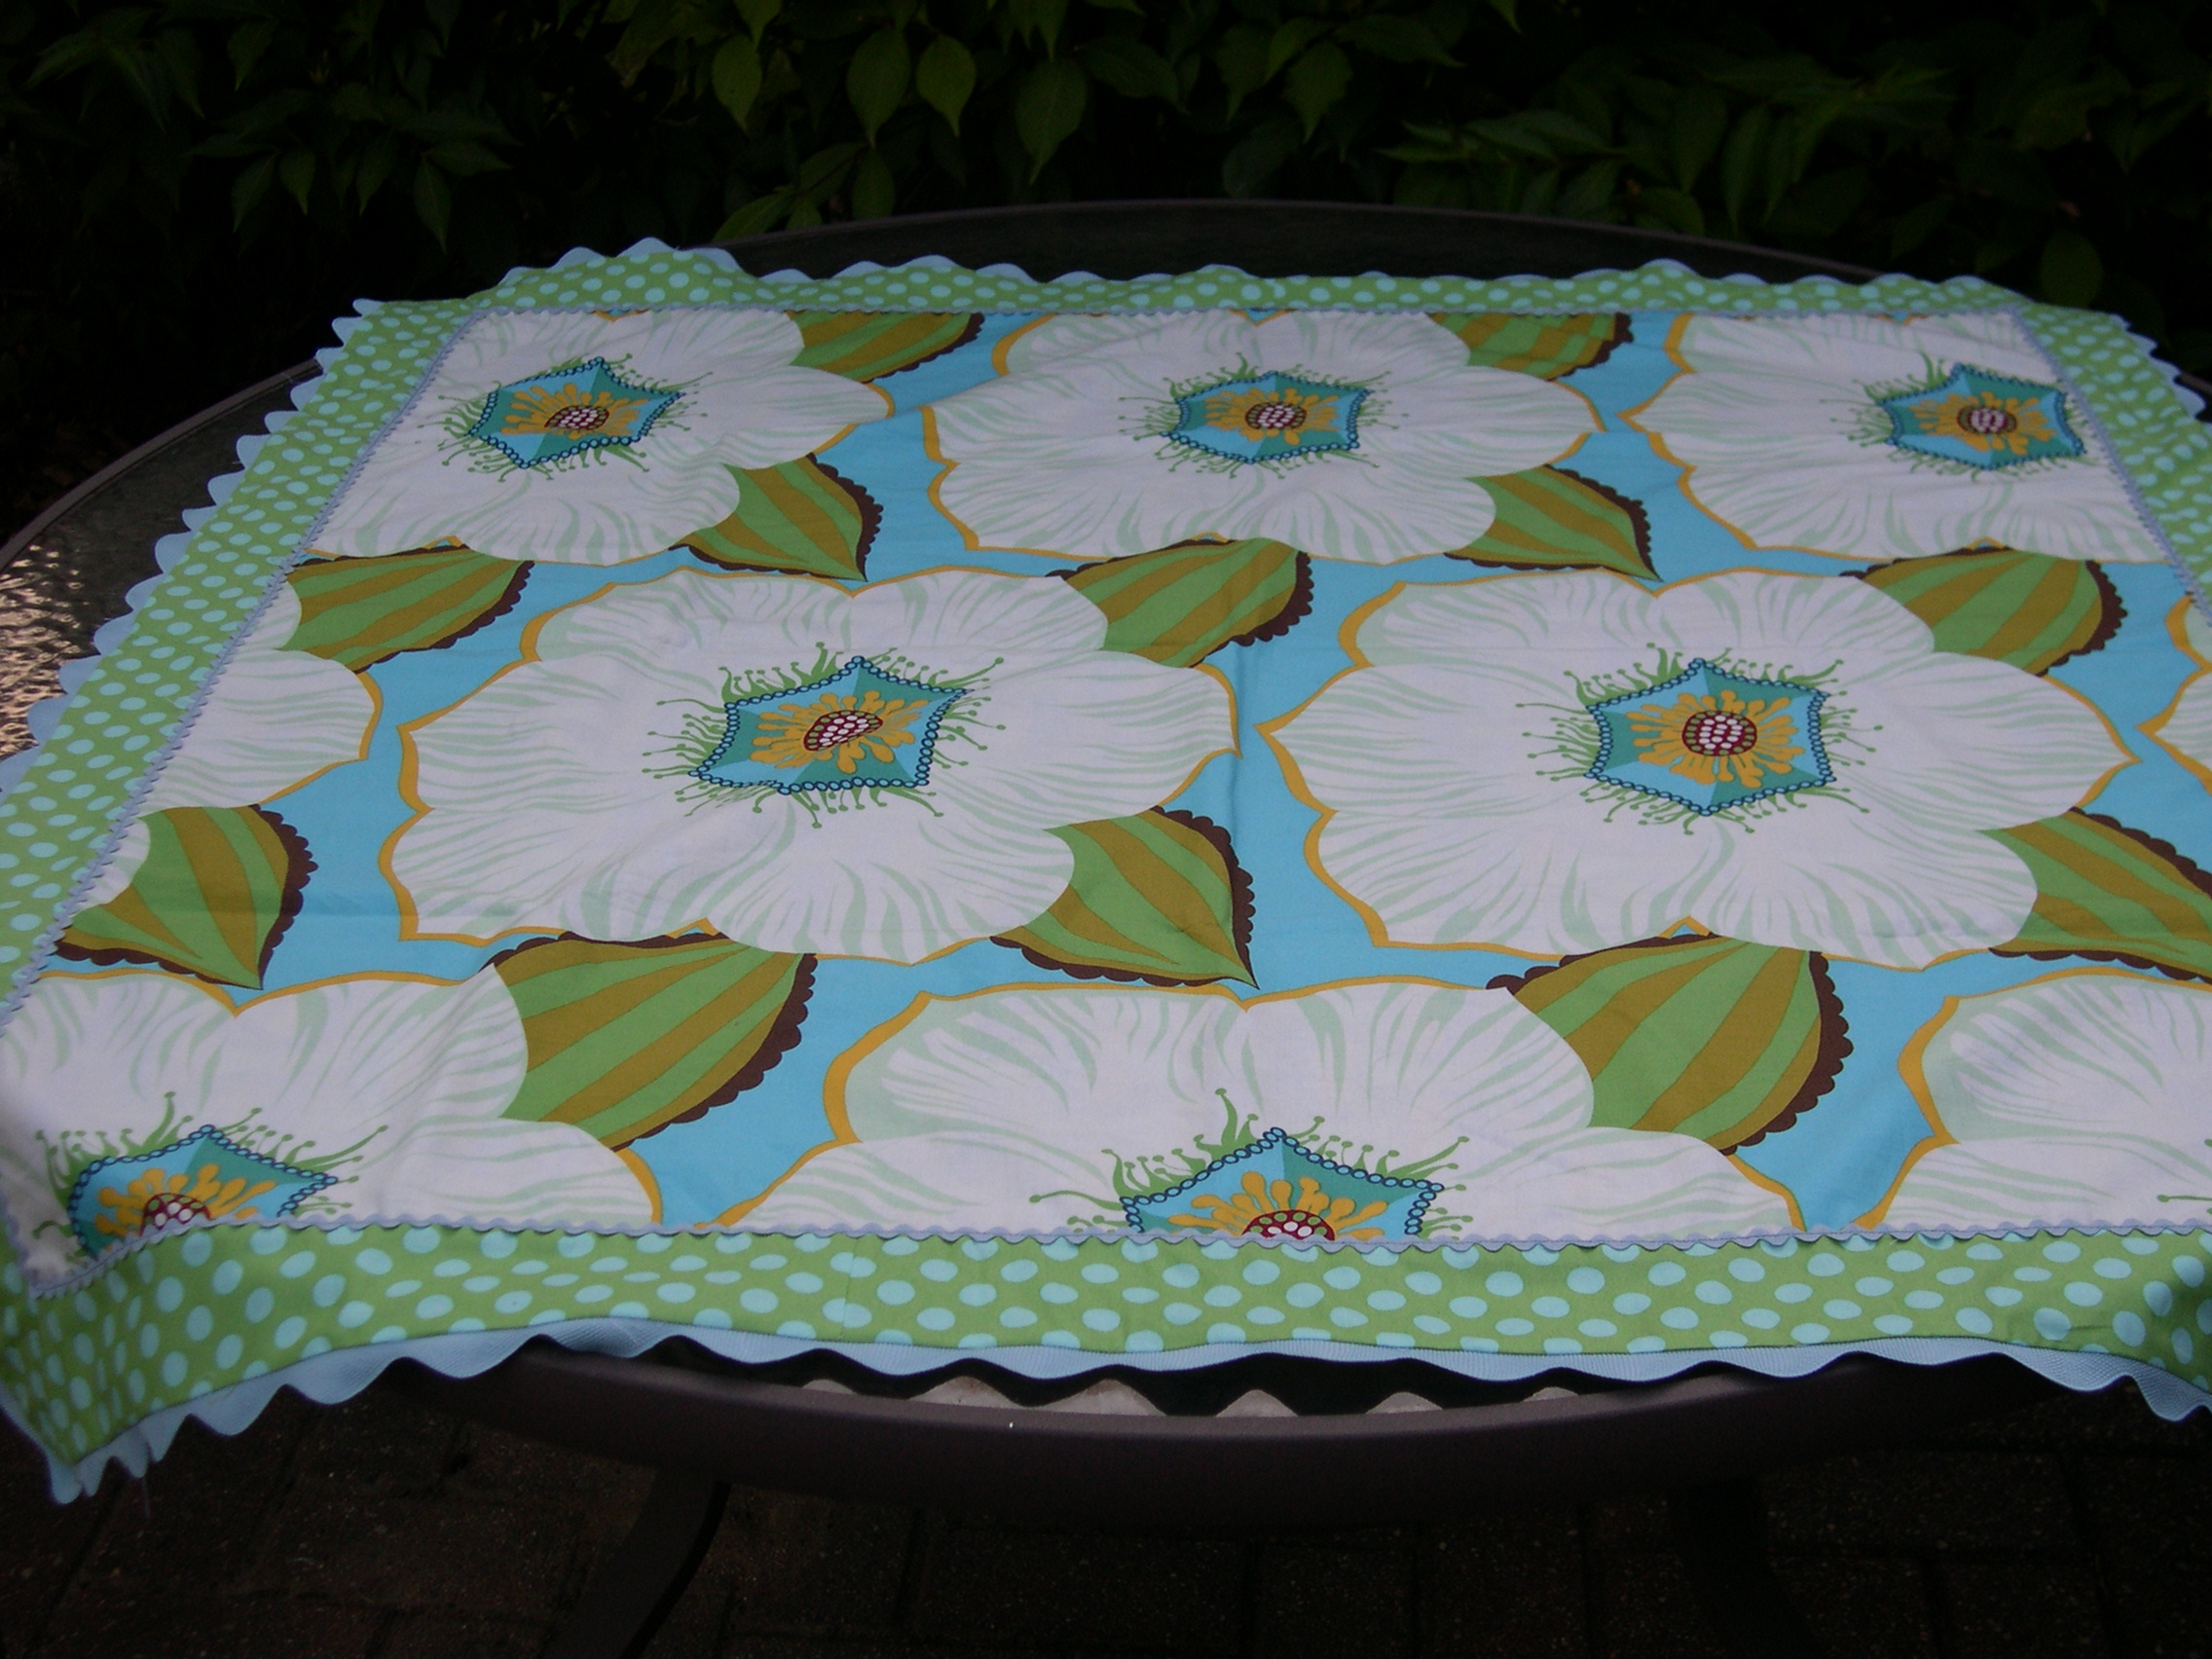
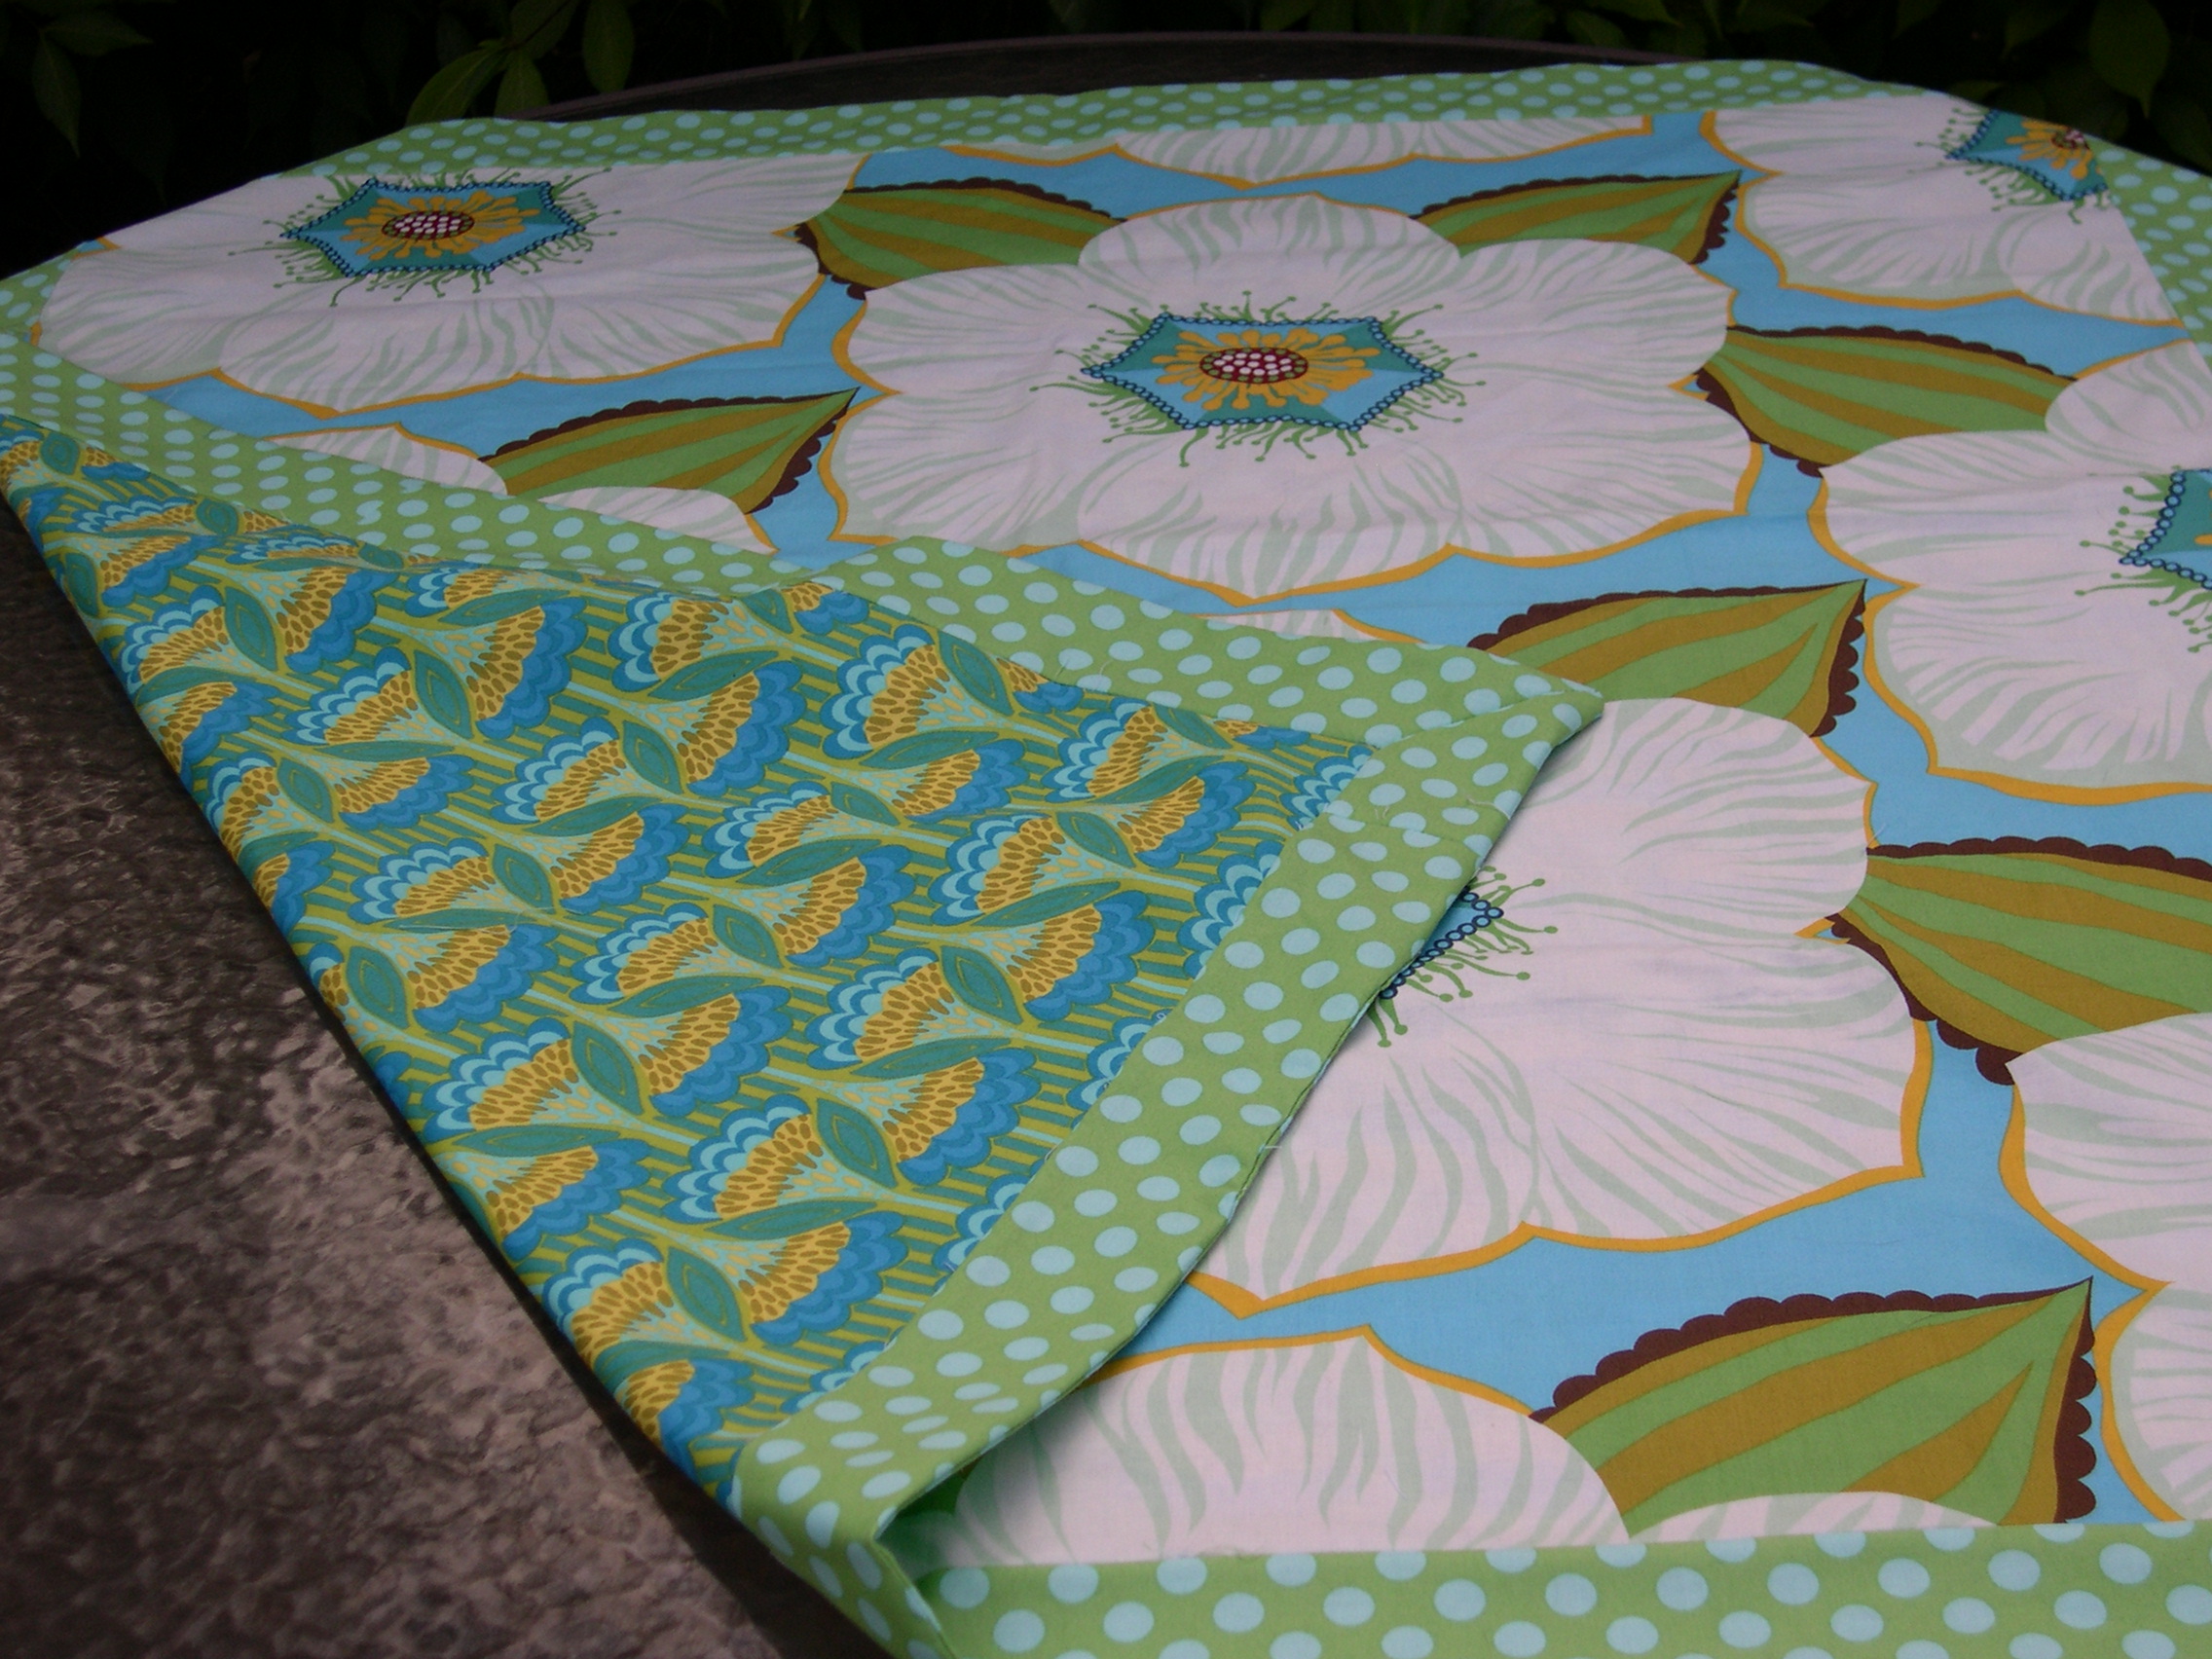
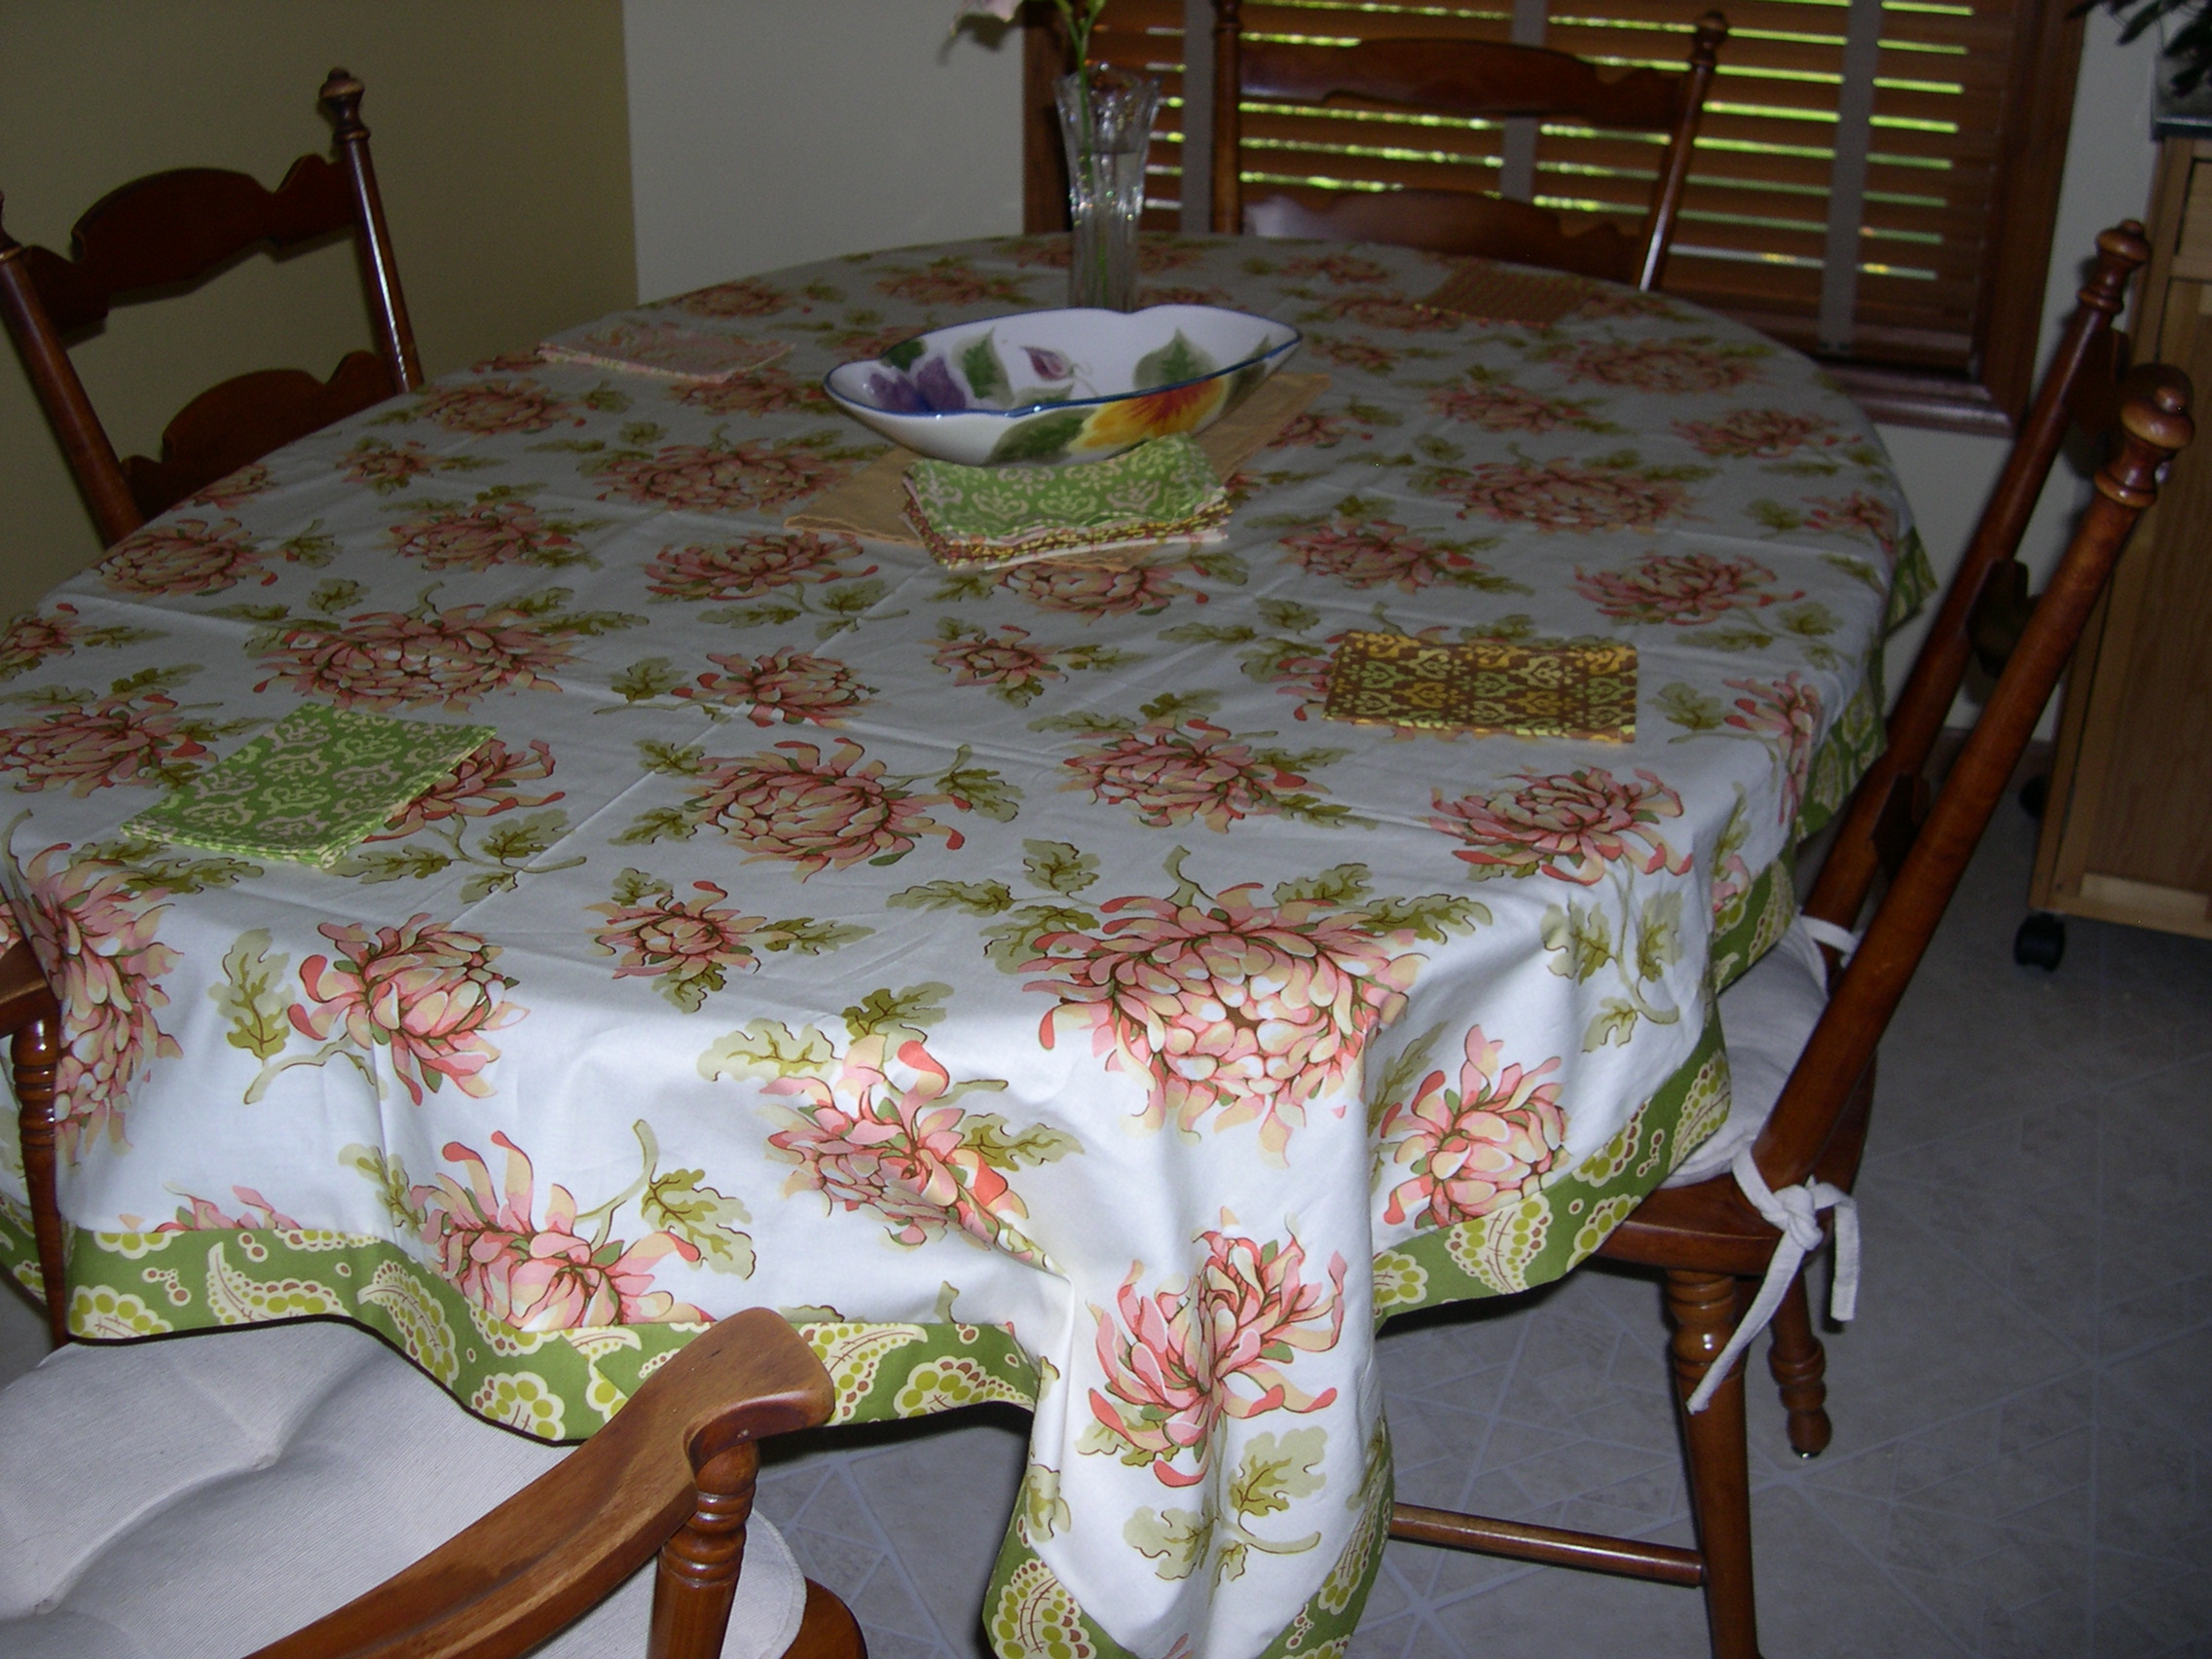
I made a coordinating tablecloth from the Freshcut collection too. My table measured 41″ x 58″, and I had 2-yard piece of fabric, so I had to make that work for me.

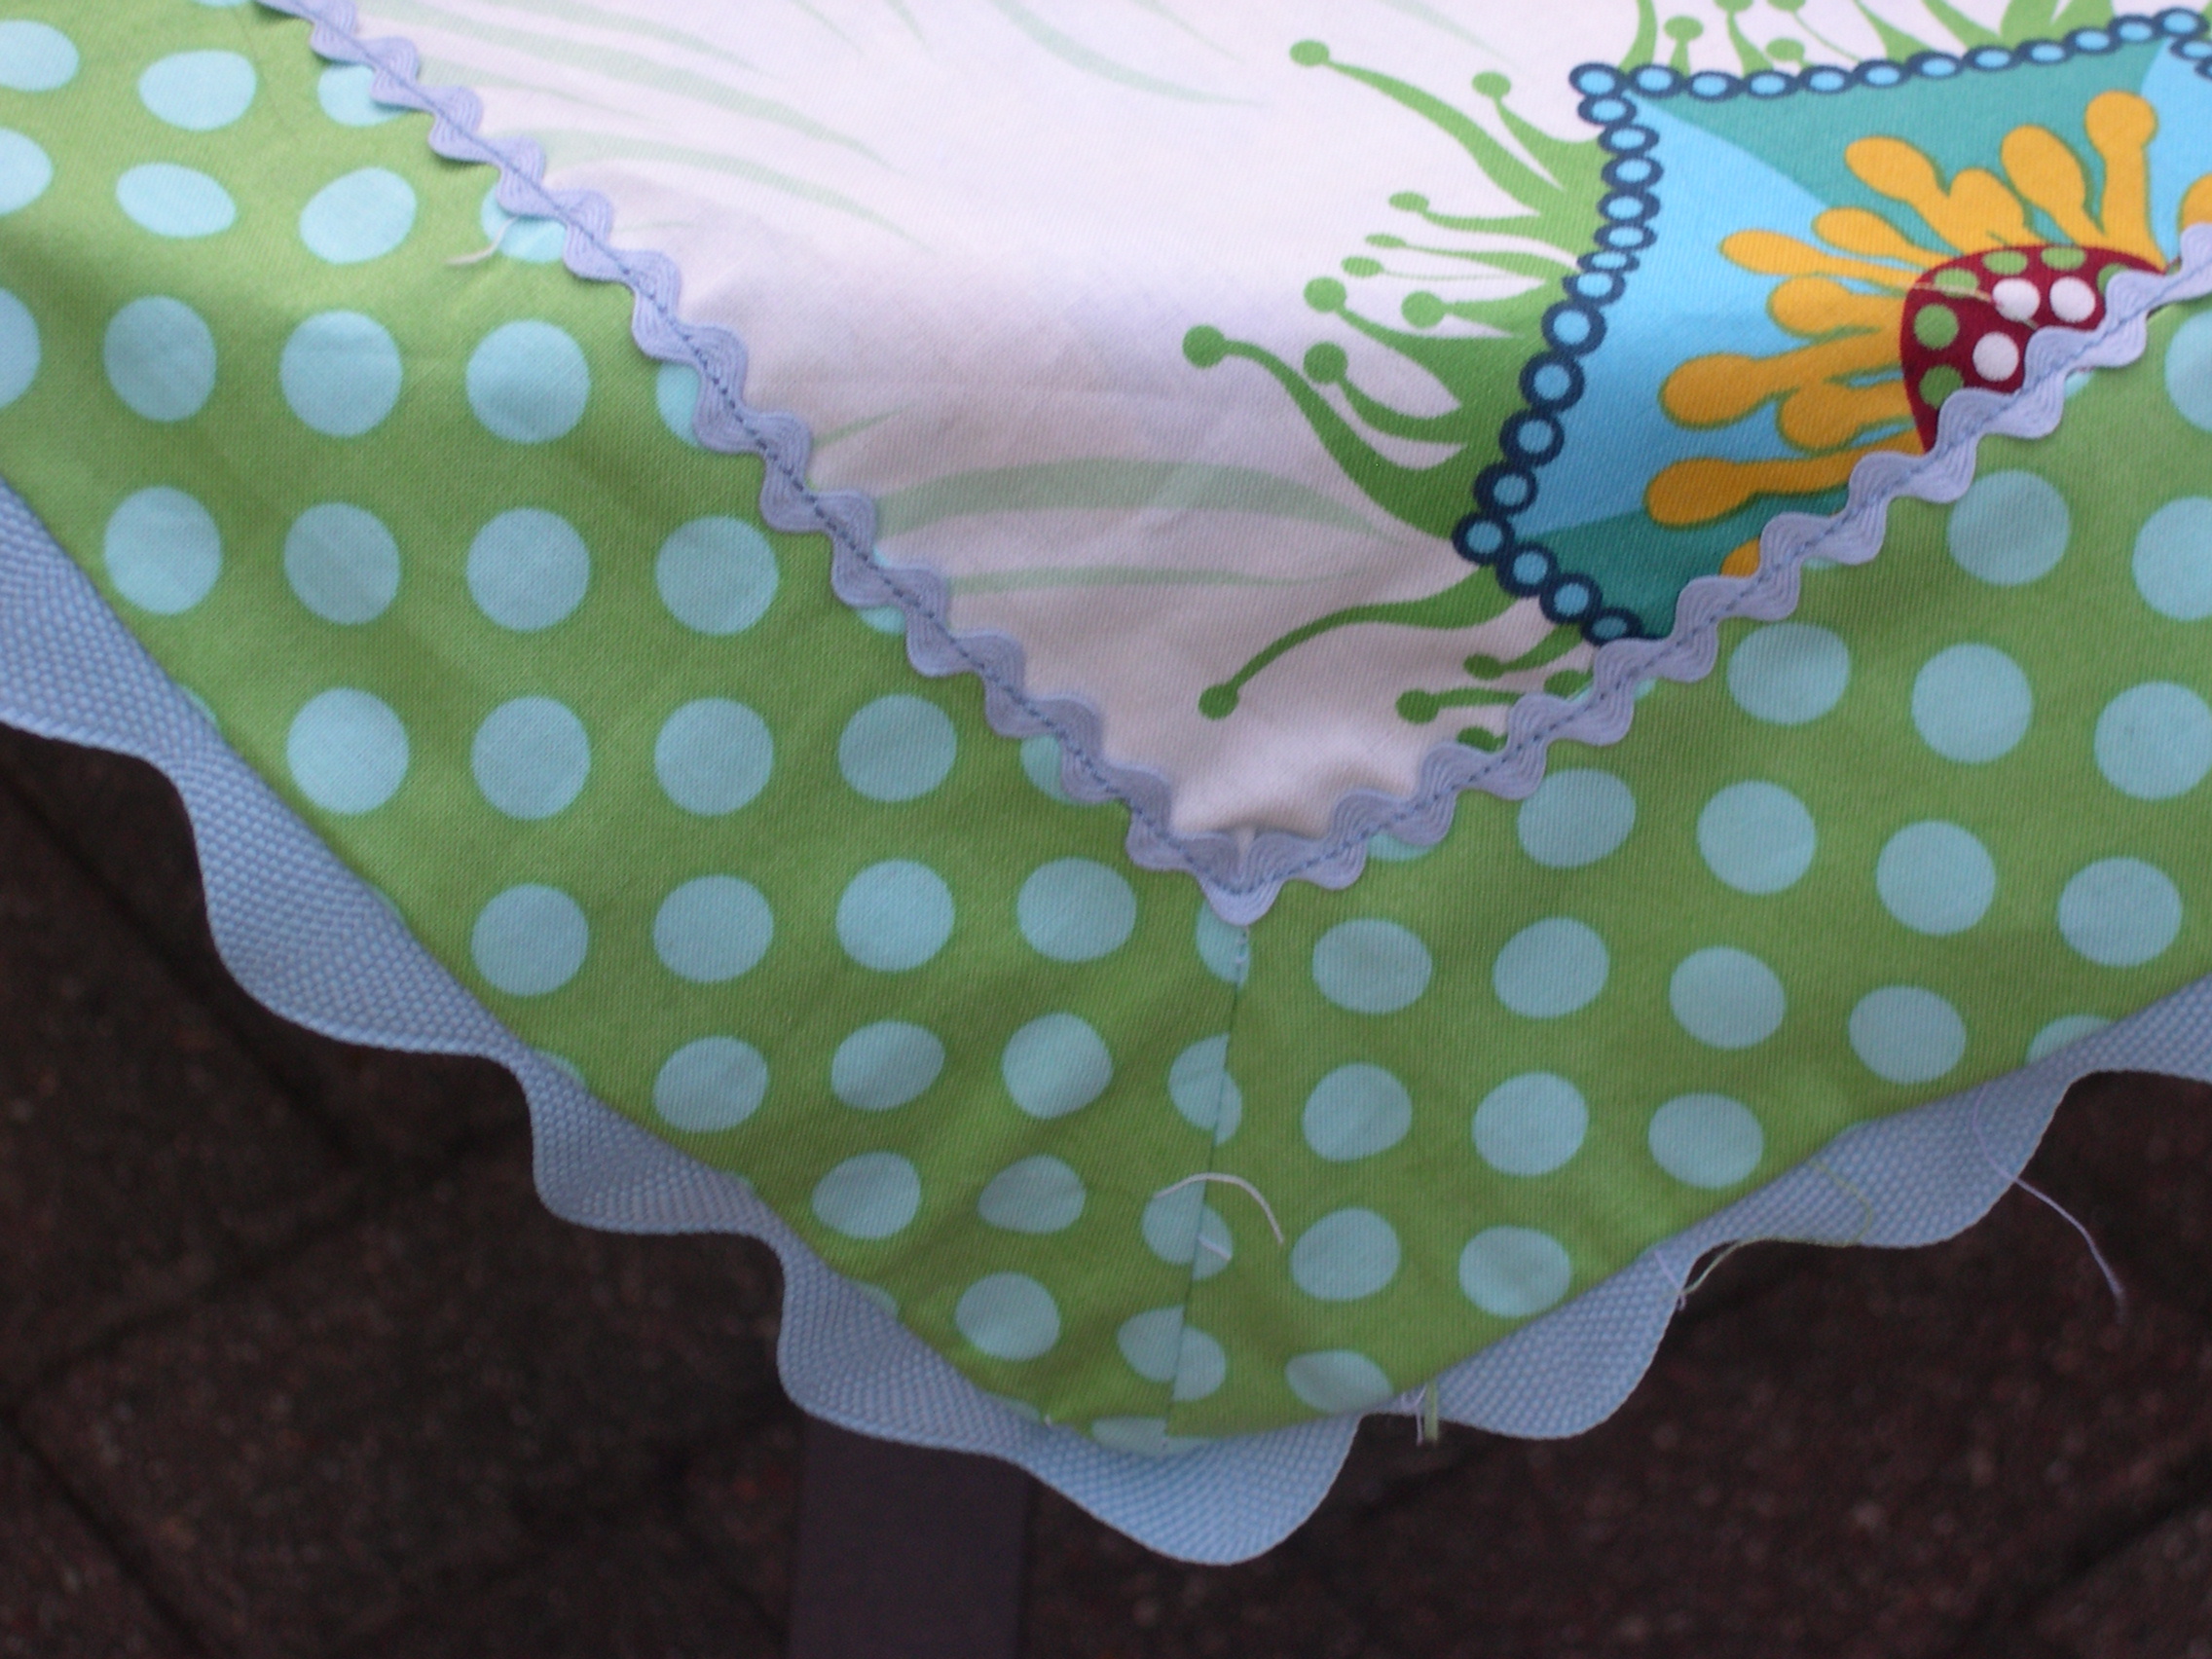
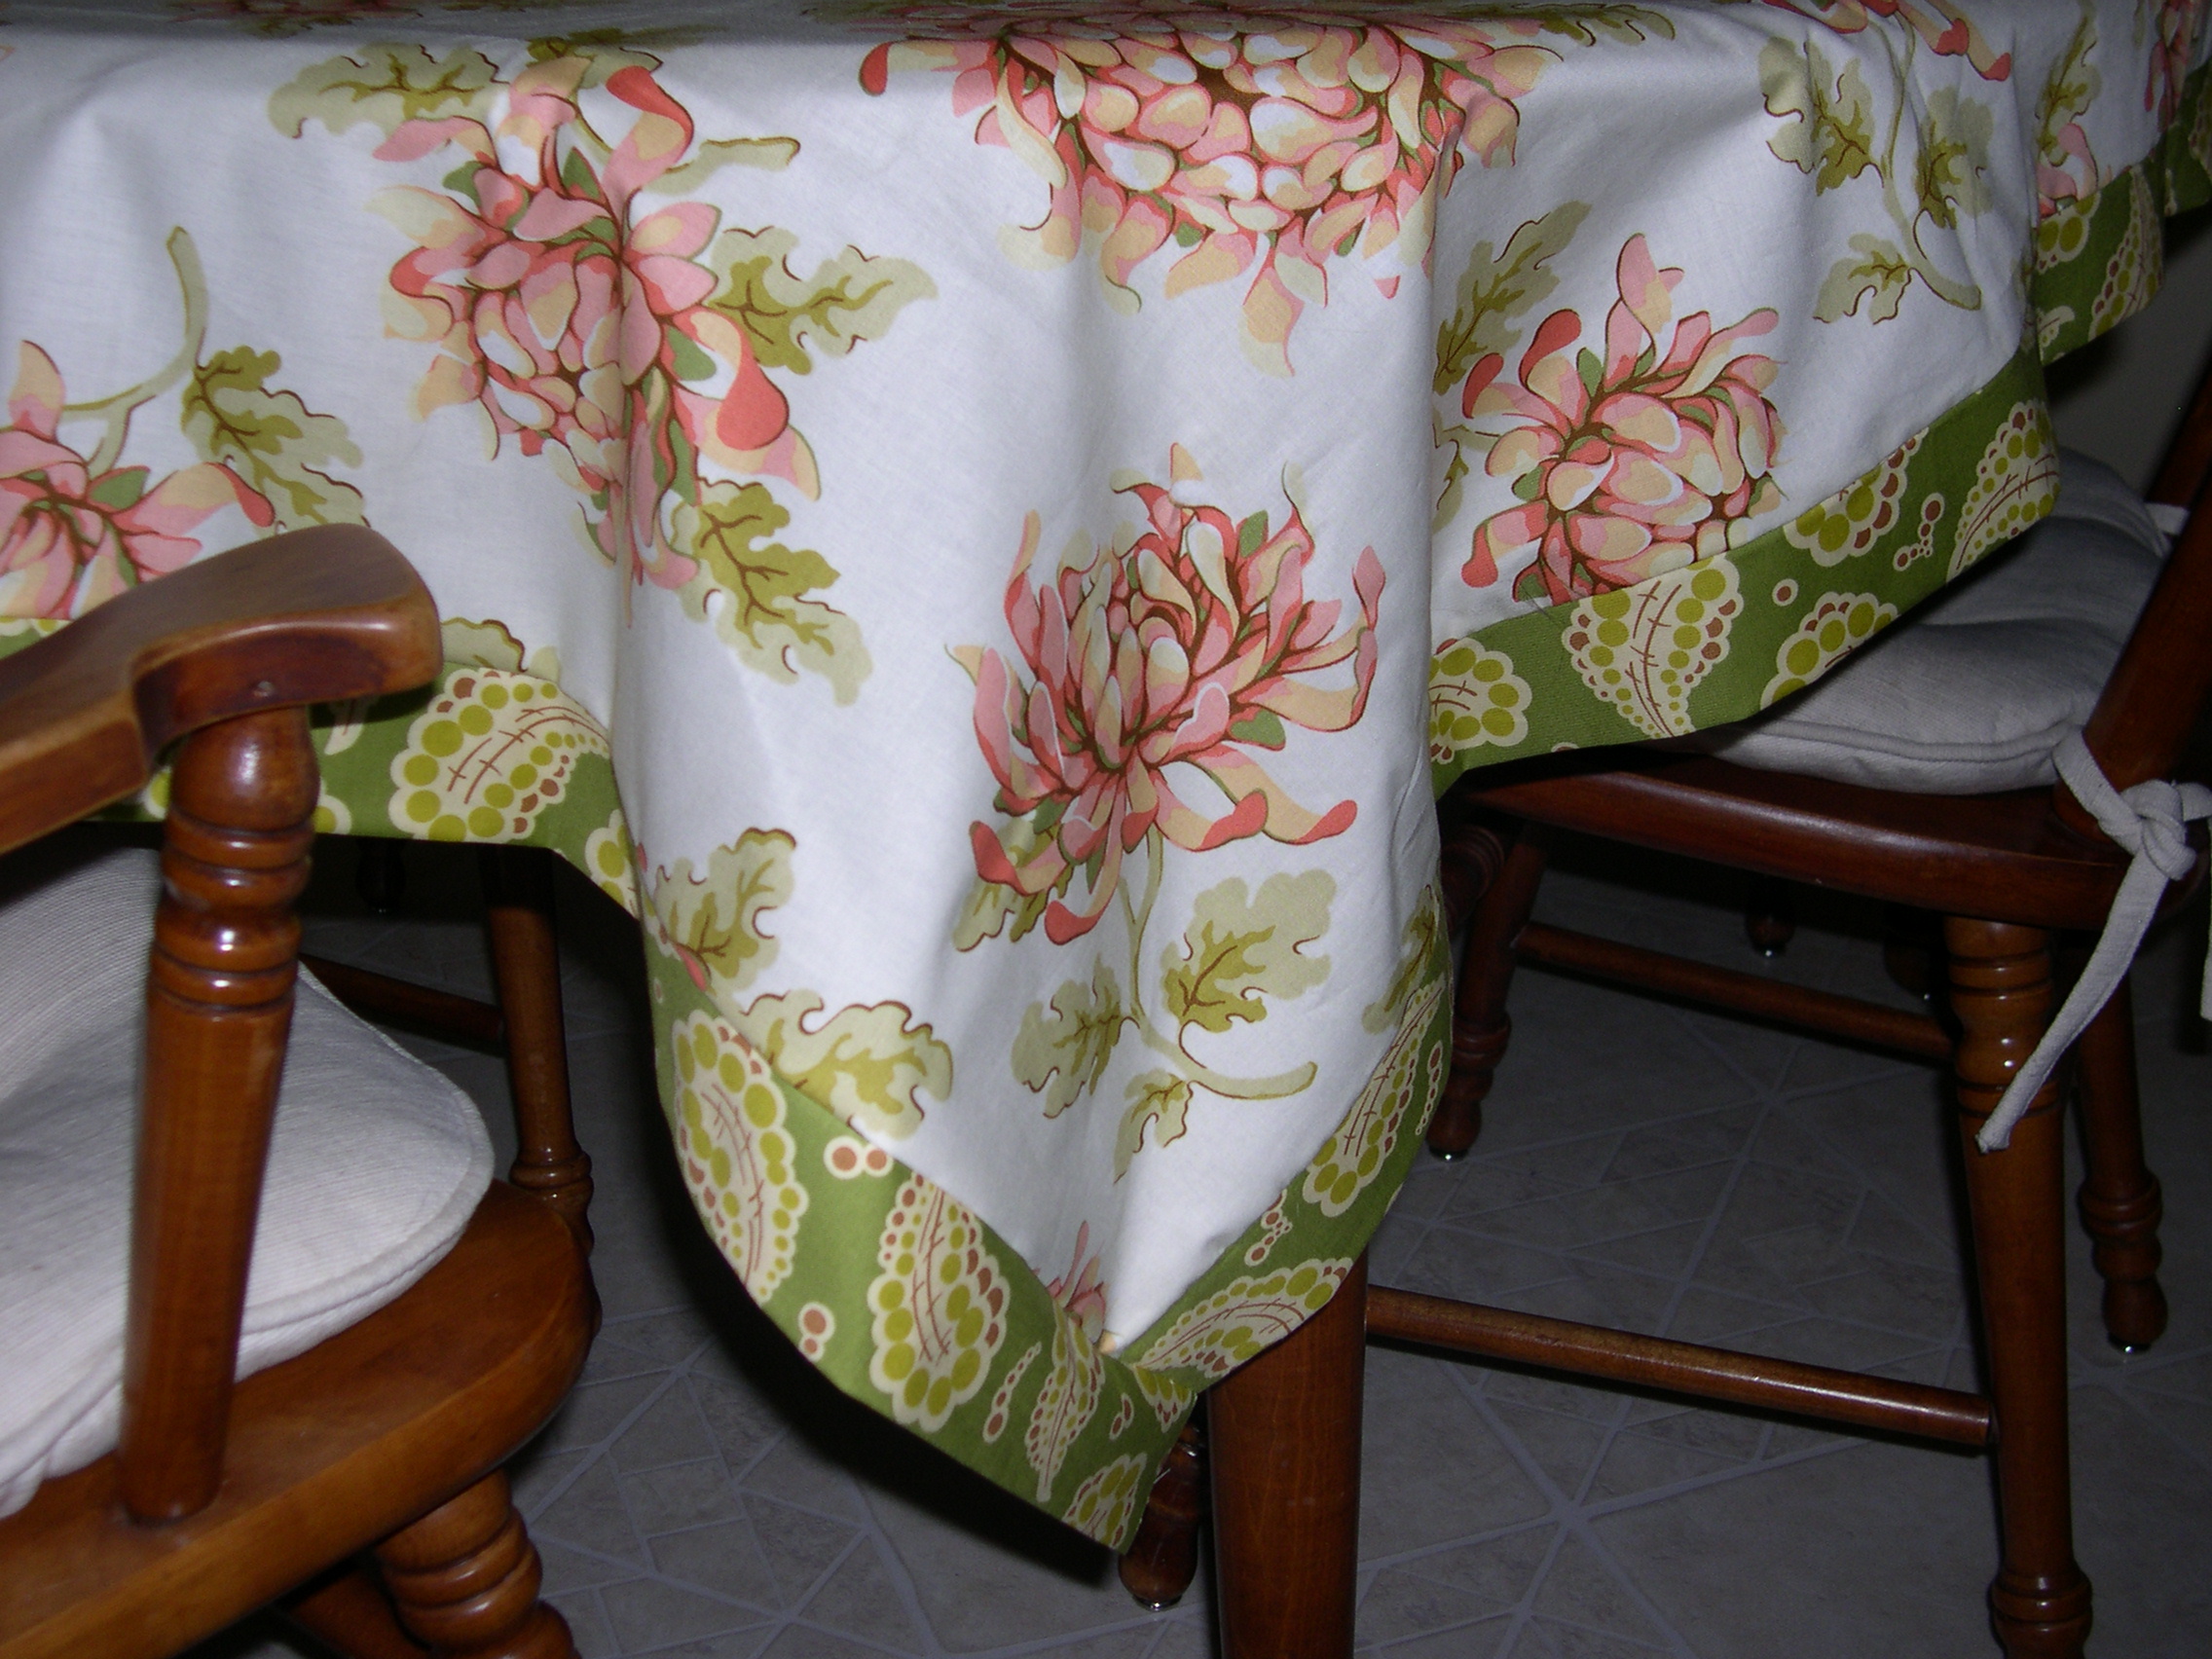
I added a 2-1/2″ border to frame the main fabric.

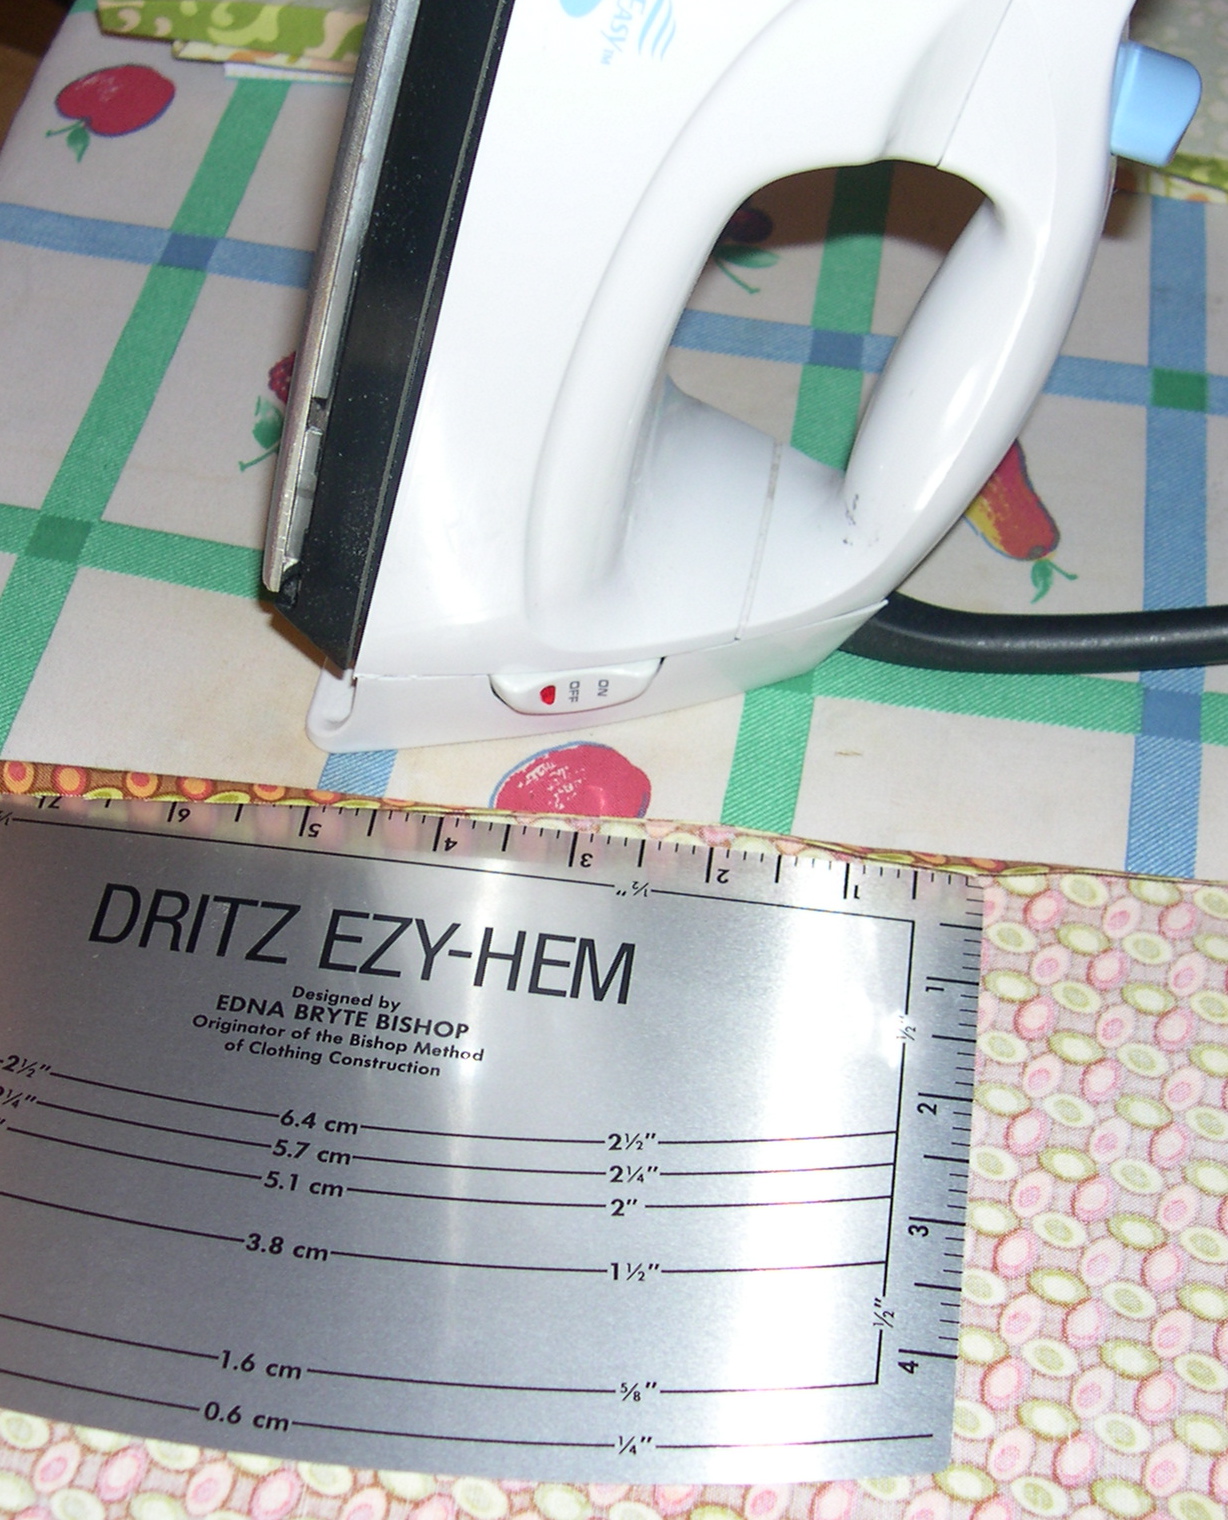
Last winter, I found this cool tool – the EZY-hem by Dritz – which works great for ironing small hems, very handy when making handmade napkins.

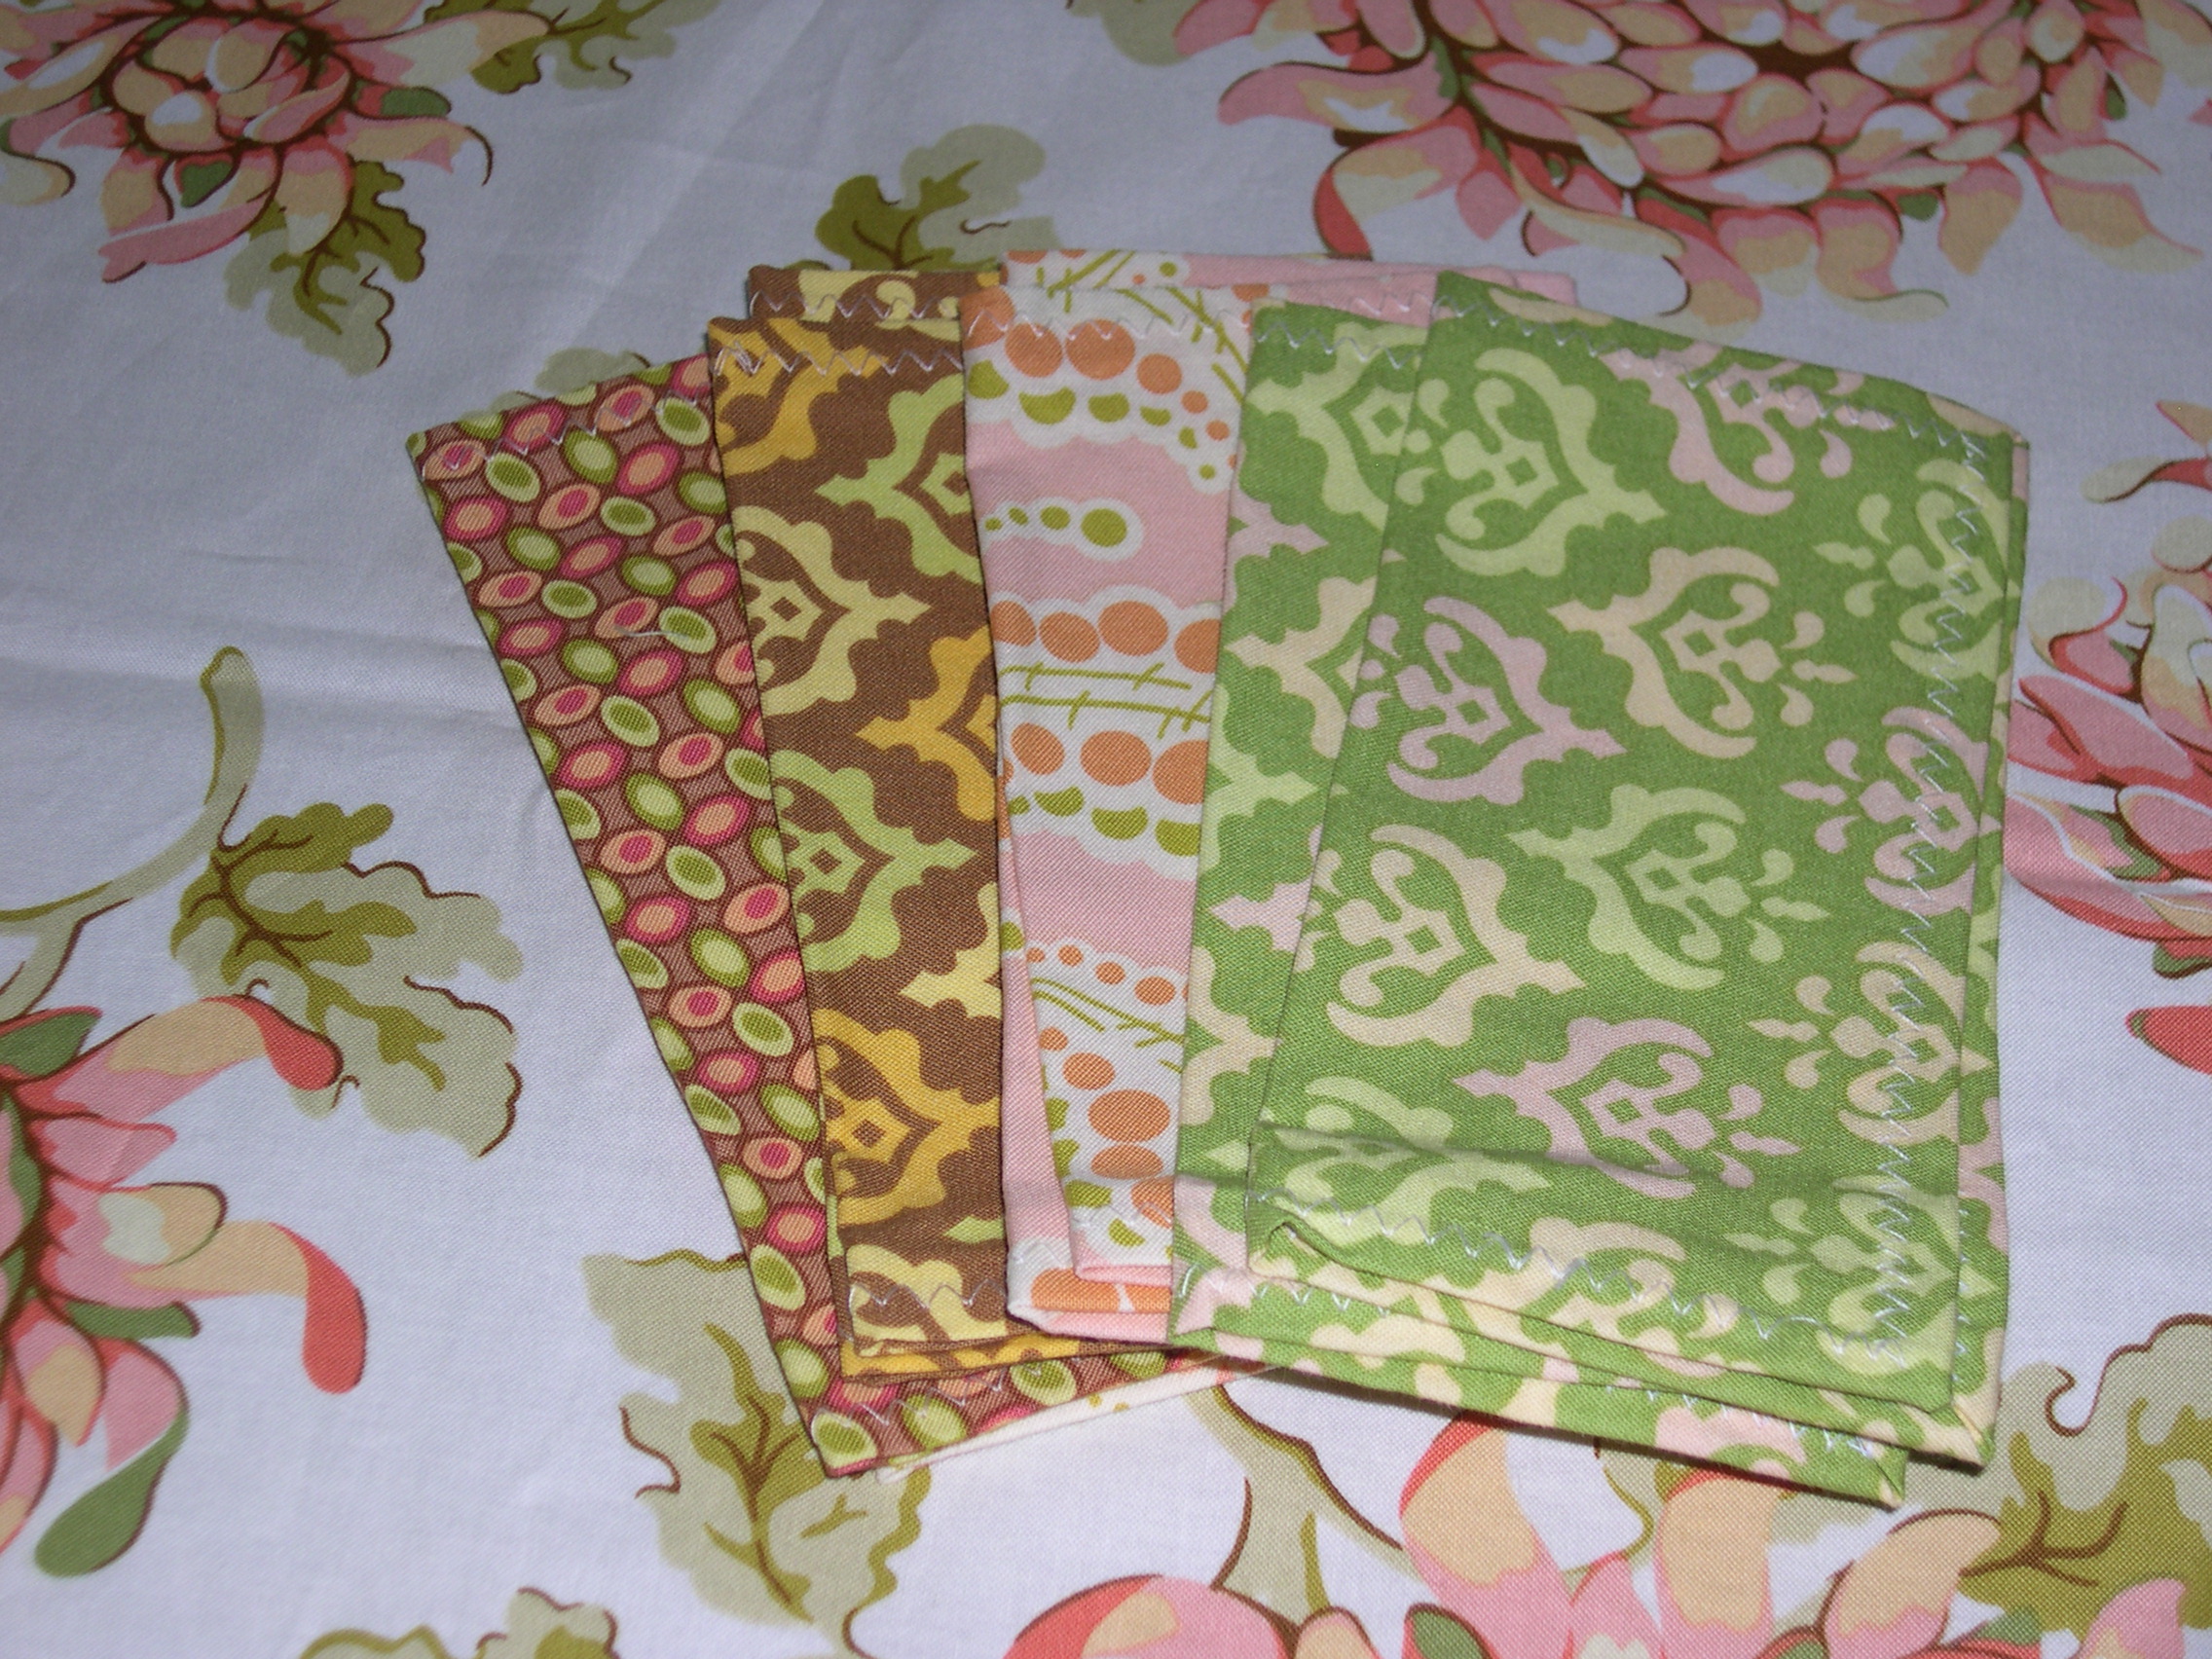
I made the mixy-matchy napkins from Amy Karol’s Bend-the-Rules-Sewing book and some cocktail napkins from the Purl Bee to go with the new tablecloth.

I love how everything coordinates yet it’s not too matchy. Our kitchen has become the best room in the house! Wish I could have you over for coffee in the newly decorated kitchen.
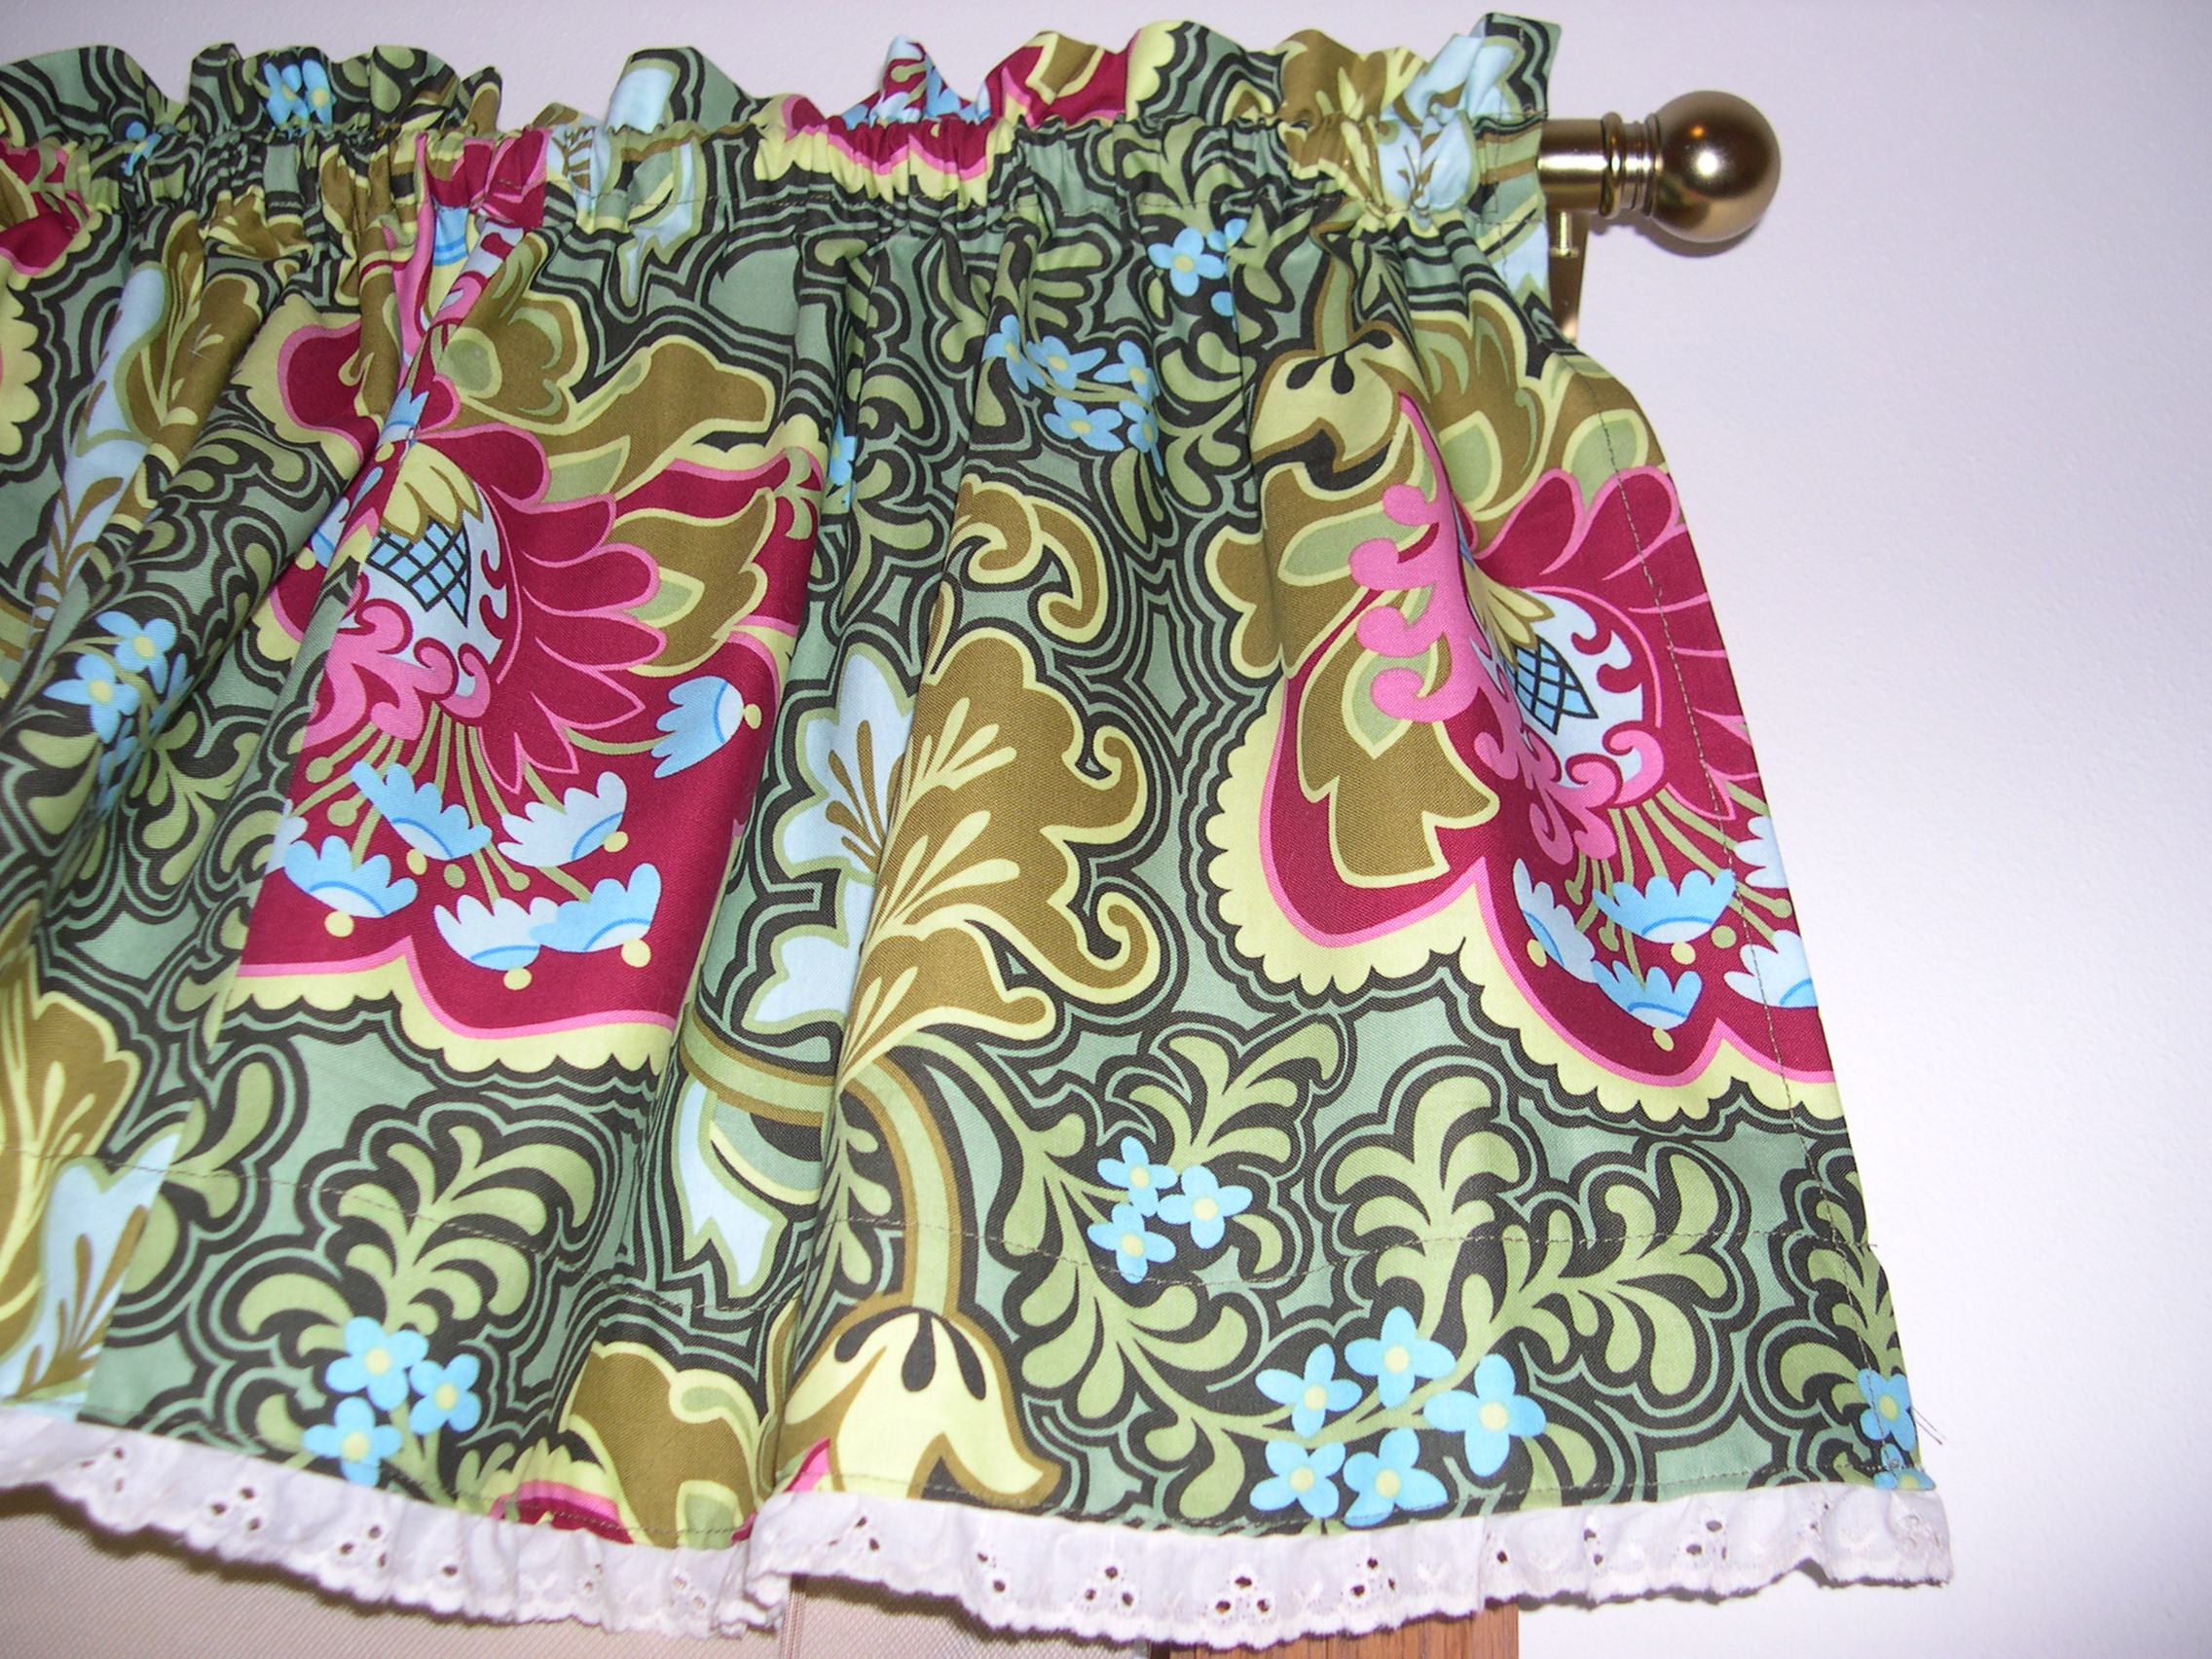
Wait… I’m not quite done yet! I was on a roll Sunday afternoon, so I decided to make the valance for my sewing room, which has been on the sidelines for a couple months too. I used the Gothic Rose fabric from Amy Butler’s Belle collection.

I followed the same method as described above, and added a piece of lace trim for the ruffle. Isn’t that sweet?!

Wow, what a productive weekend!


 I don’t think I will have the nerve to use this on the table when we serve spaghetti or sloppy joes, but it sure does brighten up the room!